HYDROSTATIC POWER TRAIN
4203781 First Edition 5-55
5
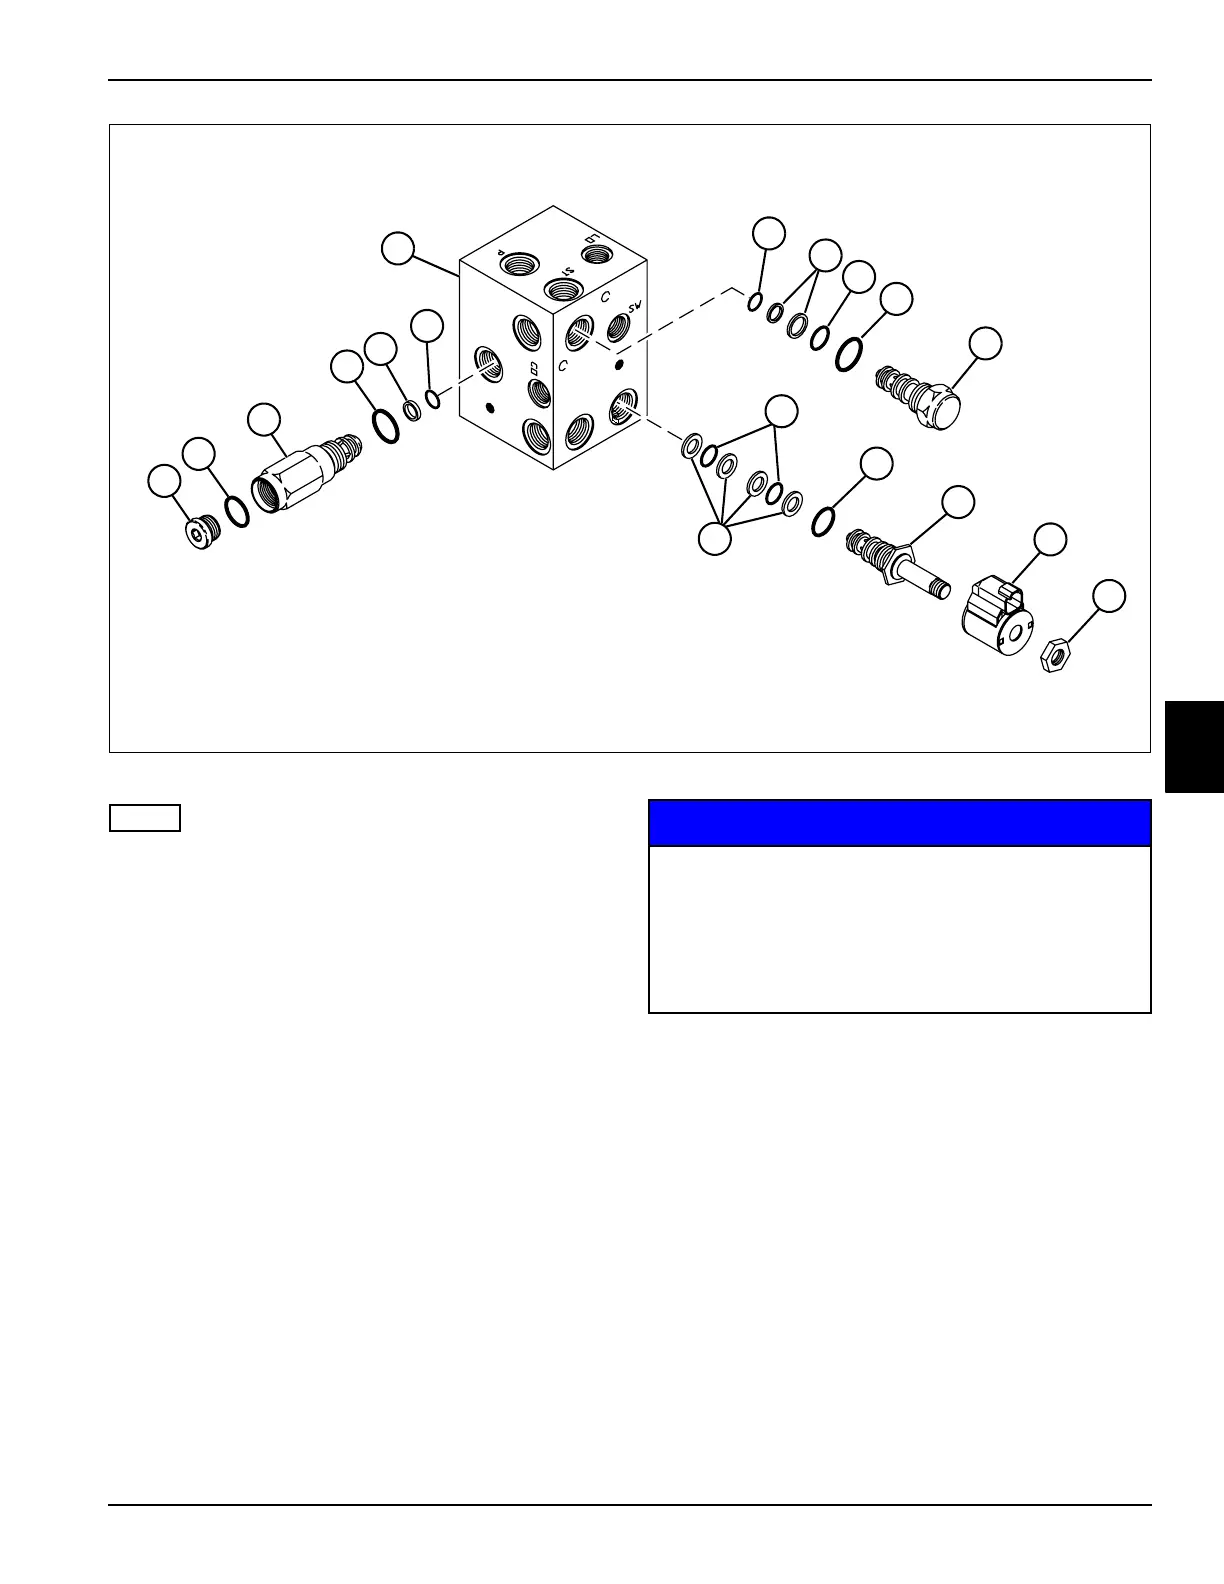
Figure 5-52
NOTE
Record the location of the all cartridges before removing
to ensure correct installation.
11. Remove plug (18) and charge pressure relief valve
(20) from the control valve block (24).
12. Remove O-rings (19, 21, and 23) and backup ring
(22) from charge pressure relief valve (20).
13. Remove flow control valve (29) from the control valve
block (24).
14. Remove O-rings (25, 27, and 28) and backup rings
(26) from flow control valve (29).
15. Remove nut (34) and solenoid coil (33) from 4WD
valve (32).
16. Remove 4WD valve (32) from the control valve (24).
17. Remove O-rings (30 and 31) and backup rings (35)
from 4WD valve (32).
NOTICE
18. Clean all parts using clean solvent, and dry using
compressed air.
19. Inspect all parts for wear or damage. Replace parts
as needed.
Assembly Notes
TN2337
TN2337
18
25
23
24
19
20
21
22
30
35
31
32
26
29
27
28
33
34
• It is important that all component parts are
absolutely clean, as contamination can result
in serious damage and/or improper operation.
• Never use shop towels or rags to dry parts
after cleaning, as lint may clog passages. Dry
parts using compressed air.

 Loading...

