Sending Functions
2-20 ADVANCED OPERATION GUIDE
Scan Density
Adjust scan density of the original. You can adjust the scan density either
automatically or manually.
1
Press the Send key.
2
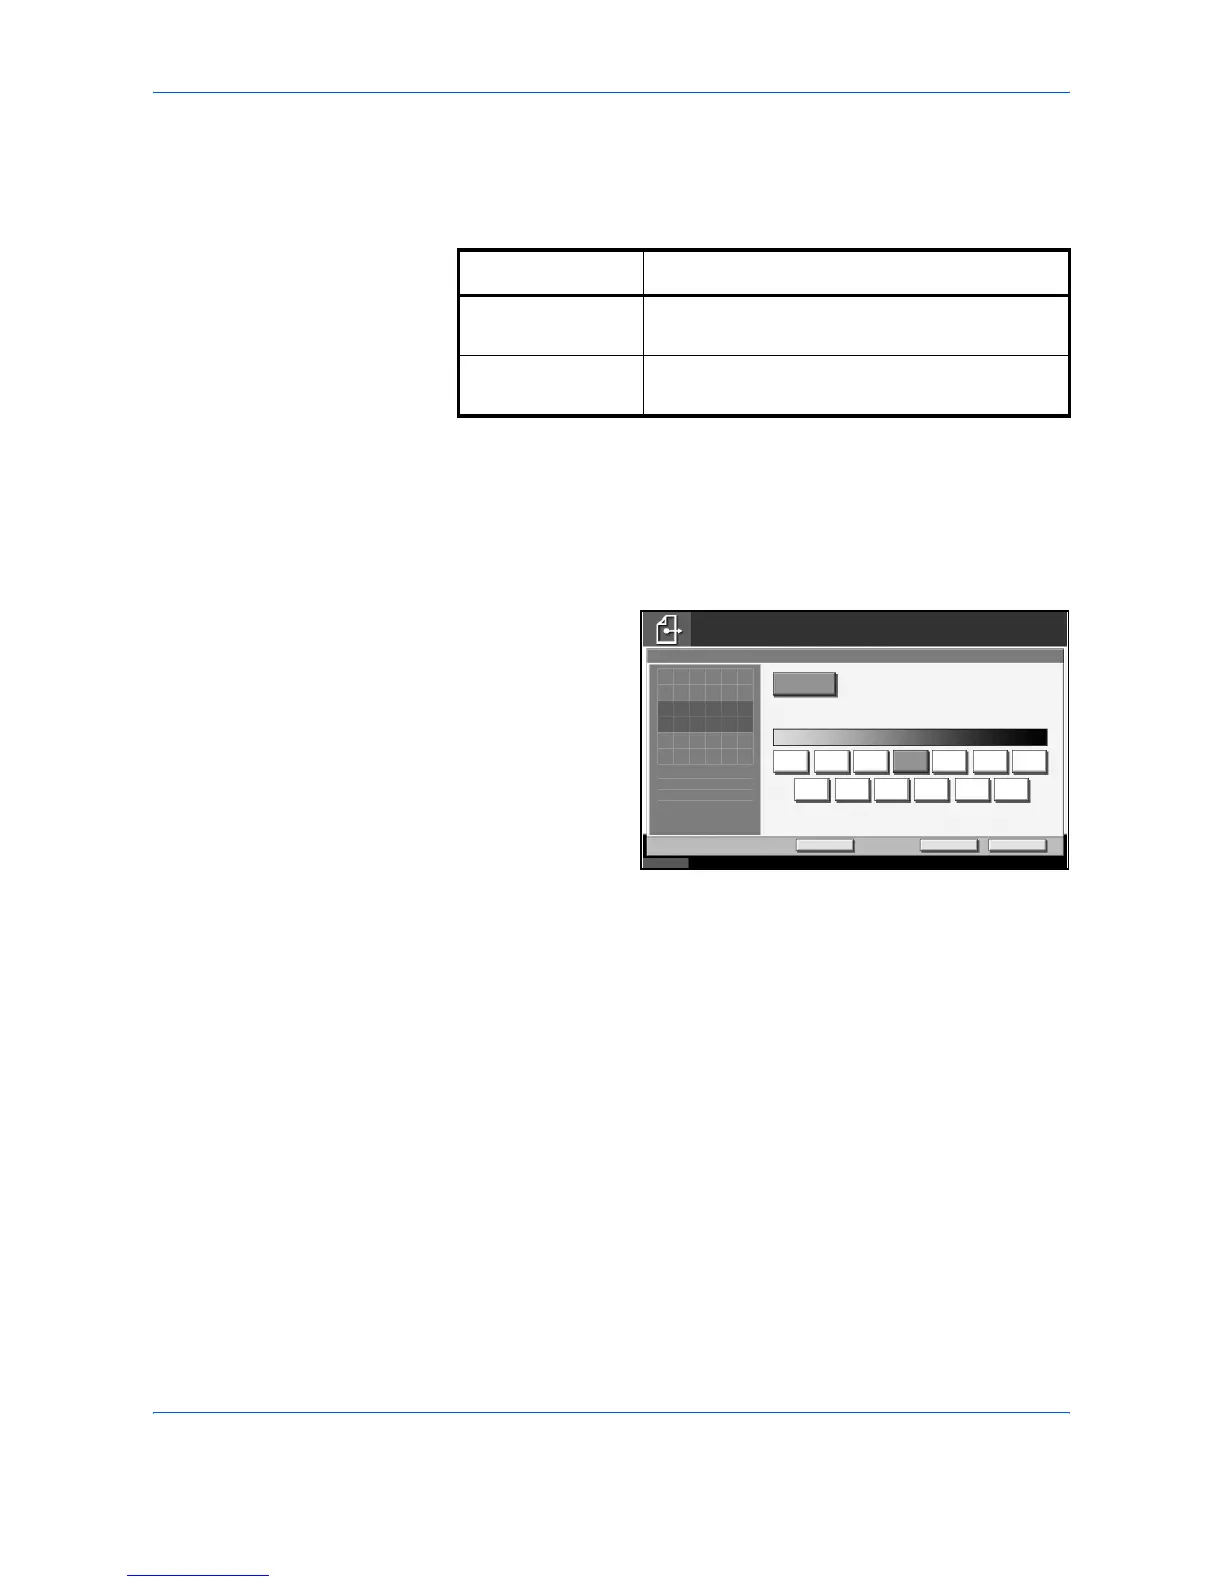
Press [Color/Image] and then [Density].
3
When selecting manual density adjustment, press [-3]-[+3] (Lighter -
Darker) to adjust density.
When selecting auto
density adjustment,
press [Auto].
4
Press [OK].
5
Specify the destination, and press the Start key to start sending.
Item Detail
Manual density
adjustment
Can set density using 7 or 13 levels.
Auto density
adjustment
Can set the optimal scan density according to
the density of original.
Status 10/5/2006 10:10
Ready to send.
Destination
Add Shortcut Cancel OK
Darker
Density
Auto
0 +1 +2 +3-1-2-3
1
NormalLighter
-2.5 -1.5 -0.5 +0.5 +1.5 +2.5
Enter Destination.
Press [OK] to display
the image.