Service Parts Disassembly
Phaser 3330 and WorkCentre 3335/3345 Xerox Internal Use Only
Service Manual
4-82
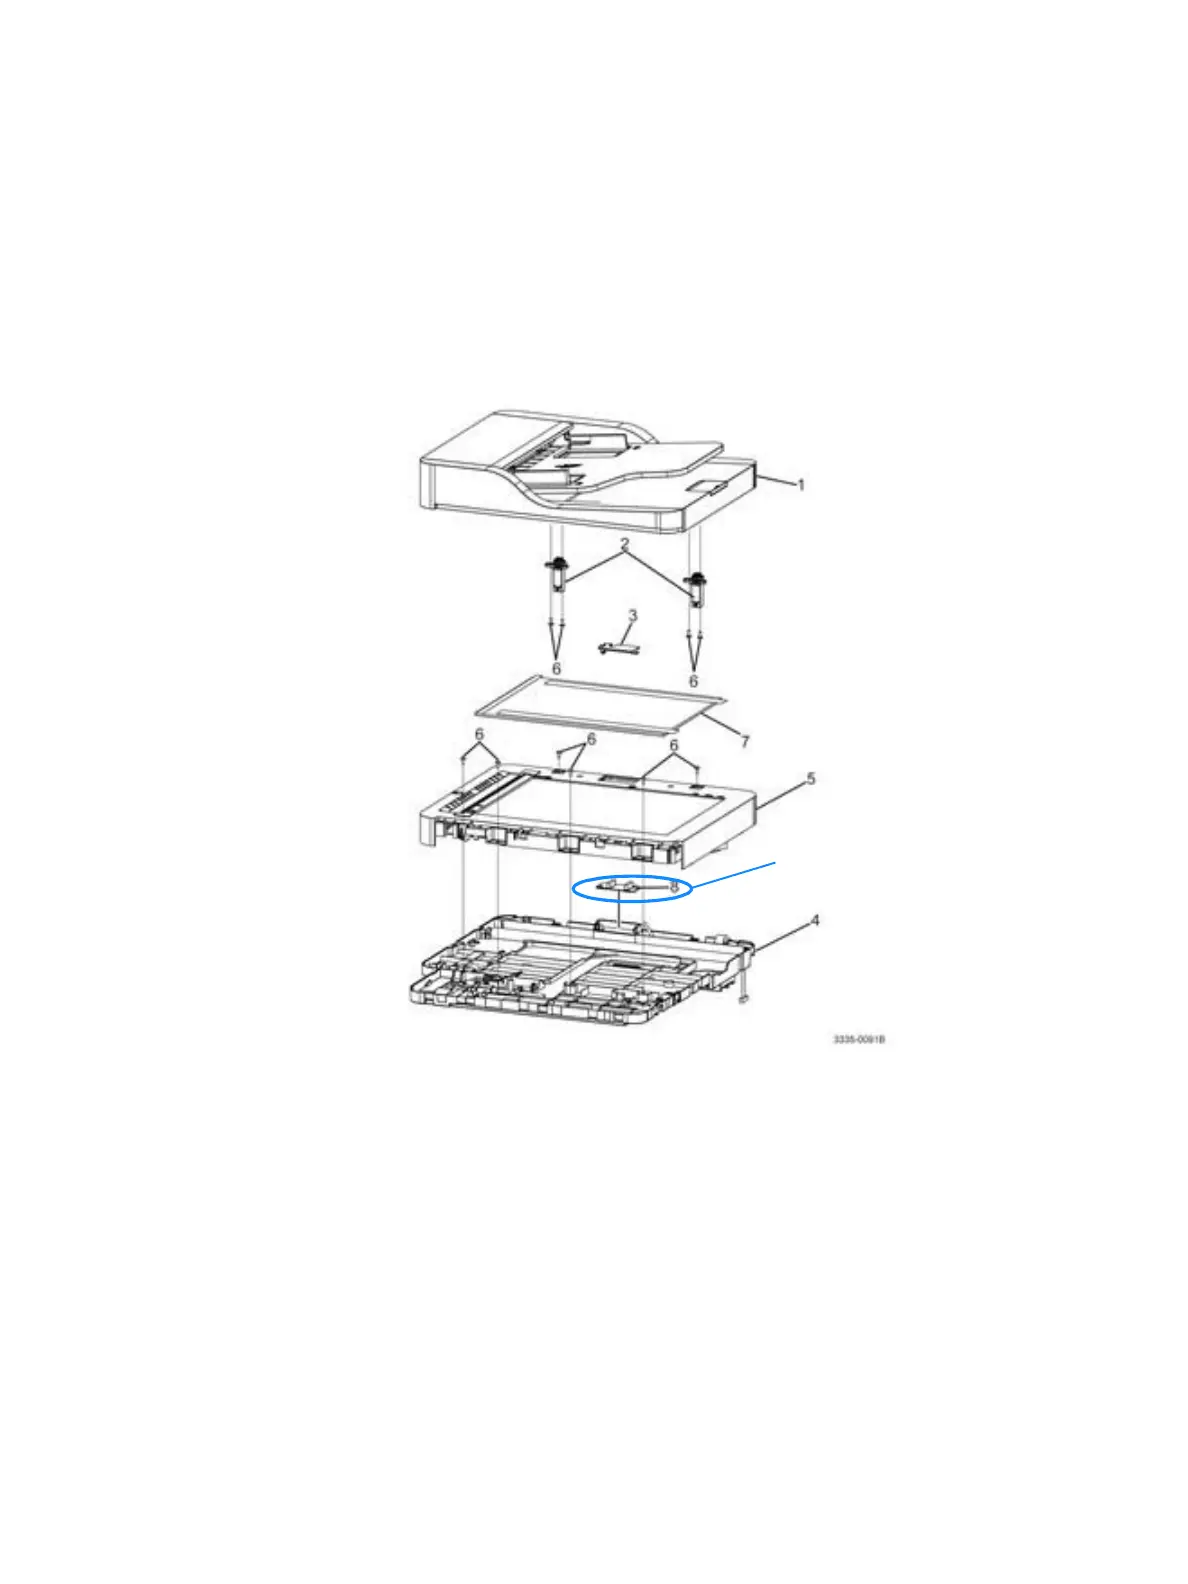
ADF Board
Parts List 7.1 WorkCentre 3335 SCANNER and ADF
1. Remove the Scanner (page 4-103).
2. Remove the Upper Platen (page 4-105).
3. Remove the A4 Middle Platen (page 4-107).
4. Disconnect P/J1 on the ADF Board (Parts List 7.1A WorkCentre 3335 ADF, PL 7.1.8).
5. Remove 2 screws (silver, flanged, tap, 10 mm) and remove the ADF Board (Parts List 7.1A
WorkCentre 3335 ADF, PL 7.1.8).
Upper and Lower CRUM Holders and CRUM Terminal
Parts List 3.1 Frame (1 of 2)
WARNING: Do not perform repair activities with the power on or electrical power supplied to the
machine. The machine could activate and cause serious personal injury when the power is on or
electrical power is supplied.
1. Do steps 1-4 in the Preparation section (page 4-3).
2. Undock the printer from the optional Tray 2 Base. (page 4-8).
3. Remove the Front Door (page 4-13).

 Loading...