PERIODIC MAINTENANCE
3-11
6. After selecting the cylinder number, simulta-
neously press the “TCS” button “1” and “RE-
SET” button “2” for 2 seconds or more to
execute the selection.
7. Change the CO adjustment volume “3” by
pressing the “TCS” button or “RESET” but-
ton.
The CO adjustment volume appears on the
multi-function meter right display.
• To decrease the CO adjustment volume, press
the “RESET” button.
• To increase the CO adjustment volume, press
the “TCS” button.
8. Simultaneously press the “TCS” button and
“RESET” button to return to the cylinder num-
ber selection (step 5).
9. Turn the main switch to “OFF” to cancel the
mode.
EAS1MC1035
CHECKING THE AIR INDUCTION SYSTEM
Refer to “CHECKING THE AIR INDUCTION
SYSTEM” on page 7-17.
EAS21070
CHECKING THE CRANKCASE BREATHER
HOSE
1. Remove:
• Rider seat
Refer to “GENERAL CHASSIS” on page 4-1.
• Fuel tank
Refer to “FUEL TANK” on page 7-1.
• T-bar
• Air filter case
Refer to “GENERAL CHASSIS” on page 4-1.
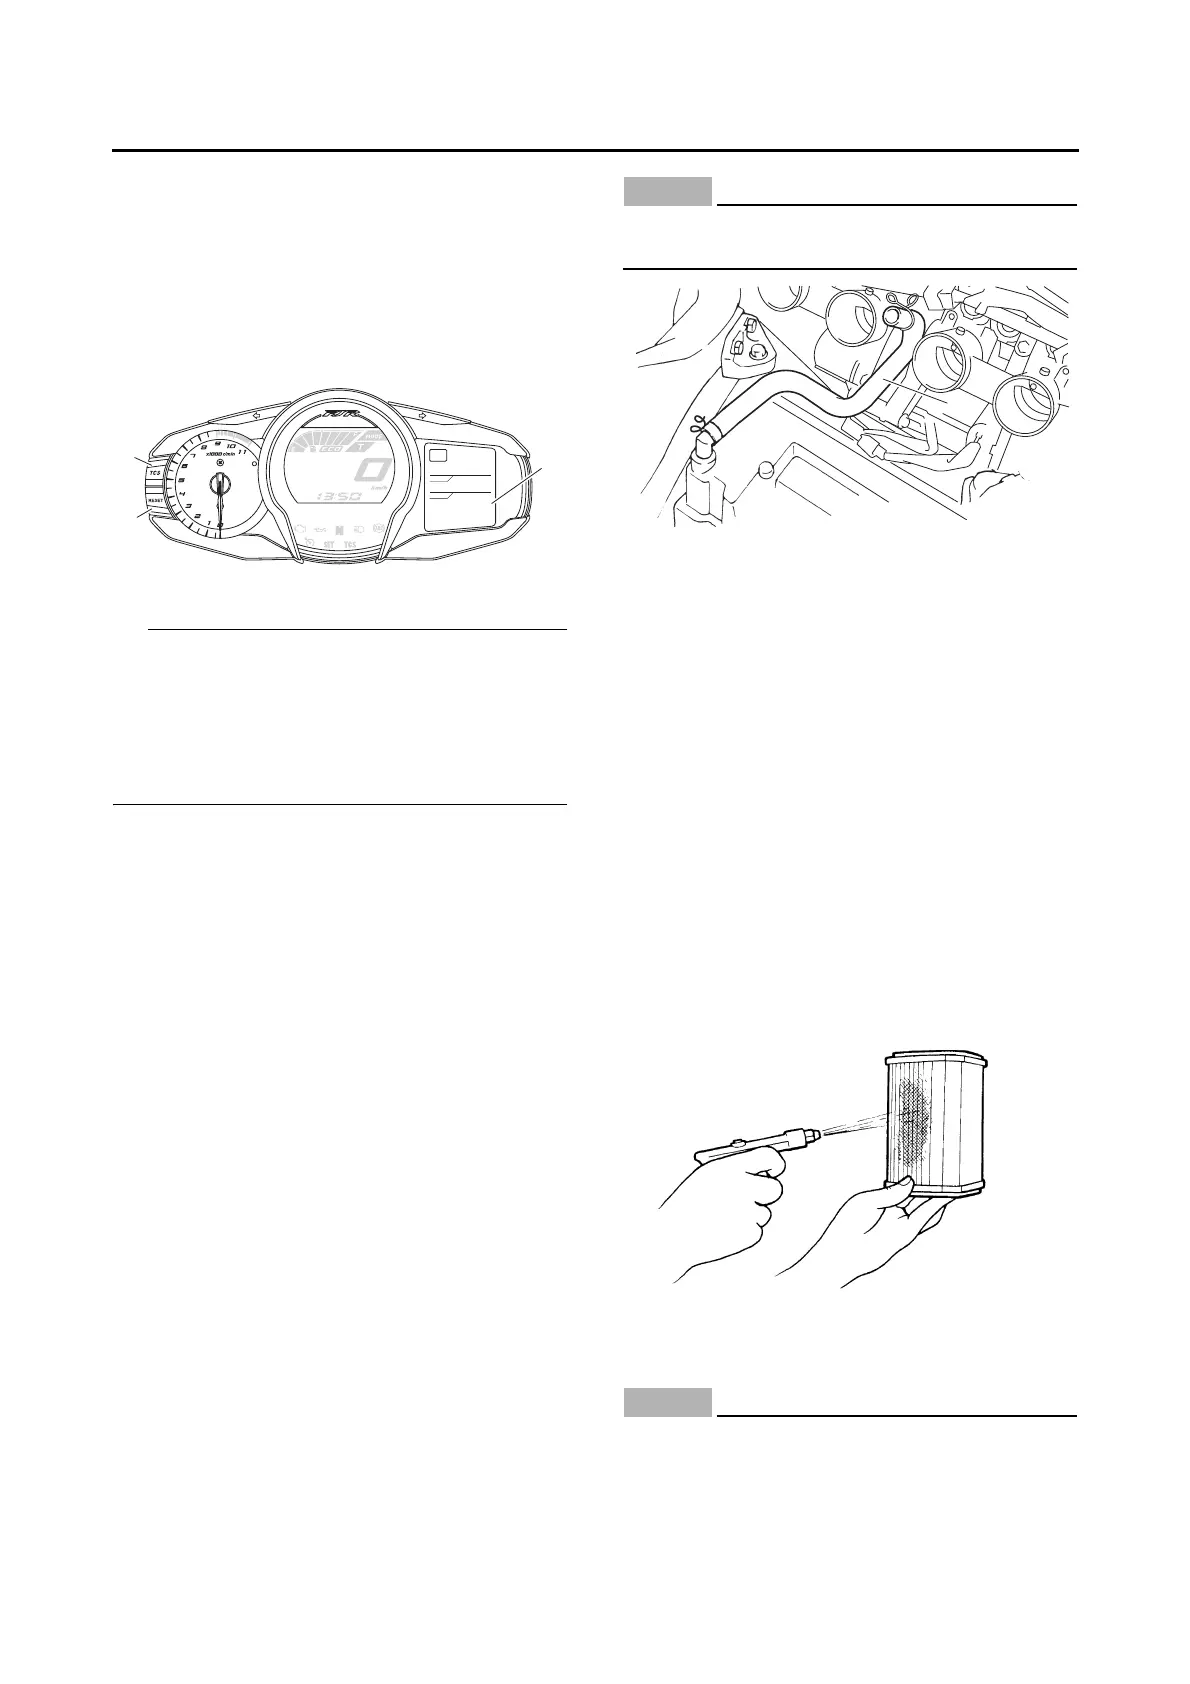
2. Check:
• Crankcase breather hose “1”
Cracks/damage → Replace.
Loose connection → Connect properly.
ECA13450
Make sure the crankcase breather hose is
routed correctly.
3. Install:
• Air filter case
• T-bar
Refer to “GENERAL CHASSIS” on page 4-1.
• Fuel tank
Refer to “FUEL TANK” on page 7-1.
• Rider seat
Refer to “GENERAL CHASSIS” on page 4-1.
EAS20920
CLEANING THE AIR FILTER ELEMENT
1. Remove:
• Left side cover
• Air filter case cover
• Air filter element
Refer to “GENERAL CHASSIS” on page 4-1.
2. Clean:
• Air filter element
Apply compressed air to the outer surface of
the air filter element.
3. Check:
• Air filter element
Damage → Replace.
EC3P61043
Never operate the engine without the air filter
element installed. Unfiltered air will cause
rapid wear of engine parts and may damage
the engine. Operating the engine without the