WATER PUMP
6-12
EAS26510
DISASSEMBLING THE WATER PUMP
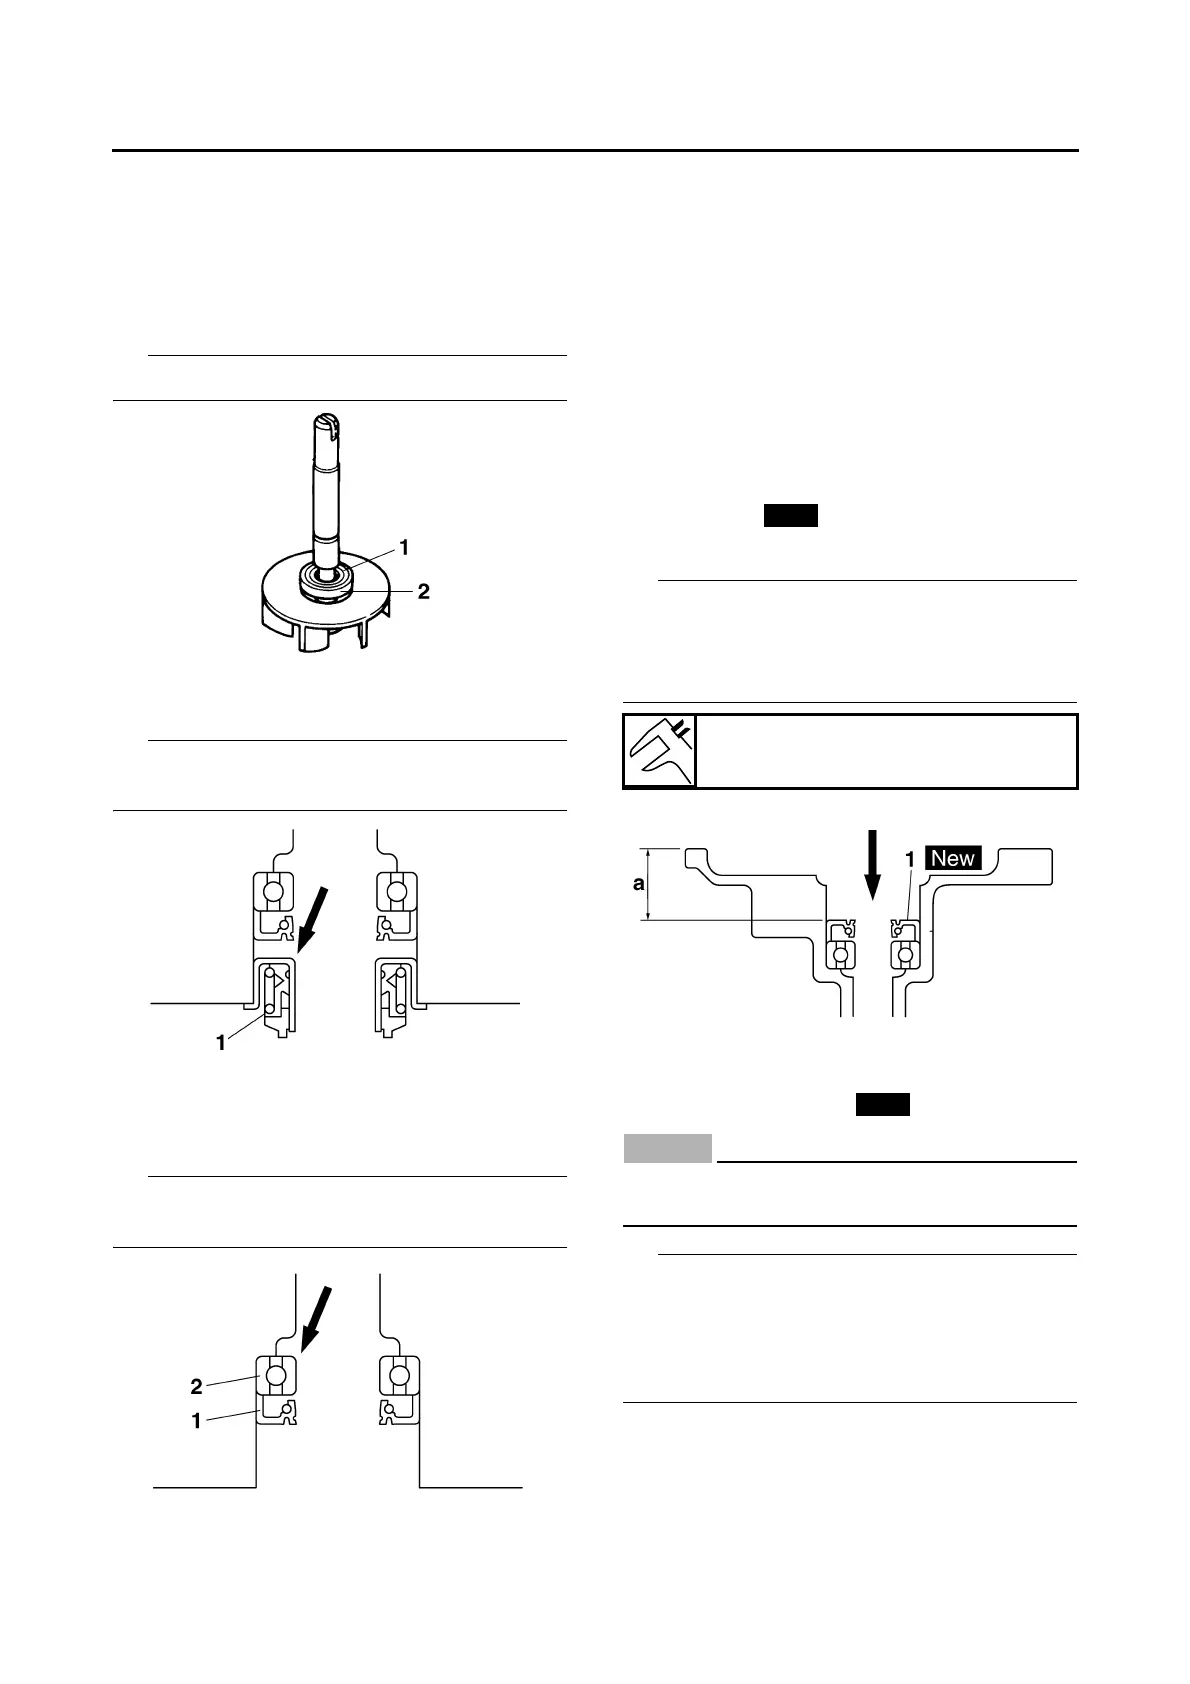
1. Remove:
• Rubber damper holder “1”
• Rubber damper “2”
(from the impeller, with a thin, flat-head
screwdriver)
Do not scratch the impeller shaft.
2. Remove:
• Water pump seal “1”
Remove the water pump seal from the inside of
the water pump housing.
3. Remove:
• Oil seal “1”
• Bearing “2”
Remove the bearing and oil seal from the inside
of the water pump housing.
EAS26540
CHECKING THE WATER PUMP
1. Check:
• Water pump housing cover
• Water pump housing
• Impeller shaft
Cracks/damage/wear → Replace.
2. Check:
• Bearing
Rough movement → Replace.
EAS26560
ASSEMBLING THE WATER PUMP
1. Install:
• Oil seal “1”
(into the water pump housing)
• Before installing the oil seal, apply tap water or
coolant onto its outer surface.
• Install the oil seal with a socket that matches its
outside diameter.
2. Install:
• Water pump seal “1”
ECA14080
Never lubricate the water pump seal surface
with oil or grease.
• Install the water pump seal with the special
tools.
• Before installing the water pump seal, apply
Yamaha bond No.1215 (Three Bond
No.1215®) “2” to the water pump housing “3”.
Installed depth of oil seal “a”
20.7–21.2 mm (0.81–0.83 in)