REAR BRAKE
4-57
Always install new brake pads, brake pad shims,
and brake pad springs as a set.
▼▼▼▼ ▼ ▼▼▼▼▼▼▼▼▼ ▼ ▼▼▼▼ ▼ ▼▼▼▼ ▼ ▼▼▼▼▼▼▼
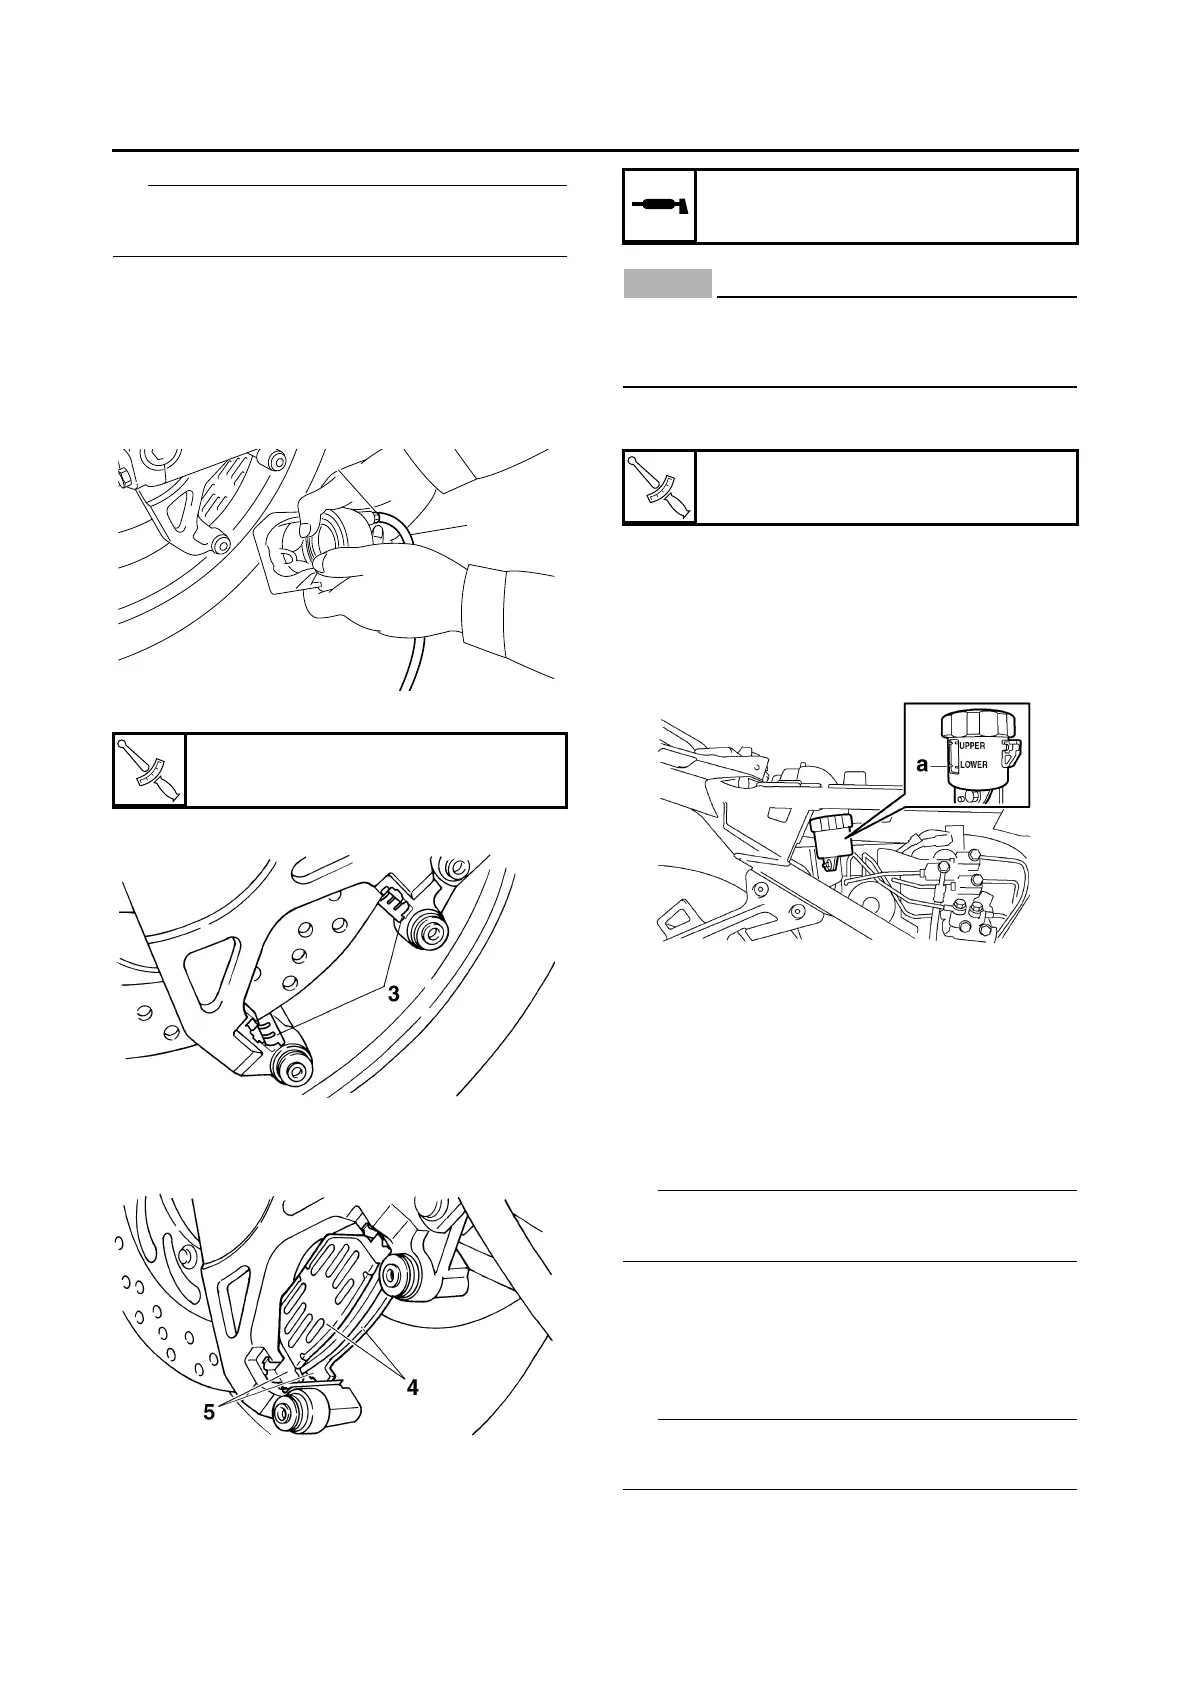
a. Connect a clear plastic hose “1” tightly to the
bleed screw “2”. Put the other end of the hose
into an open container.
b. Loosen the bleed screw and push the brake
caliper pistons into the brake caliper with your
finger.
c. Tighten the bleed screw.
d. Install new brake pad springs “3”.
e. Install a new brake pad shim “4” onto each
new brake pad “5”.
f. Install new brake pads.
▲▲▲▲ ▲ ▲▲▲▲▲▲▲▲▲ ▲ ▲▲▲▲ ▲ ▲▲▲▲ ▲ ▲▲▲▲▲▲▲
3. Lubricate:
• Rear brake caliper bolt
ECA3P6D017
• Do not allow grease to contact the brake
pads.
• Remove any excess grease.
4. Install:
• Rear brake caliper
5. Check:
• Brake fluid level
Below the minimum level mark “a” → Add the
specified brake fluid to the proper level.
Refer to “CHECKING THE BRAKE FLUID
LEVEL” on page 3-14.
6. Check:
• Brake pedal operation
Soft or spongy feeling → Bleed the brake sys-
tem.
Refer to “BLEEDING THE HYDRAULIC
BRAKE SYSTEM (ABS)” on page 3-14.
EAS22590
REMOVING THE REAR BRAKE CALIPER
Before disassembling the brake caliper, drain
the brake fluid from the entire brake system.
1. Remove:
• Brake hose union bolt “1”
• Copper washers “2”
• Brake hose (proportioning valve to rear brake
caliper) “3”
Put the end of the brake hose into a container
and pump out the brake fluid carefully.
Bleed screw
6 Nm (0.6 m·kg, 4.3 ft·lb)
Recommended lubricant
Silicone grease
Rear brake caliper bolt
27 Nm (2.7 m·kg, 19 ft·lb)