PERIODIC MAINTENANCE
3-32
EAS1MC1047
CHECKING THE SWITCHES, LIGHTS AND
SIGNALS
1. Check that all switches operate and that all
lights come on.
Refer to “INSTRUMENT AND CONTROL
FUNCTIONS” in Owner’s manual.
Faulty → Refer to “CHECKING THE
SWITCHES” on page 8-169 and “CHECK-
ING THE BULBS AND BULB SOCKETS” on
page 8-172.
EAS21810
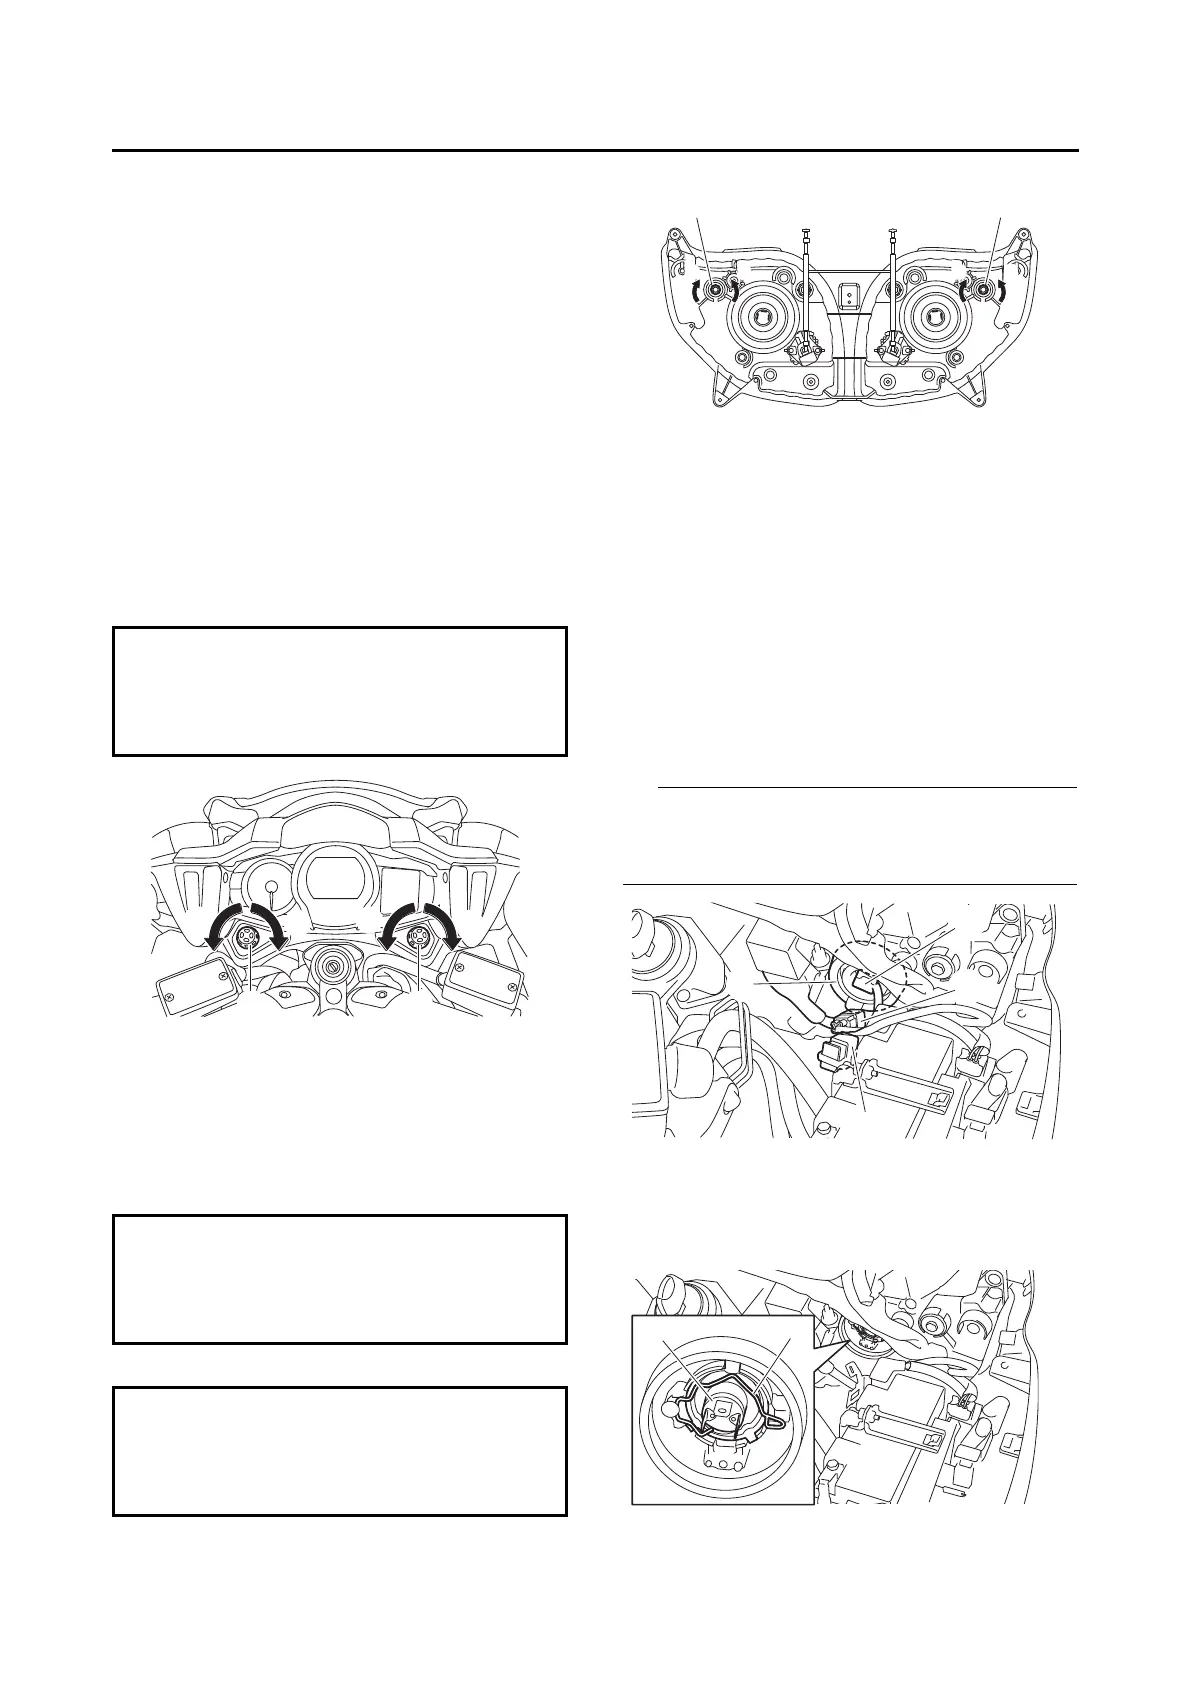
ADJUSTING THE HEADLIGHT BEAMS
1. Adjust:
• Headlight beam (vertically)
▼▼▼▼ ▼ ▼▼▼▼▼▼▼▼▼ ▼ ▼▼▼▼ ▼ ▼▼▼▼ ▼ ▼▼▼▼▼▼▼
a. Turn the adjusting knobs “1” in direction “a” or
“b”.
▲▲▲▲ ▲ ▲▲▲▲▲▲▲▲▲ ▲ ▲▲▲▲ ▲ ▲▲▲▲ ▲ ▲▲▲▲▲▲▲
2. Adjust:
• Headlight beam (horizontally)
▼▼▼▼ ▼ ▼▼▼▼▼▼▼▼▼ ▼ ▼▼▼▼ ▼ ▼▼▼▼ ▼ ▼▼▼▼▼▼▼
a. Turn the adjusting screws “1” in direction “a”
or “b”.
Left headlight
Right headlight
▲▲▲▲ ▲ ▲▲▲▲▲▲▲▲▲ ▲ ▲▲▲▲ ▲ ▲▲▲▲ ▲ ▲▲▲▲ ▲▲▲
EAS21790
REPLACING THE HEADLIGHT BULBS
The following procedure applies to both of the
headlight bulbs.
1. Remove:
• Right upper inner panel
• Left side cowling
Refer to “GENERAL CHASSIS” on page 4-1.
2. Disconnect:
• Headlight coupler “1”
3. Remove:
• Headlight bulb cover “2”
When removing the right headlight bulb cover, it
is necessary to remove the ABS test coupler “3”
and main fuse holder “4”.
4. Detach:
• Headlight bulb holder “1”
5. Remove:
• Headlight bulb “2”
Direction “a”
Headlight beam is raised.
Direction “b”
Headlight beam is lowered.
Direction “a”
Headlight beam moves to the left.
Direction “b”
Headlight beam moves to the right.
Direction “a”
Headlight beam moves to the right.
Direction “b”
Headlight beam moves to the left.
b a b a
11
2
1
3
4
21