GENERATOR AND STARTER CLUTCH
5-34
b. When turning the starter clutch gear clock-
wise “A”, the starter clutch and the starter
clutch gear should engage, otherwise the
starter clutch is faulty and must be replaced.
c. When turning the starter clutch gear counter-
clockwise “B”, it should turn freely, otherwise
the starter clutch is faulty and must be re-
placed.
▲▲▲▲ ▲ ▲▲▲▲▲▲▲▲▲ ▲ ▲▲▲▲ ▲ ▲▲▲▲ ▲ ▲▲▲▲▲▲▲
EAS24600
INSTALLING THE STARTER CLUTCH
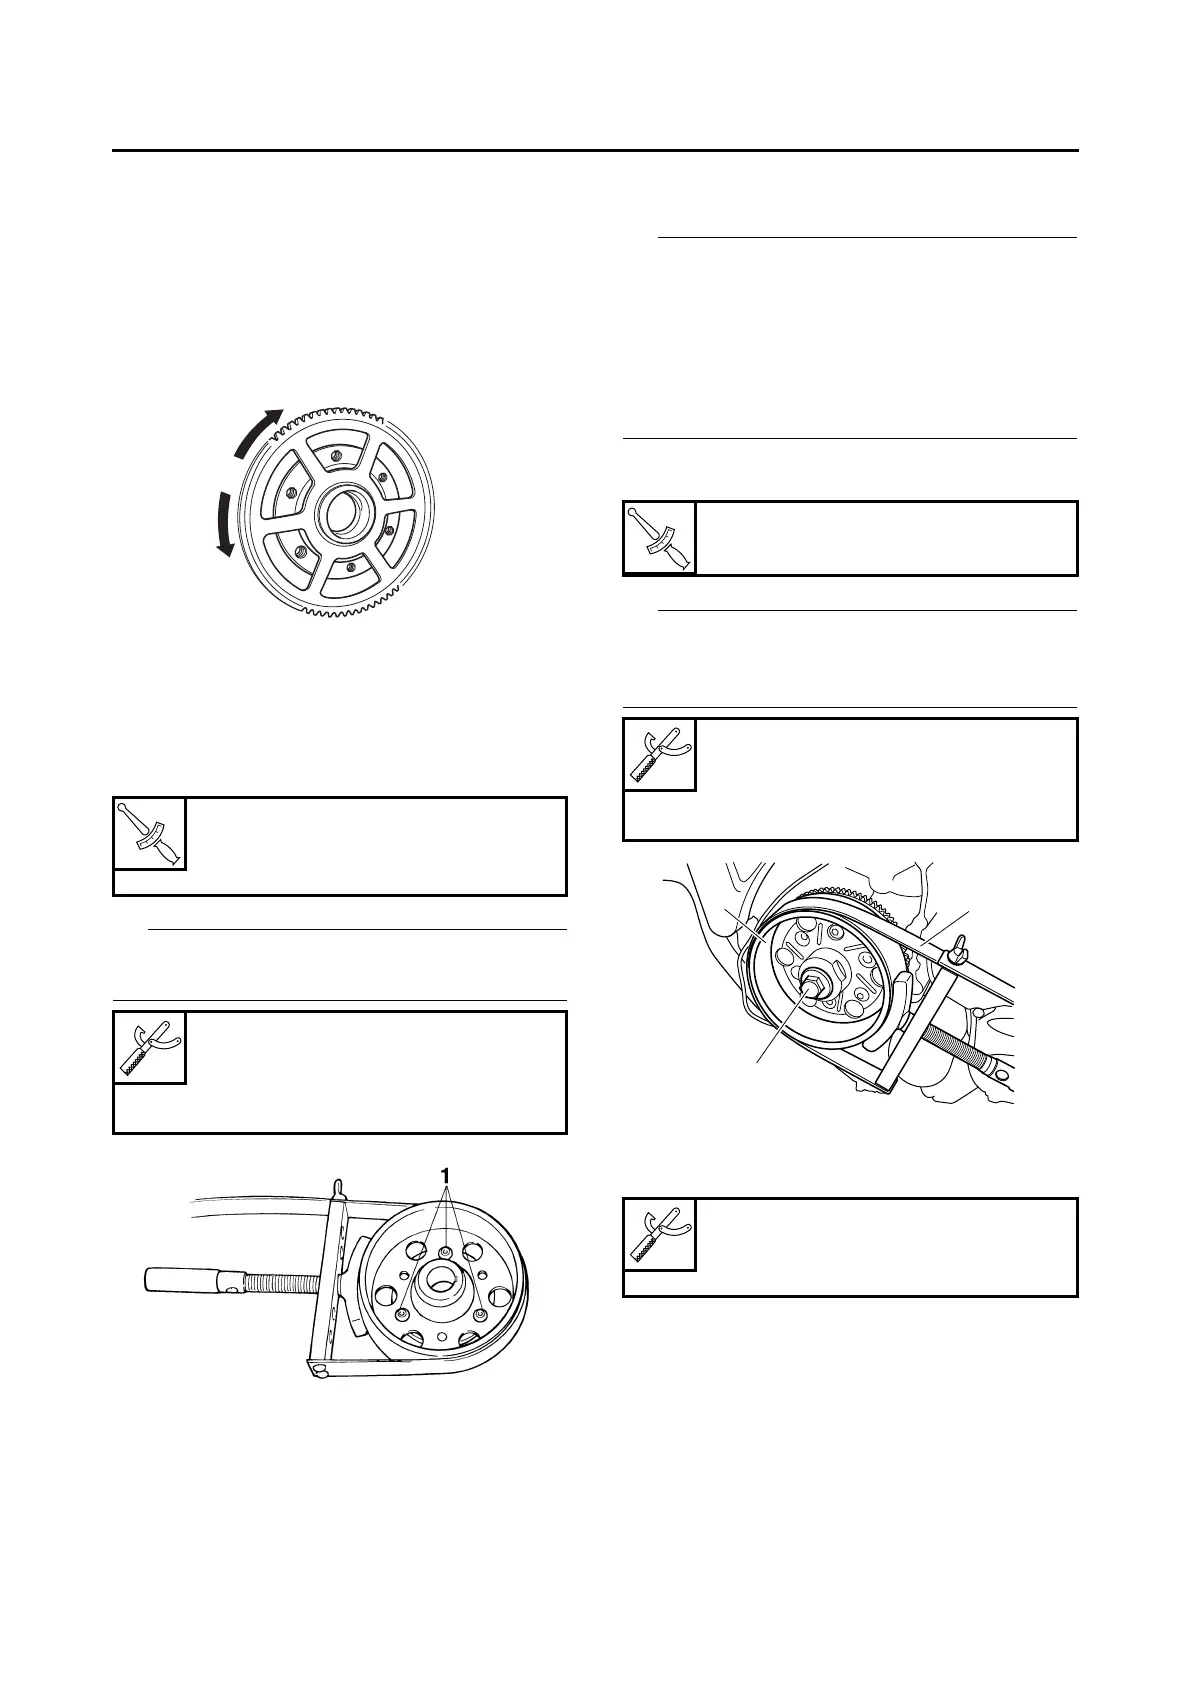
1. Install:
• Starter clutch
• Starter clutch bolts “1”
While holding the generator rotor with the
sheave holder, tighten the starter clutch bolts.
EAS24500
INSTALLING THE GENERATOR
1. Install:
• Woodruff key
• Generator rotor
• Washer
• Generator rotor bolt
• Clean the tapered portion of the crankshaft and
the generator rotor hub.
• When installing the generator rotor, make sure
the woodruff key is properly seated in the key-
way of the crankshaft.
• Lubricate the generator rotor bolt threads and
washer mating surfaces with engine oil.
2. Tighten:
• Generator rotor bolt “1”
While holding the generator rotor “2” with the
sheave holder “3”, tighten the generator rotor
bolt.
3. Apply:
• Sealant
(onto the stator coil assembly lead grommet)
Starter clutch bolt
32 Nm (3.2 m·kg, 23 ft·lb)
LOCTITE®
Sheave holder
90890-01701
Primary clutch holder
YS-01880-A
Generator rotor bolt
130 Nm (13.0 m·kg, 94 ft·lb)
Sheave holder
90890-01701
Primary clutch holder
YS-01880-A
Yamaha bond No. 1215
90890-85505
(Three Bond No.1215®)