HANDLEBARS
4-79
EAS22890
CHECKING THE HANDLEBARS
1. Check:
• Left handlebar
• Right handlebar
Bends/cracks/damage → Replace.
EWA13690
Do not attempt to straighten a bent handle-
bar as this may dangerously weaken it.
EAS22900
INSTALLING THE HANDLEBARS
1. Stand the vehicle on a level surface.
EWA13120
Securely support the vehicle so that there is
no danger of it falling over.
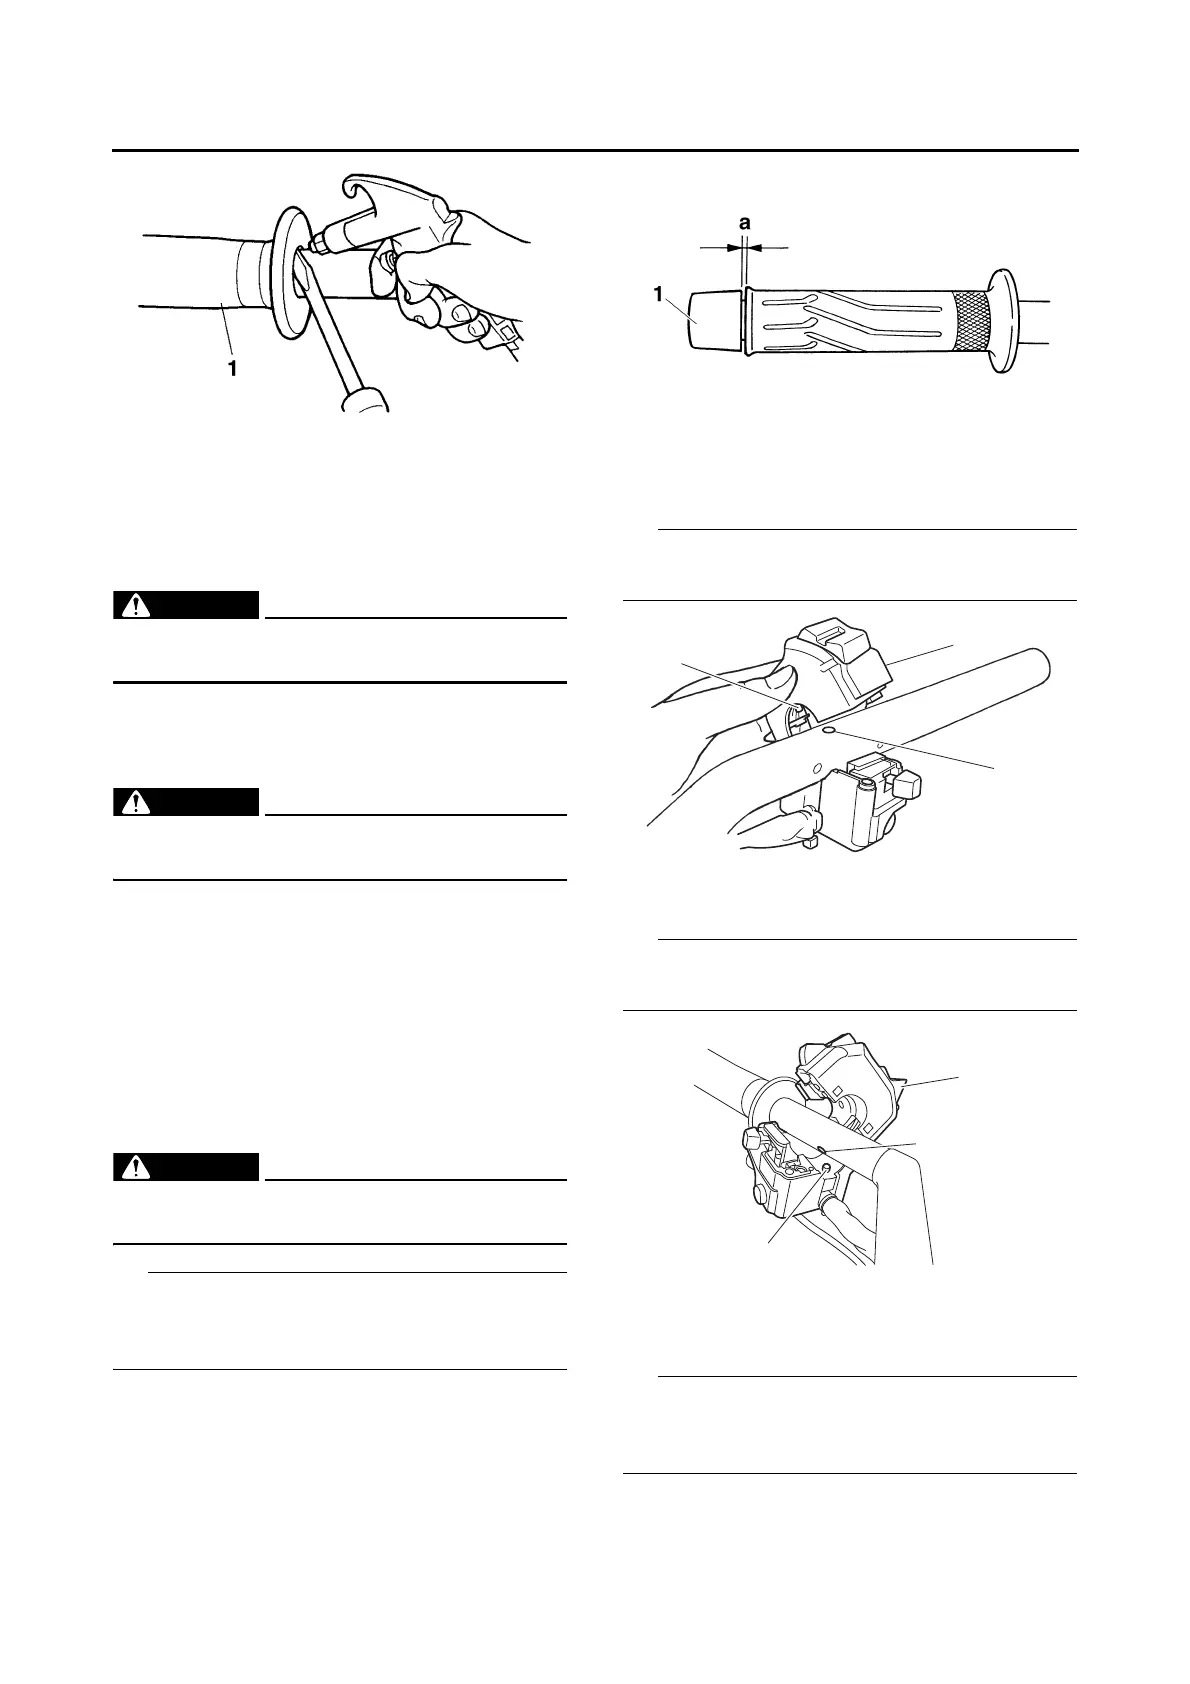
2. Install:
• Handlebar grip
• Grip end “1”
▼▼▼▼ ▼ ▼▼▼▼▼▼▼▼▼ ▼ ▼▼▼▼ ▼ ▼▼▼▼ ▼ ▼▼▼▼▼▼▼
a. Apply a thin coat of rubber adhesive onto the
end of the left handlebar.
b. Slide the handlebar grip onto the left handle-
bar.
c. Wipe off any excess rubber adhesive with a
clean rag.
EWA13700
Do not touch the handlebar grip until the rub-
ber adhesive has fully dried.
There should be 1–3 mm (0.04–0.12 in) of clear-
ance “a” between the handlebar grip and the grip
end.
▲▲▲▲ ▲ ▲▲▲▲▲▲▲▲▲ ▲ ▲▲▲▲ ▲ ▲▲▲▲ ▲ ▲▲▲▲ ▲▲▲
3. Install:
• Right handlebar switch “1”
Align the projection “a” on the right handlebar
switch with the hole “b” on the right handlebar.
4. Install:
• Left handlebar switch “1”
Align the projection “a” on the left handlebar
switch with the hole “b” on the left handlebar.
5. Install:
• Right handlebar
• Left handlebar
Fit the projections on each handlebar into the
holes in the upper bracket, making sure that the
handlebars are installed in the same position.
b
a
1