ptg
183
to manually locate the files on your hard drive to preview the
presentation.
•
Use the CD package to produce les you can burn to a CD. The
les include an autorun feature, which starts the presentation
automatically.
•
Adobe Connect Pro, to render the project and store it in a speci-
fied server location. You can also select whether to upload the
source presentation and its components, such as audio, video, and
attachments.
•
Adobe PDF, to render the project as a SWF le embedded in a PDF
document.
Here’s how to publish your presentation as a PDF document:
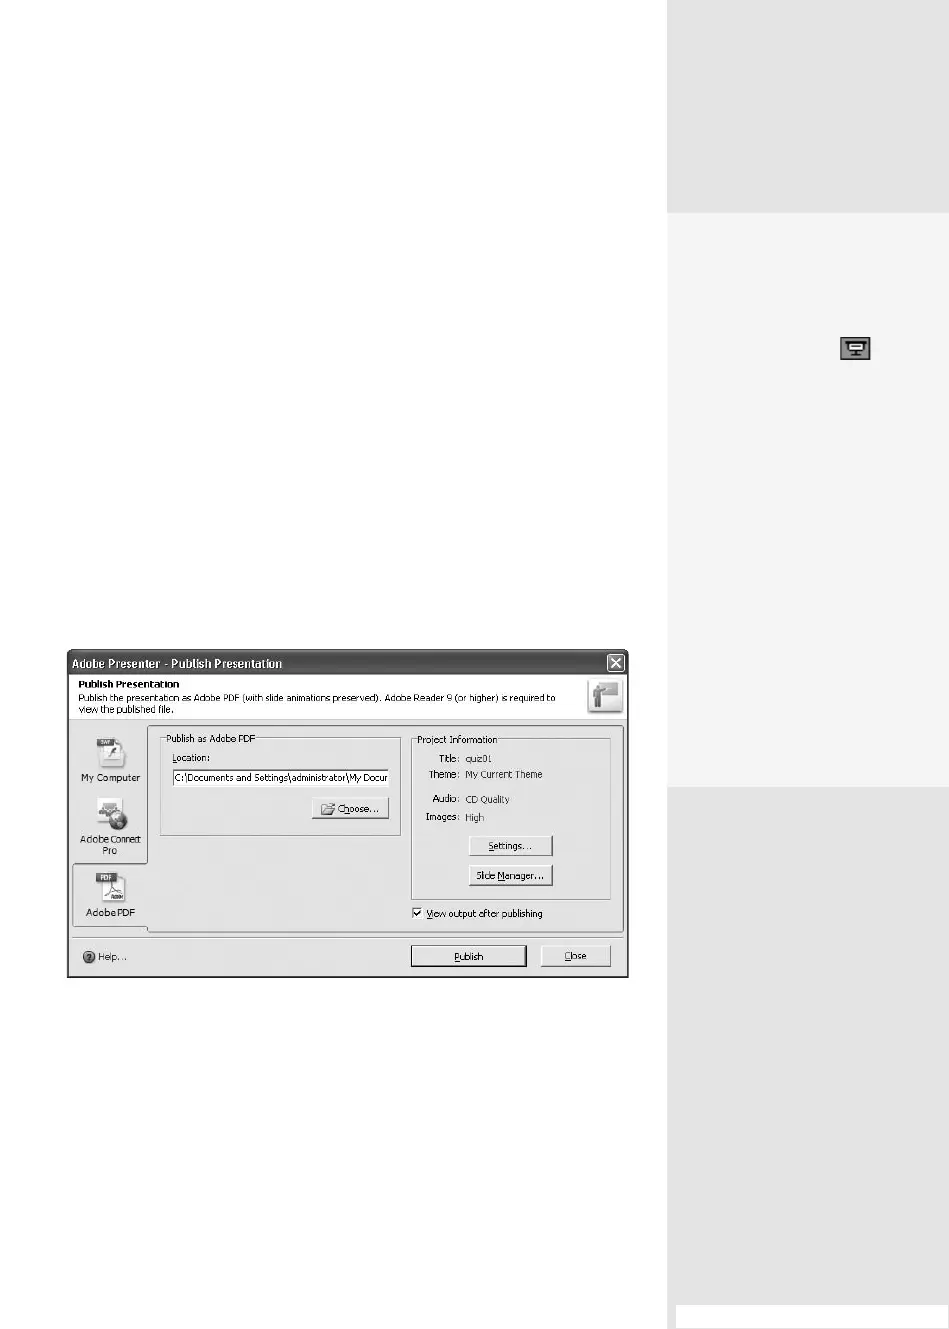
1. Open your presentation in PowerPoint, and choose Adobe Presenter >
Publish to display the Publish Presentation dialog (Figure 69b).
Figure 69b Choose output settings and publish the finished presentation.
2. Click Adobe PDF at the left of the dialog to display the settings.
3. Click Choose to open a browse dialog to select the location where you
want to store the publication. Type a name for the le, and click Save
to close the dialog and return to the Publish Presentation dialog.
#69: Previewing and Publishing
Make a Quick Preview
You don’t have to wait until
you’ve finished your pres-
entation to check out how it
looks. Click View Show
in the View buttons at the
bottom of the PowerPoint
program window to run
your slide show. To evaluate
your presentation within its
SWF interface, choose one of
the My Computer or Adobe
PDF options in the Publish
Presentation dialog. Click
View output after publishing
to automatically open the
project in a Web browser (if
you choose the My Compu-
ter CD package choice)
or in Acrobat 9 or Adobe
Reader 9 (if you choose the
Adobe PDF choice).
(continued on next page)
From the Library of Daniel Dadian



 To Next Page