ptg
173
Just as you can attach all sorts of les to a PDF document (check out #24,
“Attaching Source Files to a PDF” for details) you can attach PDF les, doc-
uments, spreadsheets, other presentations, Flash les, and so on to your
presentation.
Follow these steps to add attachments to your presentation:
1. Choose Adobe Presenter > Publish Settings > Attachments and click
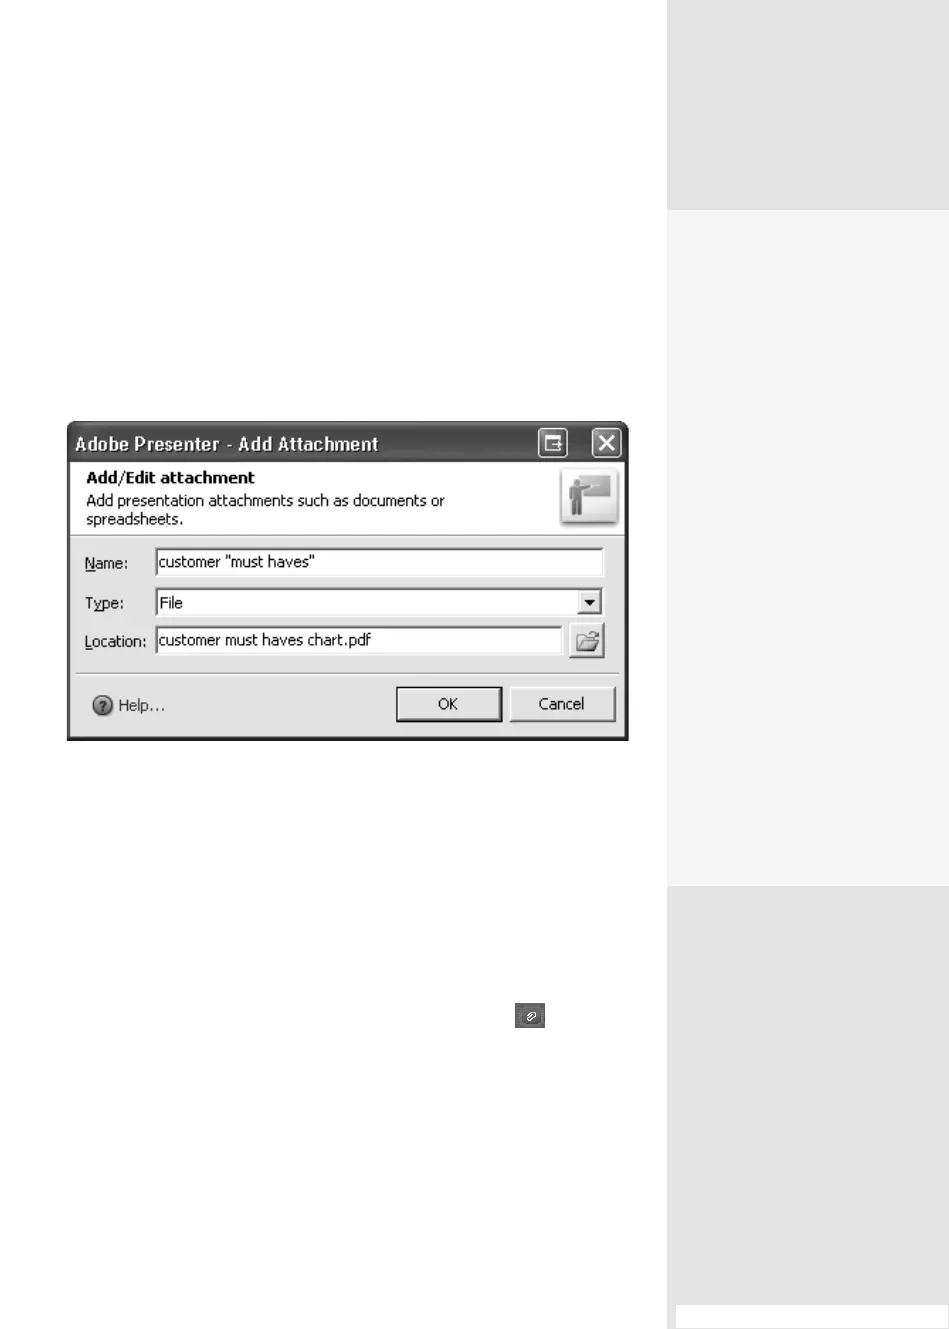
Add to open the Add Attachment dialog (Figure 66a).
Figure 66a Specify characteristics of attachments or links.
2. Add a description for the attachment.
3. In the Type pop-up menu, select File or Link—click Browse to locate
and select a le to attach, or type the URL in the text box to attach a
link.
4. Click OK to close the dialog and list the attachment in the dialog.
5. Click Add again, and attach other les as required.
When the presentation is rendered, click Attachments in the Add
Attachment dialog to see the list of content attached or linked to the pre-
sentation (Figure 66b).
#66: Including Attachments
Including Attachments
#
66
Testing, Testing, 1-2-3
Broken links are undoubt-
edly one of digital life’s
greatest irritations. Make
sure that doesn’t happen in
your Presenter publications.
Once you’ve added your
links, save the presentation,
and then publish it (learn
how in #69, “Previewing and
Publishing”). When the pres-
entation displays in your
Web browser, Acrobat 9, or
Adobe Reader 9, start test-
ing links. Fortunately, if there
are broken links, it’s simple
to repair them. If you see a
message that starts “Can-
not find ‘file://c:\Documents
and Settings…\resources\
[lename],’” open the path
in Internet Explorer and look
for your missing file. Copy or
move the file into the sub-
folder. Republish and try
again.
From the Library of Daniel Dadian



 To Next Page