ptg
59
#23: Creating a PDF from a Clipboard Image
Starting and Stopping
When you have configured or chosen a scan preset in Acrobat, the settings
remain as is until you change them again. Not only that, but once you have
made a preset, the next time you start a scan—whether you are in your current
Acrobat session or have reopened the program another time—all you have to
do is choose the command from the Create drop-down menu and the scan is
started automatically.
Make Mine Custom (Windows)
Acrobat offers an opportunity to create custom scan presets. Click the Create
PDF task button and choose PDF from Scanner > Custom Scan to open a dialog
containing the settings shown in Figure 22a, as well as the options shown in
Figure 22b. For a custom scan preset, along with choosing configuration set-
tings for the actual scan, you specify a destination for the scanned page, either
to a new file or appended to the active document displayed in the program
window. If you prefer, click Browse to open a Select File dialog and locate and
select a file to which you want the scan attached. As with the standard presets,
choose configuration and document options such as Add Metadata and Make
Searchable.
Creating a PDF from
a Clipboard Image
#
23
Your computer’s operating system maintains a storage area called a
clipboard. Content you select and copy or cut from a document is placed
on the clipboard, and you can then paste it into another location or
another document. You have two ways of using the clipboard contents
in Acrobat: creating a new le or adding the clipboard contents to an
existing le.
Creating a new document is a simple process. Select and copy the
image or text you want to use for a PDF document in your source program.
In Acrobat, click the Create task button and choose PDF from Clipboard
from the menu. The image is converted to PDF and opens in Acrobat.
You can use the image in an existing PDF document as an image stamp
rather than making a separate PDF le for an image. Copy the image to
your system clipboard and follow these steps:
1. Open the PDF document you want to work with in Acrobat and then
choose Tools > Comment & Markup > Paste Clipboard Image as Stamp
Tool.
2. Move your mouse over the document. You see the pointer changes to
a stamp pointer . Click the page where you would like to insert the
image, and the image is pasted to the page. The location on the page
where you click determines the center location of the pasted image.
3. The stamp pointer changes to the Hand tool. If you want to make
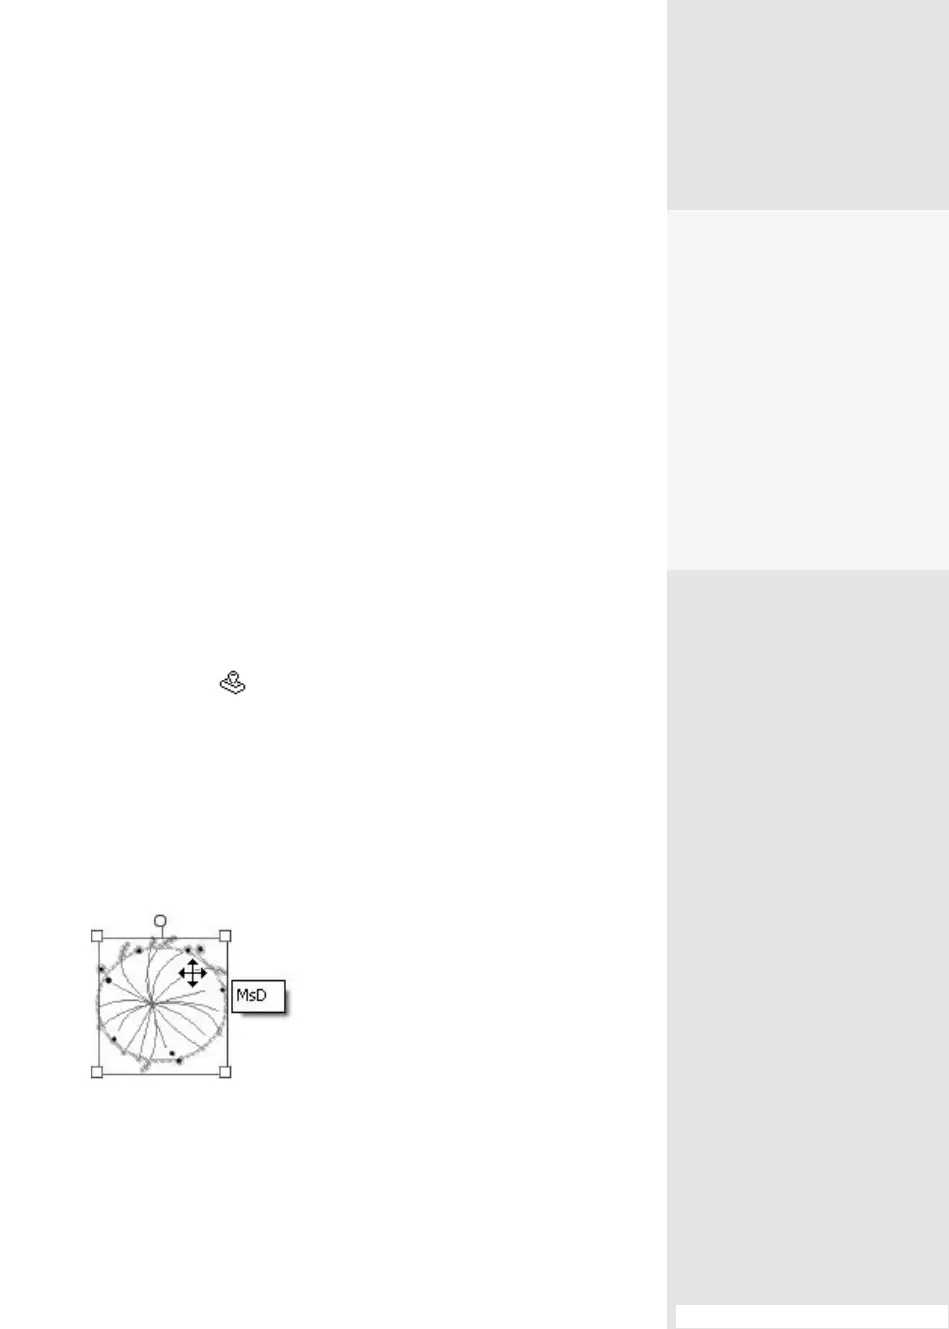
adjustments, move the pointer over the stamp and click the image on
the page to select it (Figure 23). You can drag the image to move it, or
drag a resize handle to change the size of the image. Save the le with
the added image.
Figure 23 Resize or move the
pasted image on the page as you like.
Watch Out for
Photoshop Layers
If you are using a layered
Photoshop image, only the
selected layer is pasted to
the clipboard; you have to
flatten the image first before
copying it to the clipboard.
Rather than use a layered
Photoshop image copied to
the clipboard, it is simpler to
work in Photoshop and use
the File > Export command.
From the Library of Daniel Dadian