ptg
C H A P T E R S I X T E E N Making Your Documents Secure
332
Security policies work in a similar way to building and using styles for text,
and you can create policies for passwords and certicates. If you work in
an enterprise environment, you may have Adobe Policy Server, a separate
Adobe Server product that manages security policies.
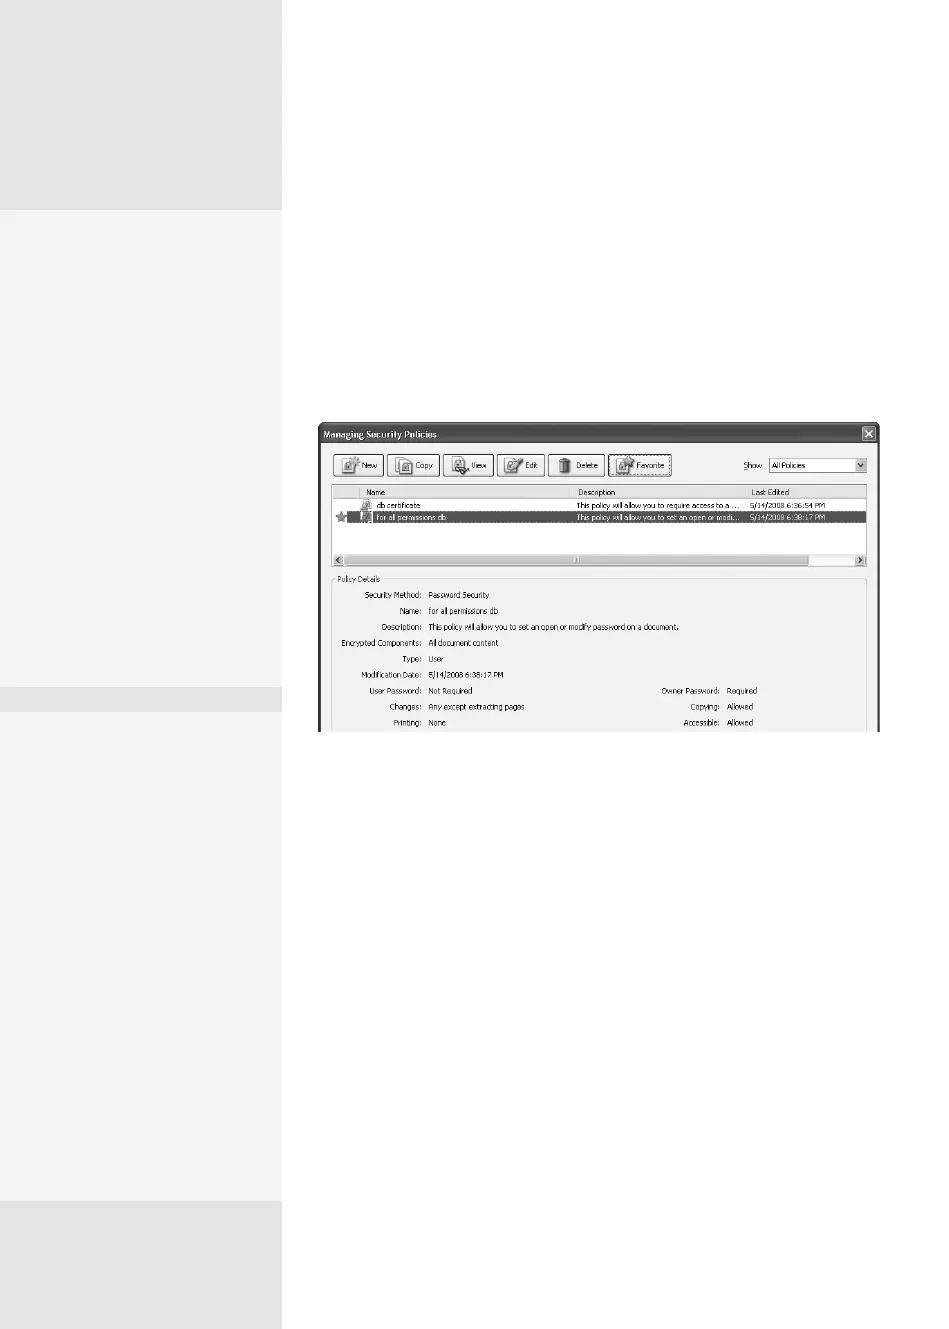
1. Click the Secure task button and choose Manage Security Policies or
choose Advanced > Security > Manage Security Policies to open the
Managing Security Policies dialog (Figure 123).
Figure 123 Add, remove, edit, and otherwise manage your security policies in this dialog.
2. Click New to open the New Security Policy wizard. The steps involved
in creating each type of policy are listed at the left of the window. All
types use the same initial screen for choosing a security type, all use a
General settings screen, and all have a Summary screen at the end of
the wizard.
3. Follow through the wizard to complete the policy. Click Cancel at the
bottom of the window at any time to exit the wizard.
Here are some tips to keep in mind as you construct and work with
policies:
•
When you are creating password policies, be aware of the password
inclusion option in the General settings. Deselect “Save passwords
with the policy” if you want to specify a password and restrictions each
time you use the policy.
Creating and Managing
Security Policies
#
123
Naming Names
When you are creating cer-
tificate policies, decide in
advance if you want to gen-
erate policies for a specific
group of people on a regu-
lar basis, or if you need to
send documents to different
people at different times.
When creating or editing a
Public Key certificate policy,
check the option “Ask for
recipients when applying
this policy” in the General
settings window of the wiz-
ard to generate a different
list of recipients each time
you apply the policy.
Make It a Favorite
In many workflows, you often
use the same policy over
and over. Rather than open-
ing the dialogs and choosing
the policy each time, save a
couple of mouse clicks and
define a policy as a favorite.
In the Managing Security Pol-
icies dialog, click the policy
in the listing at the top of the
dialog, and then click Favorite
on the dialog’s toolbar. Any
policies you define as Favor-
ites show a star at the left
of their listing in the dialog.
When you close the policies
(continued on next page)
From the Library of Daniel Dadian