ptg
C H A P T E R N I N E Building Content with Adobe Presenter
172
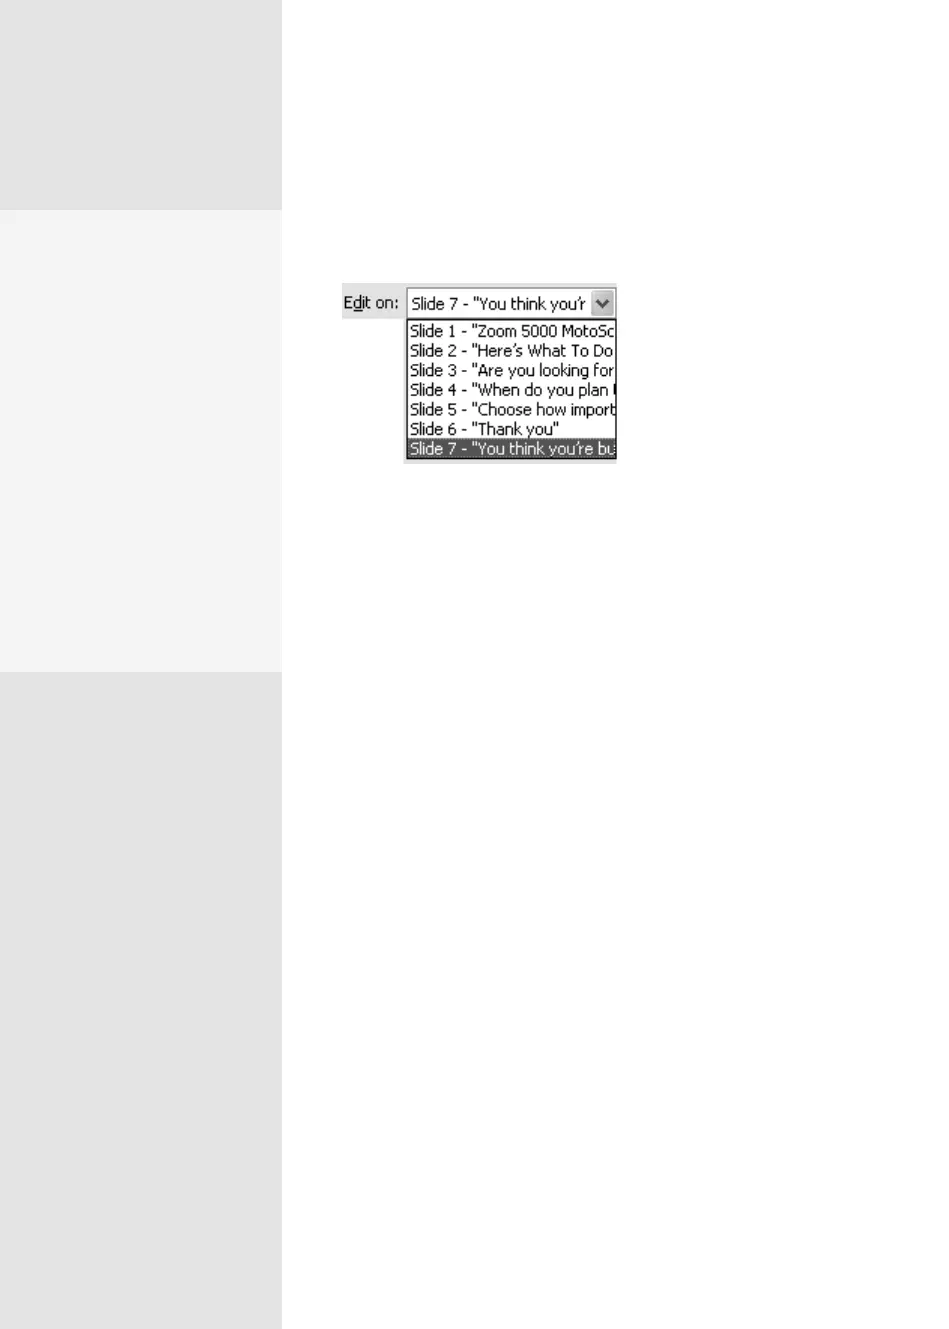
5. To edit another slide’s video, choose the slide’s name from the Edit on
pop-up list (Figure 65c).
Figure 65c Select a slide from the list to
edit its video.
6. Continue until you’ve nished your edits, and then click OK to close the
dialog.
7. Save the le. To view the video, you can either render the project or
choose View > Slideshow from the PowerPoint menu.
Last—but certainly not least—add Flash SWF and FLV (Flash video)
to your presentation for some extra interest and excitement, following
these steps:
1. Select Adobe Presenter > Insert Flash. Locate and select the SWF le.
2. In the Import Options, choose a slide from the Import On pop-up menu,
and specify whether to add the content as a slide or sidebar animation.
3. Click Open to dismiss the Insert Flash dialog, and add your SWF to the
slide, positioned at the center. Click and drag to reposition the le if
you like.
4. Repeat the process to insert other content on other slides.
Tip
If you want to preview the SWF content, choose View > Slideshow from
the PowerPoint menu.
Stamp Your
Own Brand
Another location to use a
SWF file is in the finished
project. Replace the Adobe
logo in the lower-left cor-
ner on the published inter-
face with your own logo or
branding information.
Design or resize a copy of
your logo at 47 x 27 pixels
and save it as logo.swf in the
Presenter templates folder.
Republish your presentation
to see your custom template.
Read about publishing a
Presenter project in #69.
From the Library of Daniel Dadian