ptg
C H A P T E R F I F T E E N Controlling Action and Interaction
314
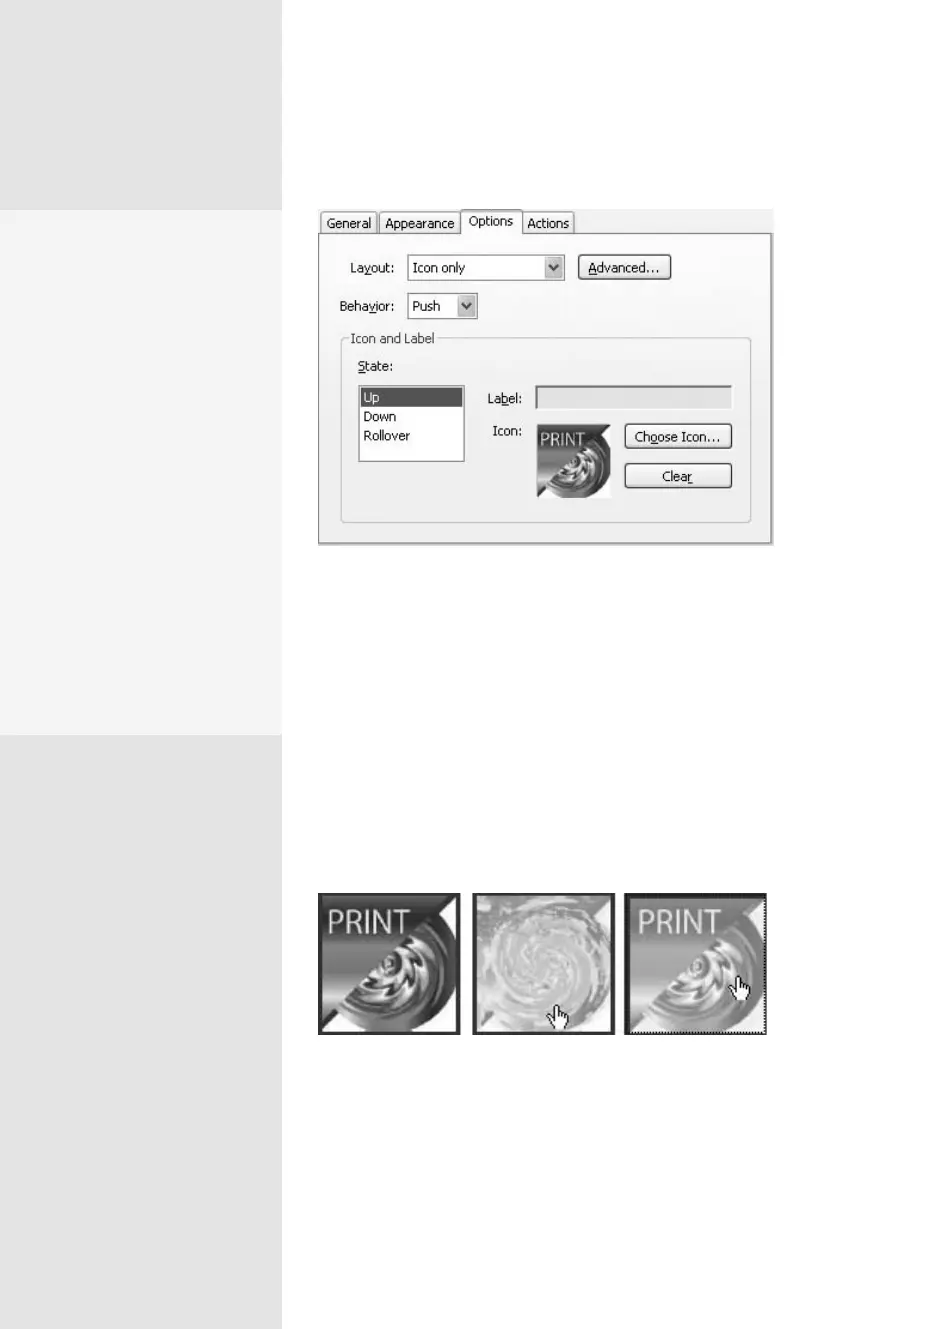
Figure 117a Specify the appearance for each state of the button using
images, text, or both.
Once you’ve set the appearance for each state, select the Actions tab
and specify both triggers and actions that you want to associate with the
button. If you want to use separate actions for separate triggers, repeat
the process and choose the appropriate trigger from the Triggers pop-up
menu.
Tip
Triggers are described in the “Mouse Actions” sidebar.
Click the dialog when you’ve nished, and test the button (Figure 117b).
Figure 117b Test the button and its states—in the figure, the left
image is the static button, the center button shows the Mouse Enter
state, and the right image shows the Mouse Down state.
Belly Up to the Toolbar
All of the tools used for modi-
fying buttons, links, and
toolbars are on the Prop-
erties toolbar. Right-click
the toolbar well at the top
of the program window
and choose Properties Bar
or use the shortcut Ctrl+E
(Command+E). If you are
working with a large number
of items, drag the toolbar into
the toolbar well to dock it.
When you click a link, book-
mark, or button, the item’s
Properties bar is active—click
More on the toolbar to open
the two-tab dialog if you
want to set actions for the
selected item.
From the Library of Daniel Dadian



 To Next Page