ptg
323
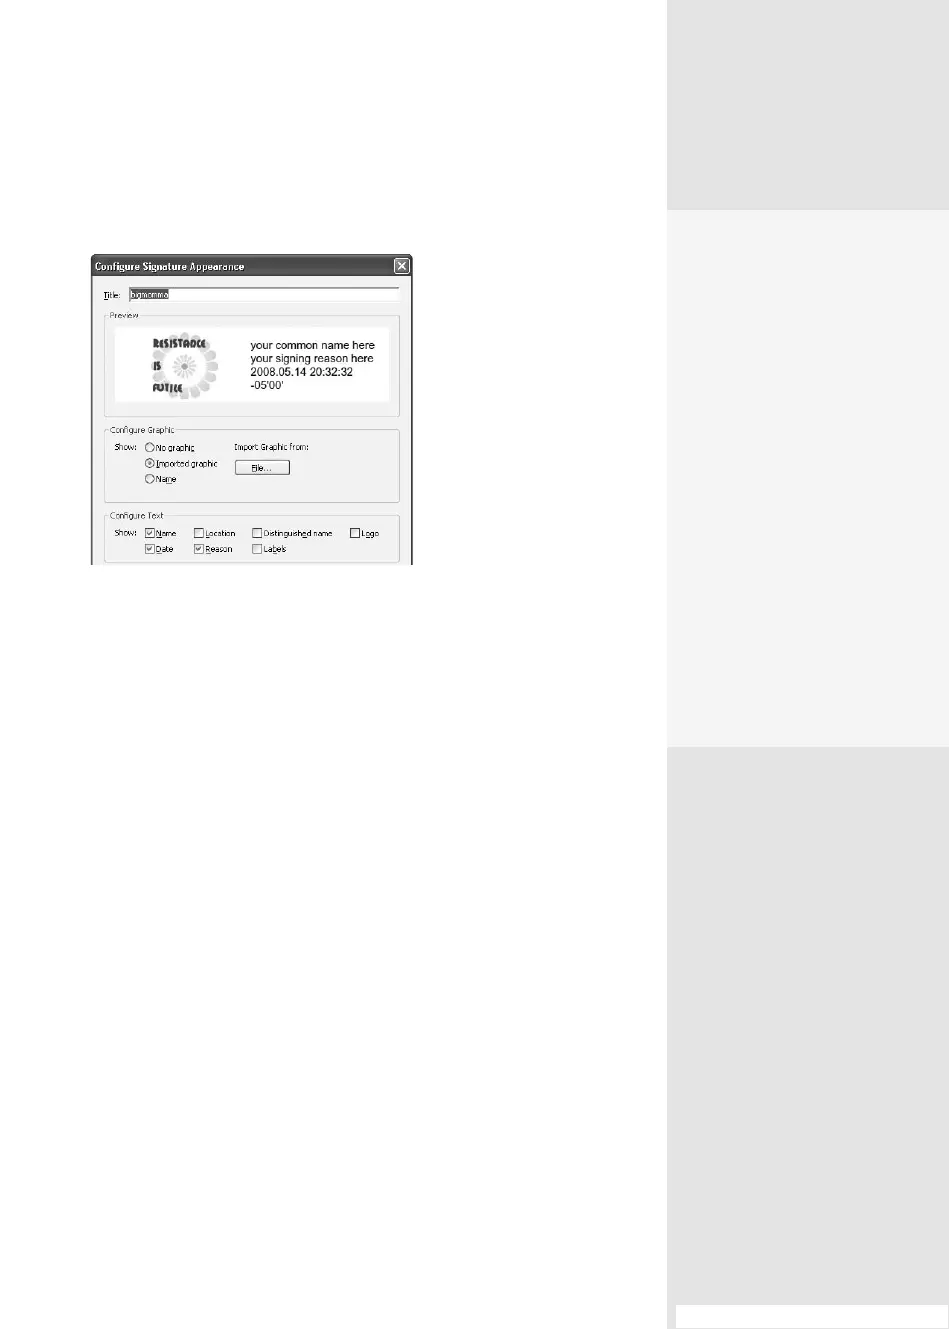
2. Enter the new signature’s description and information (Figure 120b):
Figure 120b Specify the features for the custom
signature appearance.
•
Type a title for the appearance—use a descriptive name to make it
easier to recognize.
•
Select a Congure Graphic option. You can choose to use no
graphic, an image from a le, or your name. To use an image, click
Imported graphic and then File to open a Select Picture dialog.
Locate the le and click OK to close the dialog; click OK to close
the picture’s preview.
•
Specify the text options you want to display in the Congure Text
section of the dialog. All options are selected by default. Any choices
that are deselected, such as the Reason or Date, don’t appear in the
nished signature.
•
If applicable, select a text direction and digits (not shown in the
gure).
3. Click OK to close the Congure Signature Appearance dialog. The new
signature appearance is added to the Appearance list. Click OK to close
the Preferences dialog.
#120: Creating a Digital ID Prole
•
Click Export to open
the Data Exchange
File-Exporting Contact
Information wizard. Step
through the wizard and
specify the destination
(e-mail or export), add
an optional digital sig-
nature, choose a storage
location, and review the
results; click Finish to exit
the wizard and export
the data.
•
Click Delete to remove
a selected contact or
certificate.
•
Click Show Certificate to
display the certificate con-
tents for a selected con-
tact or certificate name.
From the Library of Daniel Dadian