DD+DIS150
.06E
Repair and Service
Adjustments and Calibrations
DOCUMENT CONTROL NOTE:
The controlled version of this document resides on MedNet. Any printed copy of this document is uncontrolled.
2.3.1 Checking the Switch Position
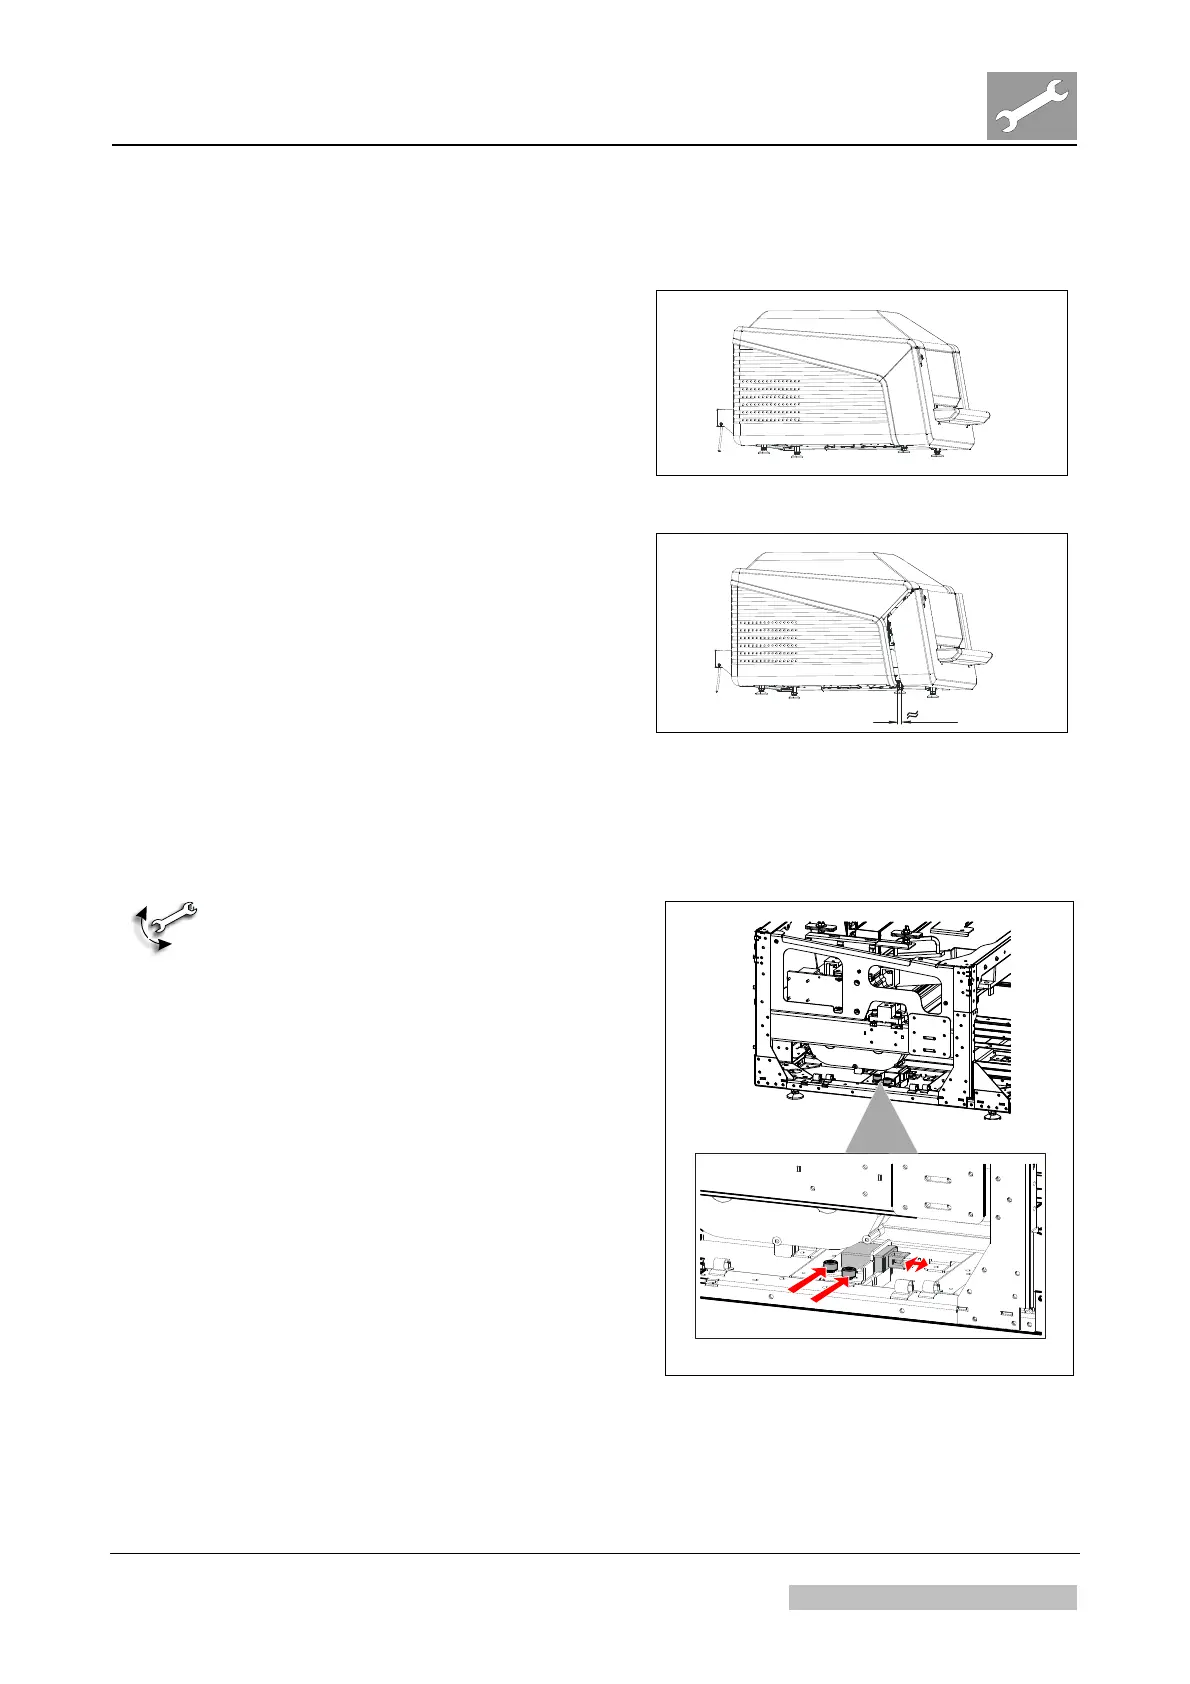
(1) Close the cassette unit.
(2) Switch the digitizer on.
(3) Check: With closed cassette unit
the switch may not interrupt the
power: The status indicator LED
lights up.
Figure 19
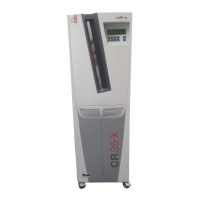
1 cm
(4) Open the cassette unit
approximately 1 cm.
(5) Check: With cassette unit opened
approximately 1 cm, the switch
must switch off the digitizer.
If it does not switch off, continue
with section 2.3.2.
Figure 20
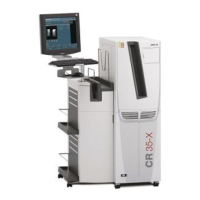
2.3.2 Adjusting the Switch Position
MECHANICAL ADJUSTMENT:
(1) Remove the power cord in the rear.
(2) Open the cassette unit.
(3) Remove the top cover. See
chapter 3.5, Replacements.
(4) Remove the left cover. See chapter
3.5, Replacements.
(5) Open the adjustment screws. See
arrows in Figure 21.
(6)
Shift the switch to the front (switch
does not close with inserted
cassette unit) or to the rear (switch
switches too late when cassette
unit is opened).
(7) Repeat the check as described in
section. 2.3.1.
(8) Mount
covers.
Figure 21
Edition 1, Revision 3 CR 30-X Chapter 3.6 / 15
10-2009 Type 5175 / 100/110 Agfa Company Confidential