7.
Close the access door.
8.
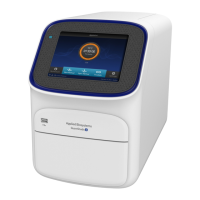
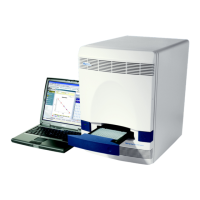
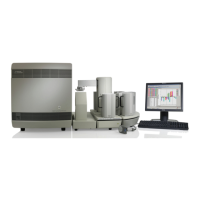
Plug in and power on the QuantStudio
™
6 or 7 Flex Real-Time PCR System.
IMPORTANT! Conrm that the access door is completely closed. The
QuantStudio
™
Real-Time PCR Softw
are displays an error message if the door is
not completely closed and latched, or if the lamp is not seated correctly.
9.
Start the QuantStudio
™
Real-Time PCR Softw
are, then perform an ROI
calibration.
While the system is running, look through grating of the access door and conrm
that the lamp is illuminated.
• If the lamp is illuminated, the lamp has been installed successfully.
• If the lamp is not illuminated, the replacement halogen lamp may be
defective. Replace the lamp again. If the second lamp does not illuminate,
check the system fuses for failure (see “Replace the instrument fuses“ on
page 103).
10.
After replacing the lamp, perform the following calibrations in the specied
order:
a.
ROI calibration
b.
Background calibration
c.
Uniformity calibration
d.
Dye calibration
e.
Normalization calibration (TaqMan
®
Array Card block only)
f.
RNase P test
Replace the instrument fuses
Replace the QuantStudio
™
6 or 7 Flex System fuses when the fuses fail.
CAUTION! FIRE HAZARD. For continued protection against the risk of re,
replace fuses only with listed and certied fuses of the same type and rating as
those currently in the QuantStudio
™
6 or 7 Flex System.
• Fuses, 12.5A, Time-Lag T, 250VAC, 5 × 20-mm (2)
•
Fuses for AU/NZ only, 6.3A, Time-Lag T, 250VAC, 5 x 20-mm (2)
• Safety glasses
• Powder-free gloves
• Screwdriver, athead
Materials required
Appendix B Maint
enance
Replace the instrument fuses
B
QuantStudio
™
6 and 7 Flex Real-Time PCR Systems v1.6 Maintenance and Administration Guide
103
 Loading...

