The QuantStudio
™
6 or 7 Flex System passes the installation specication if the
inequality holds and the instrument successfully distinguishes betw
een unknown
populations A and B with a statistical condence level of 99.7%.
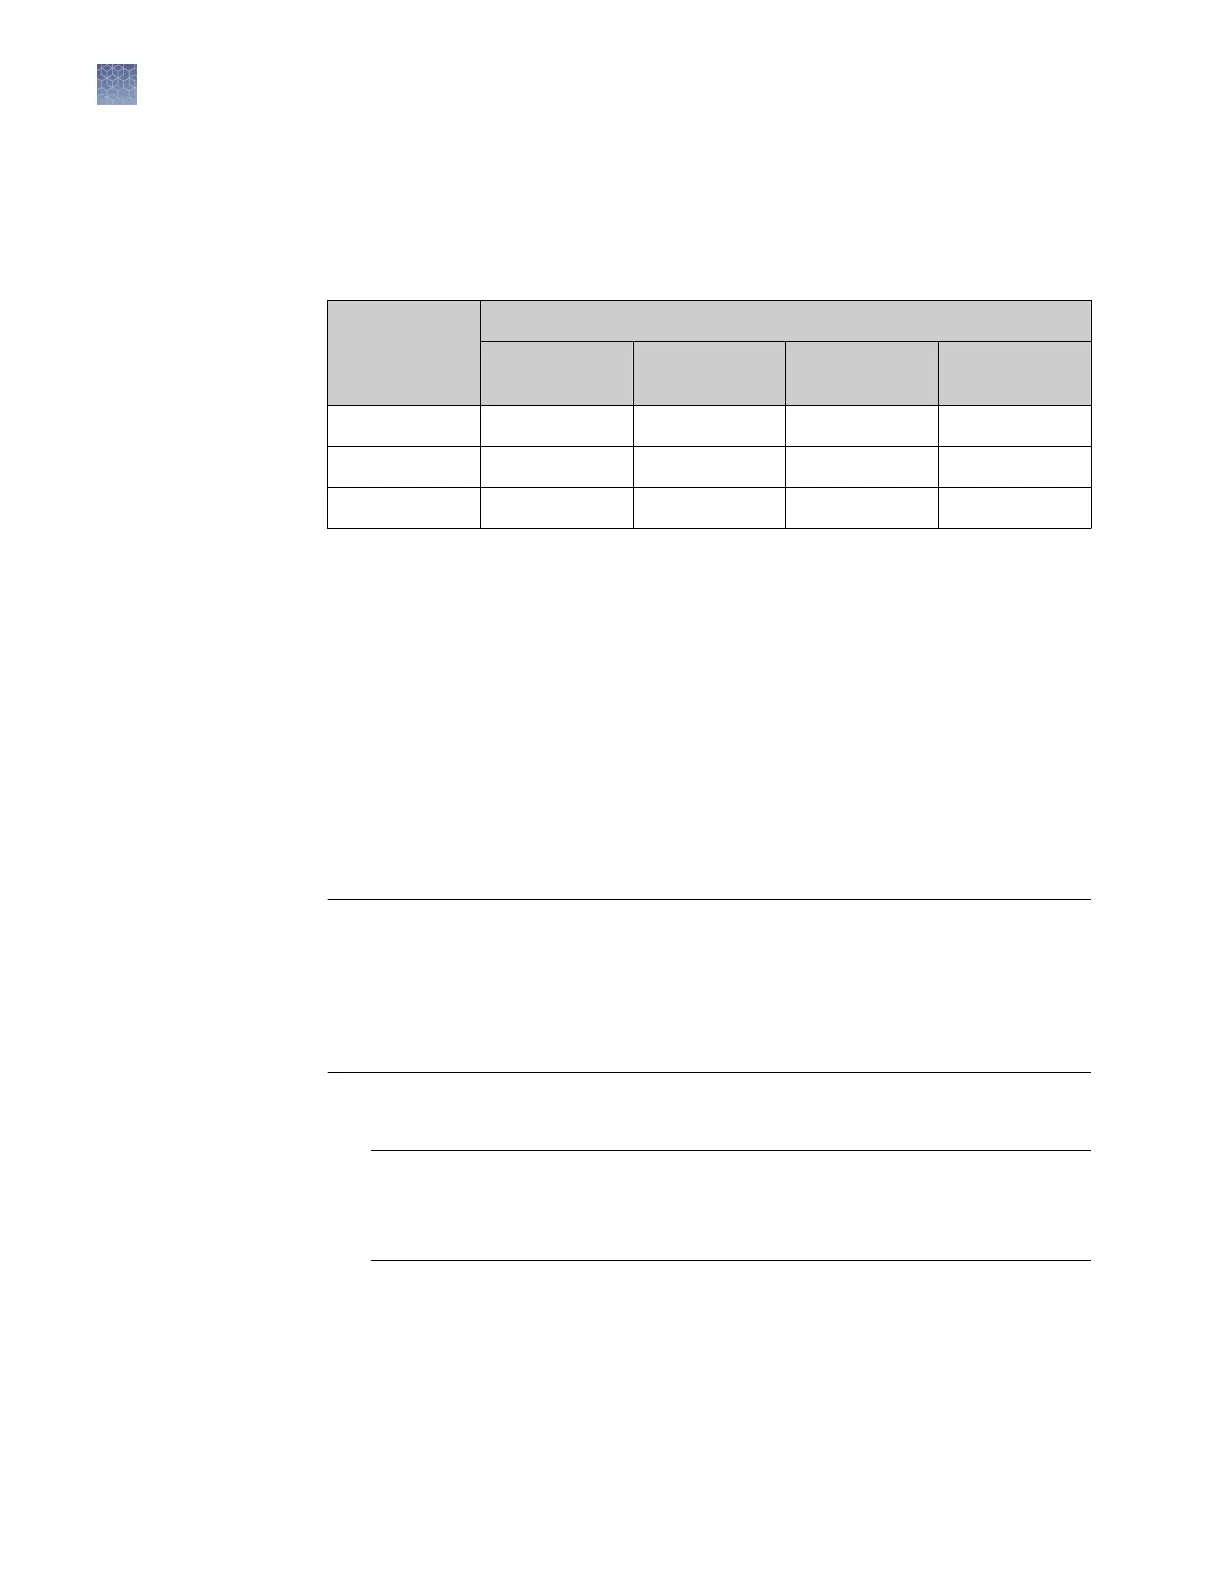
As shown in the following table, you can omit a limited number of outlier wells from
the unknown populations to meet the installation specication.
Sample block
Maximum number of outlier wells that can be removed
Unknown
population A
[1]
Unknown
population B
[2]
Standards
(STD)
[3]
No template
controls (NTC)
96-well plate
[4]
6 6 1 0
384-well plate 10 10 2 0
Array card
[5]
4 4 4 0
[1]
5
,000-copy population for 384-well plates; 800-copy population for array cards.
[2]
10,000-copy population for 384-well plates; 1,600-copy population for array cards.
[3]
Maximum number of wells that can be removed from
each
standard population.
[4]
Standard 96-well plates or Fast 96-well plates
[5]
QuantStudio
™
7 Flex System only.
Materials required
• RNase P Instrument Verication Plate
• Centrifuge with plate adapter
• Powder-free gloves
• Safety goggles
Prepare the plate
IMPORTANT! When performing the RNase P instrument verication test:
·
Perform all calibrations beforehand.
·
Run the RNase P plate soon after you allow the plate to thaw. Minimizing the time
that the prepared plate or array card sits on the bench ensures optimal
performance.
·
Wear powder-free gloves and safety glasses when you prepare plates.
1.
Obtain the RNase P Instrument V
erication Plate from the freezer, then allow the
plate to warm to room temperature (for approximately 5 minutes).
IMPORTANT! Use the RNase P plate within 30 minutes of defrosting it. Until
you are ready to run the plate, store it in the dark and at ambient temperature
(15–30℃). Do not remove the plate from its packaging until you are ready to run
it.
2.
Remov
e the RNase P plate from its packaging.
3.
Briey vortex and centrifuge the RNase P plate:
a.
Vortex the plate for 5 seconds.
Installation
specification
Prepare the
RNase P plat
e
Chapter 2 Calibrate the instrument
Verify the instrument performance
2
64
QuantStudio
™
6 and 7 Flex Real-Time PCR Systems v1.6 Maintenance and Administration Guide