Prepare the plate
IMPORTANT! Wear powder-free gloves and safety glasses when you prepare the
plate.
1.
Remov
e the ROI calibration plate from the freezer, then thaw it at room
temperature for approximately 30 minutes.
IMPORTANT! Use the calibration plate within 2 hours of defrosting it. Until you
are ready to run the plate, store it in the dark and at ambient temperature
(15–30℃). Do not remove the calibration plate from its packaging until you are
ready to run it. The uorescent dyes in the wells of the plate are photosensitive.
Prolonged exposure to light can diminish the uorescence of the dyes.
2.
Remov
e the ROI plate from its packaging. Do not remove the optical lm.
3.
Vortex and centrifuge the plate:
a.
Vortex the ROI calibration plate for 5 seconds.
b.
Centrifuge the plate for 2 minutes at < 1500 rpm.
IMPORTANT! The ROI calibration plate must be w
ell mixed and
centrifuged.
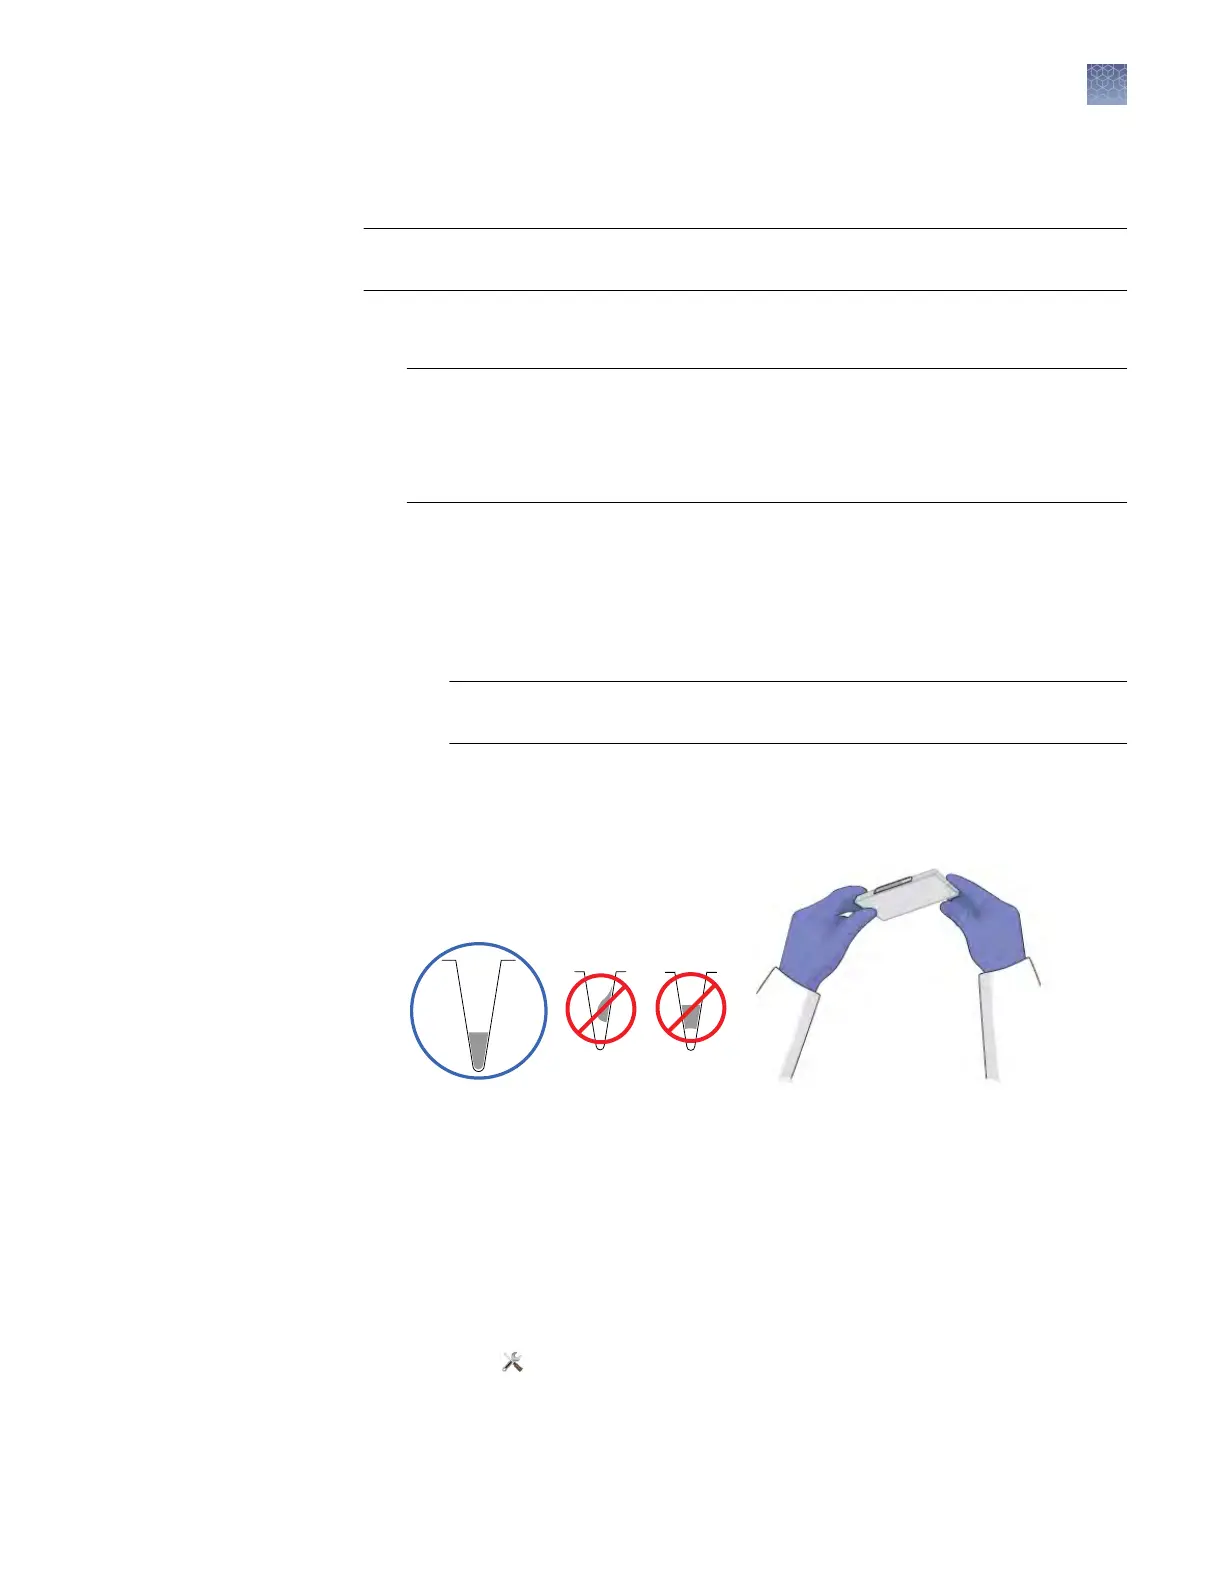
c.
Conrm that the liquid in each w
ell of the ROI calibration plate is at the
boom of the well. If not, centrifuge the plate again at a higher rpm and for
a longer period of time.
1.
In the QuantStudio
™
Real-Time PCR Softw
are Home tab, click Instrument
Console.
2.
In the Instrument Console, select the icon for your instrument, then click
Manage Instrument.
Note: If the Manage Instrument buon is inactive, add your system to the My
Instruments group.
3.
In the Instrument Manager, start the calibration:
a.
Click
Maintenance, then click ROI.
b.
In the ROI Calibration screen, click Start Calibration.
Perform the ROI
c
alibration
Chapter 2 Calibr
ate the instrument
ROI calibration
2
QuantStudio
™
6 and 7 Flex Real-Time PCR Systems v1.6 Maintenance and Administration Guide
43