5-18 QUALITY ASSURANCE Biodex Medical Systems, Inc. © 2014
NOTE: If an isotope has been checked for Wipe or Bioassay and you do not have an
Efficiency associated with that detector and isotope, once you start the MDA Measurement
the system will display “missing Efficiency information” and ask if you want to add the
Efficiencies. The program will then allow you to add Efficiencies for the isotopes that are
missing Efficiencies. It will then bring you back to the MDA Measurement Program.
5. The system counts background for the time you have selected in the System Setup
function. When the count is complete, you can select <Analysis> to analyze the
spectrum or select <Next> to continue.
6. After selecting <Next> the system displays the Background Results screen. You can
highlight an isotope and the system displays the detail for that isotope’s Background
results.
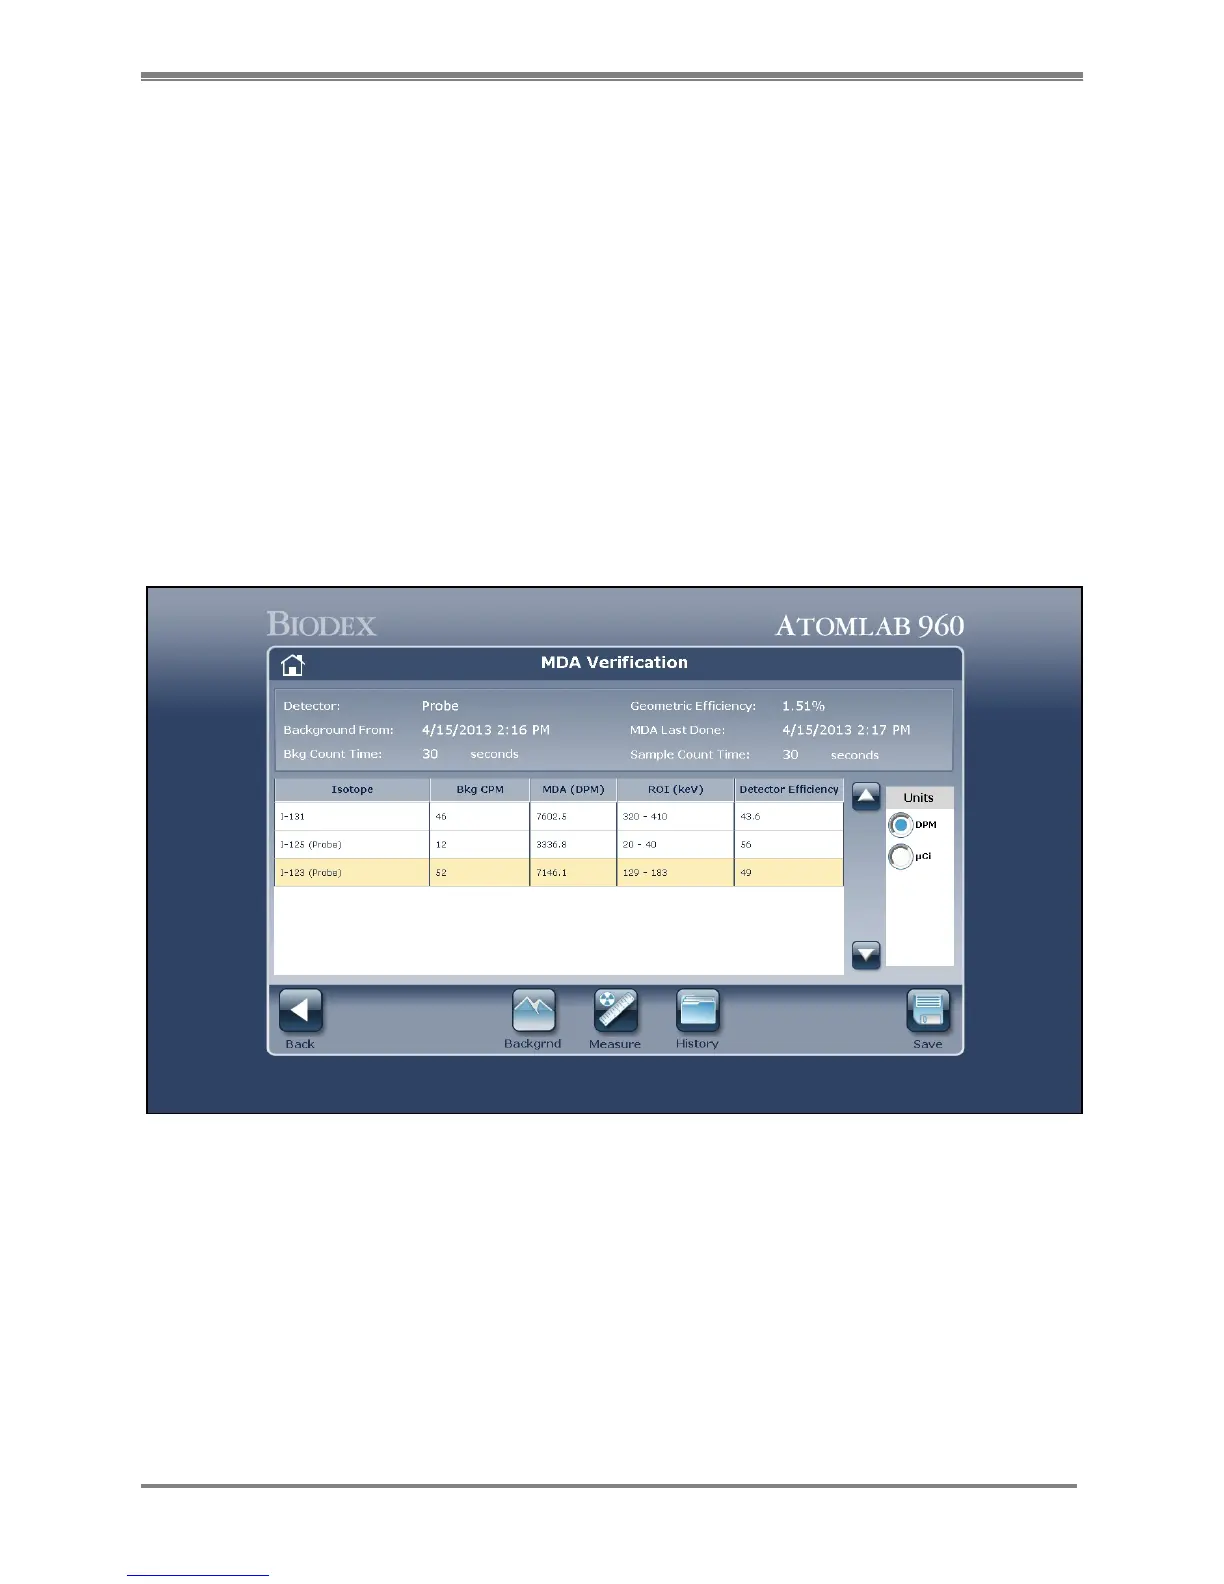
7. Choose the staff member desired from the Select Staff Member screen and then select
<Accept> to continue. The MDA Verification screen is now displayed with the MDA results
from the previous Background Count.
Figure 5.20. The MDA Verification screen.
8. Select <Measure> and the system calculates the new MDA values based on the Background
just performed.
9. If desired, select a unit of measurement at the right side of the screen to change the units
in which MDA is displayed.
10. Select <Save> to save the MDA results. A confirmation screen is displayed. Select <Accept>
to save or <Cancel> to discard the MDA results.
11. If you selected to save the MDA results, select <Accept> to return to the MDA verification
screen with the new MDA results now displayed.