Factory Reset
To reset the camera to its default factory settings, tap the ‘reset camera’ button. You will be
asked to confirm this action as it will erase any LUTs and presets currently stored on the
camera. Tap ‘reset’ on the confirmation page to reset your camera settings.
It’s important to note that a factory reset erases any presets and custom LUTs, and resets all
settings. It is a good practice to export them to a memory card as a backup before performing
a factory reset. After a factory reset, you can restore your presets and LUTs quickly by importing
them from the memory card.
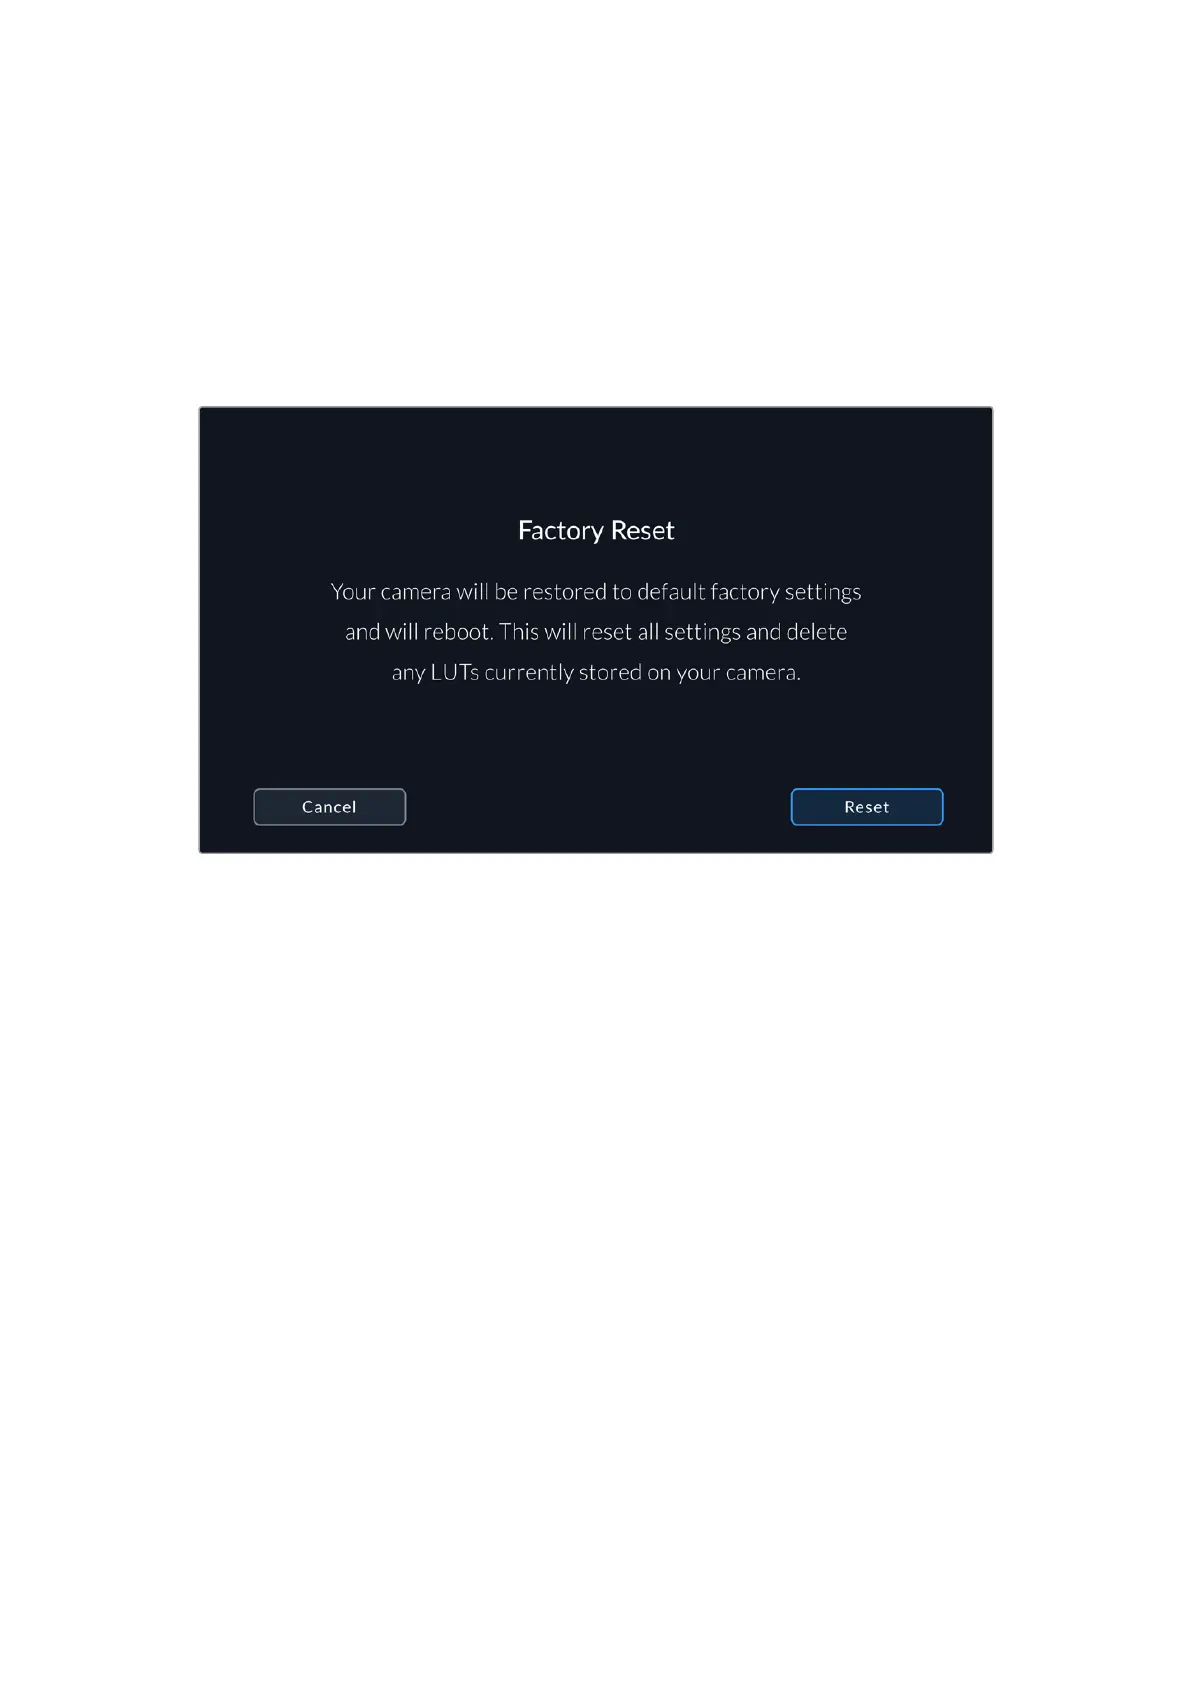
When selecting ‘factory reset’ you will be prompted to confirm your action
Motion Sensor Calibration
To calibrate the horizon meter on URSA Cine, place your camera on a surface you know is
level and tap the ‘calibrate motion sensor’ button. It is essential that you keep the camera
stable during calibration. This is to ensure that the recorded motion sensor metadata in the
Blackmagic RAW files during filming is accurate. The process takes approximately five seconds
to complete.
The horizon can be set off center if needed. For example, if you want to set the tilt at
a consistent angle, calibrate the motion sensor with the camera at the angle you want,
then use the horizon meter to maintain the same angle.
The motion sensor data can be used in DaVinci Resolve to stabilize clips. Refer to the
‘gyro stabilization’ section for more information.
LCD White Balance Calibration
To perform LCD white balance calibration, adjust the ‘LCD temperature’ and ‘LCD tint’ controls
so that the two reference patches look neutral. After you change the settings, you can use
the ‘reset’ button to return the controls to the factory calibration. The ‘restore’ button brings
back your new settings, which helps you compare the appearance before and after calibration.
Whenthe LCD shows an accurate white balance, save your settings.
150Settings
 Loading...