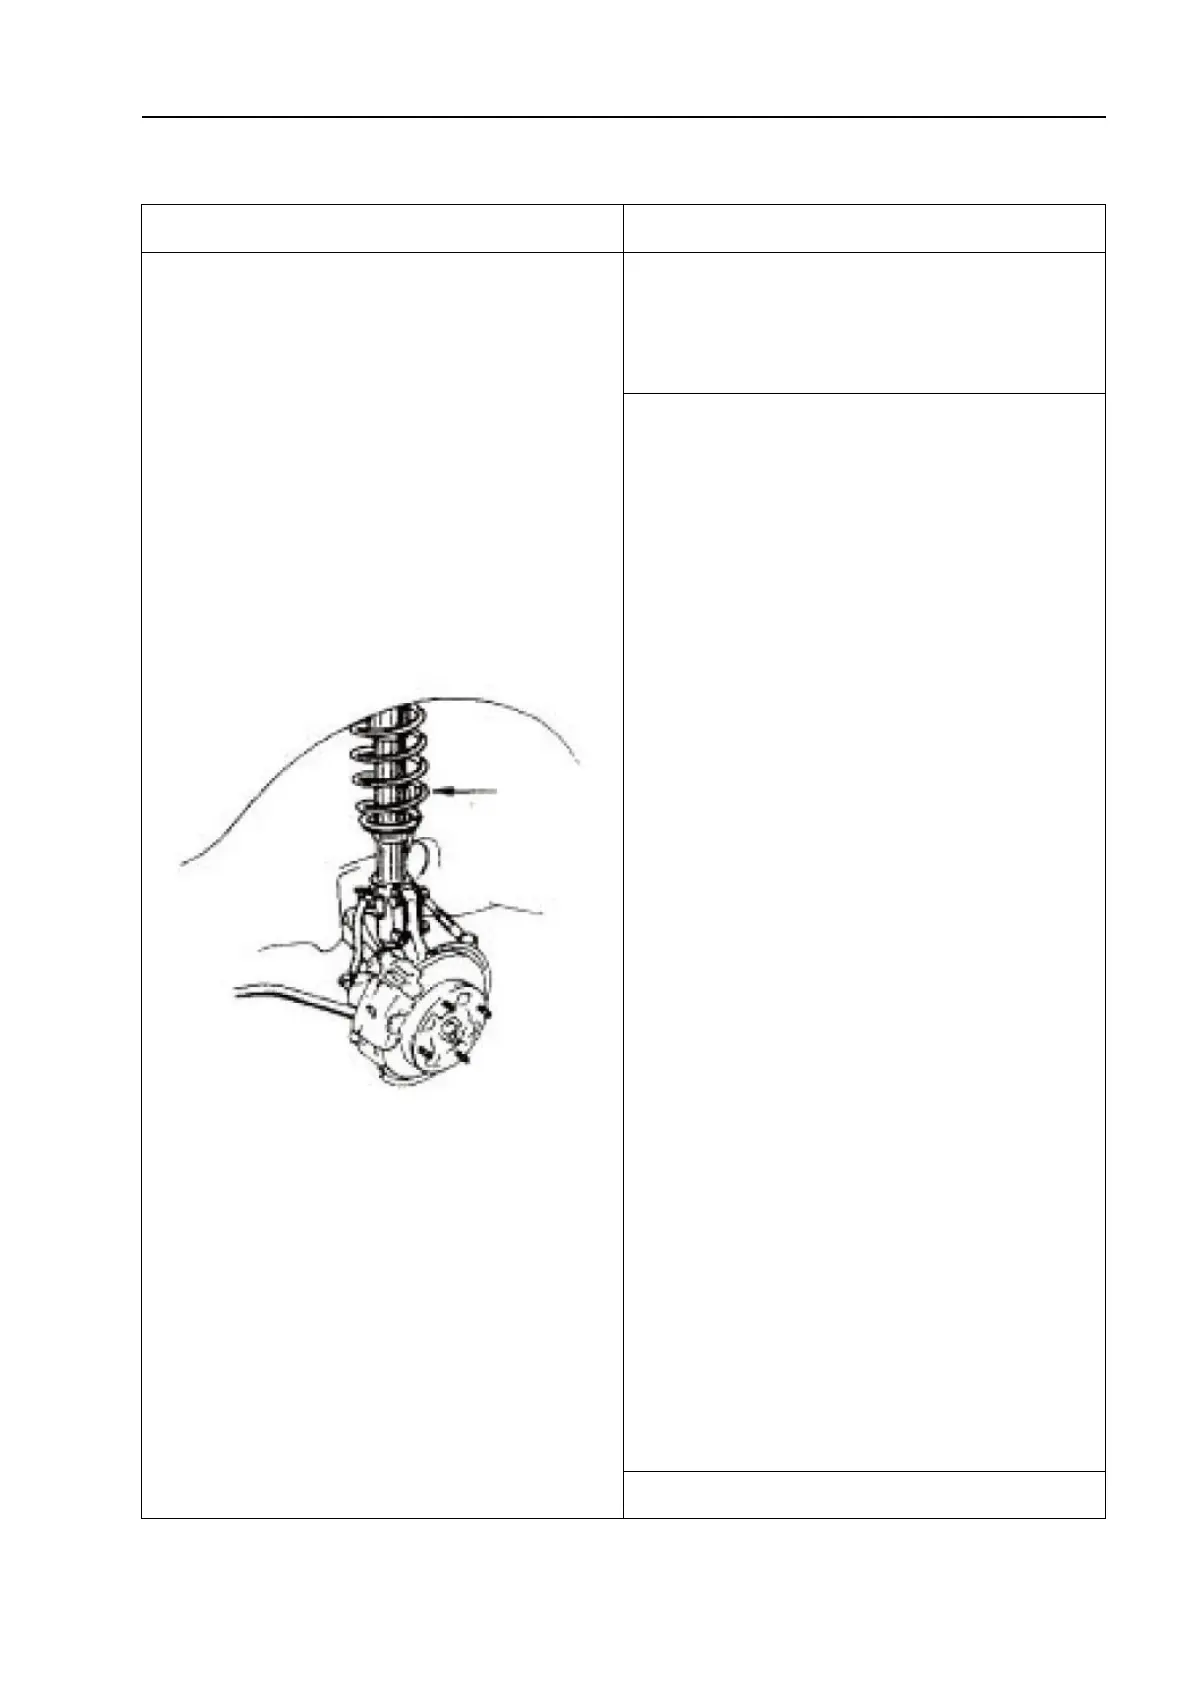
2. Inspection of strut function.
Check the tire pressure and adjust it to the
specified pressure. Push the front of the vehicle
body continuously on the side of the strut
equipped with the function to be inspected,
causing the vehicle body to vibrate up and down
three or four times. The thrust should be equal
each time, and the resistance of the strut as it is
pushed and rebounded should be recorded.
At the same time, it is necessary to record the
number of times the vehicle body continues to
bounce back until it stops after the hand leaves
the vehicle body. Use the same method to
inspect the other side of the strut.
Compare the resistance and number of
rebounds measured on the left and right struts
to each other. The measurements on both sides
should be the same. If it is a normal strut, the
vehicle should stop bouncing when the hand
leaves the vehicle body, or at most slightly
bounce back once or twice. If you feel there is a
problem with the strut, compare it with the
vehicle or strut that is in good conditions.


 To Next Page