Exterior trims
3.7.3 Cleaner pump
Removal
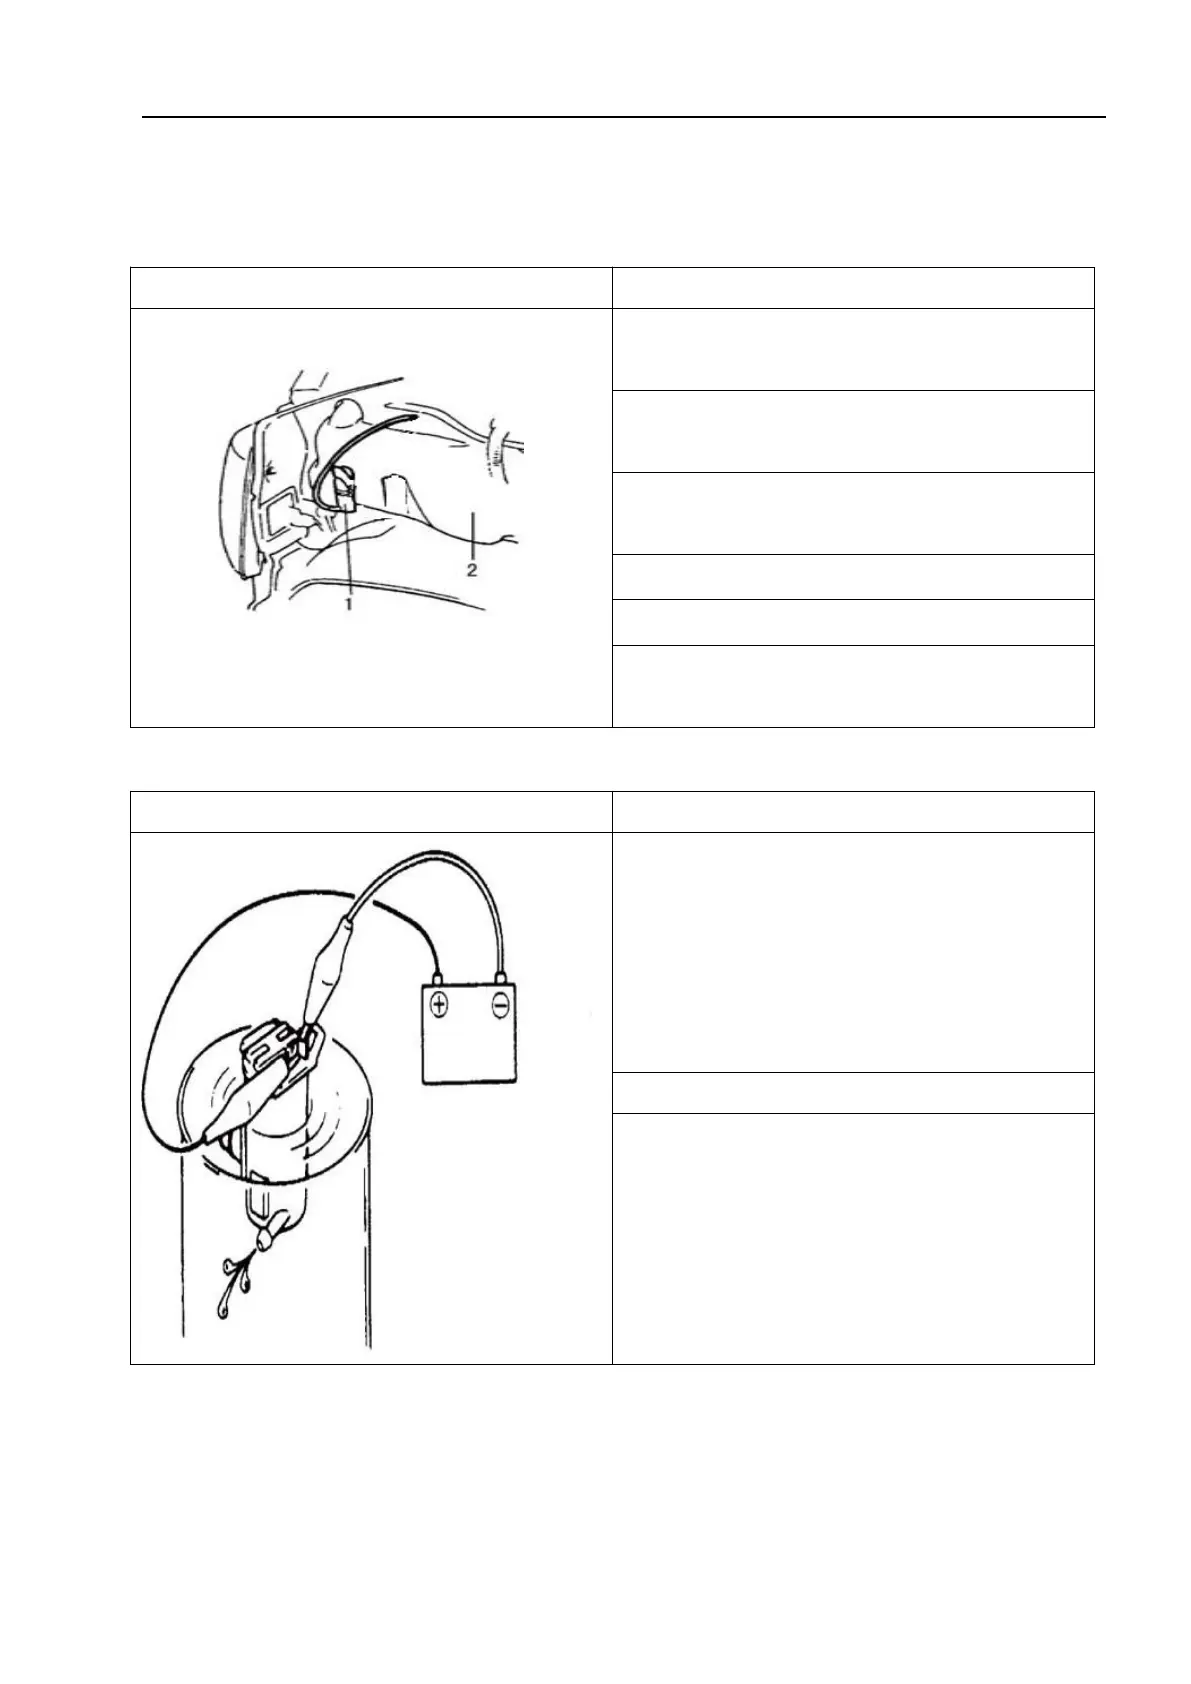
1 - Front cleaner pump; 2 – Cleaner kettle
1. Disconnect the negative (-) cable of the
low voltage battery.
2. Remove the front fender flap gasket
(LH).
3. Remove the cleaner kettle mounting nut
and clamp.
4. Disconnect the pump leads and hoses.
5. Remove the cleaner kettle.
6. Remove the cleaner pump from the
kettle.
Inspection and installation
1. Connect the (+) and (-) terminals of the
low voltage battery to the (+) and (-)
terminals of the pump to check the power of
the pump.
Cleaner pump flow: greater than 1.0L/min
1. Install the cleaner pump in the reverse
order of removal.
 Loading...