Exterior trims
3.5 Handle, lock, latch and mechanism
3.5.1 Rear door lock (right)
Removal
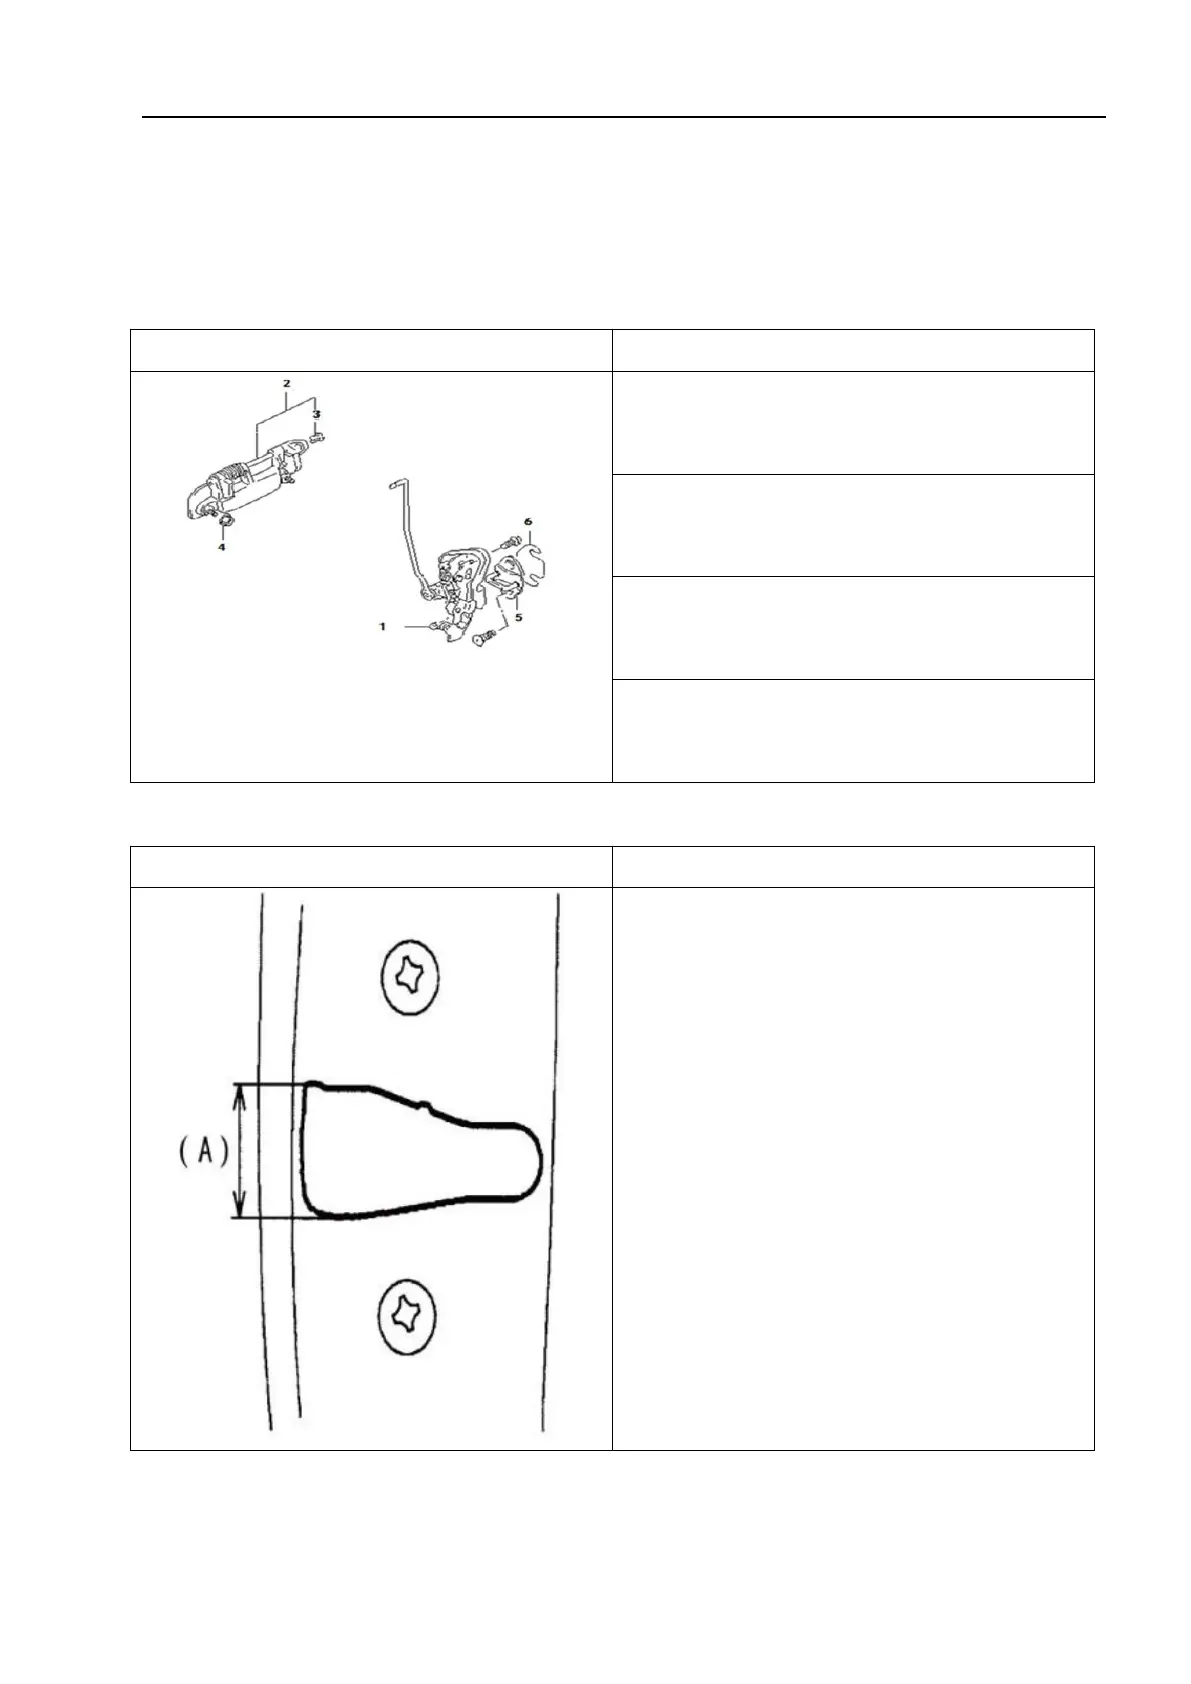
1 - Right rear door lock assembly; 2 - Right rear
door outer handle; 3 - Adjusting connector clip;
4-Nut; 5 - Door lock ring; 6-Door lock adjusting
gasket
1. Remove the rear door trim guard bolts.
2. Remove the rear door trim guard.
3. Remove the sealing film.
4. Remove the outer handle and door lock
assembly.
Installation
1. Install the door lock ring.
• Move the lock ring up and down so that
its axis is approximately in a straight line
with the center (A) of the lock groove.
△
! Caution
The lock ring should be placed
horizontally and moved vertically, without
adjusting the door lock.
 Loading...