Exterior trims
9. Install the ceiling sealing strip.
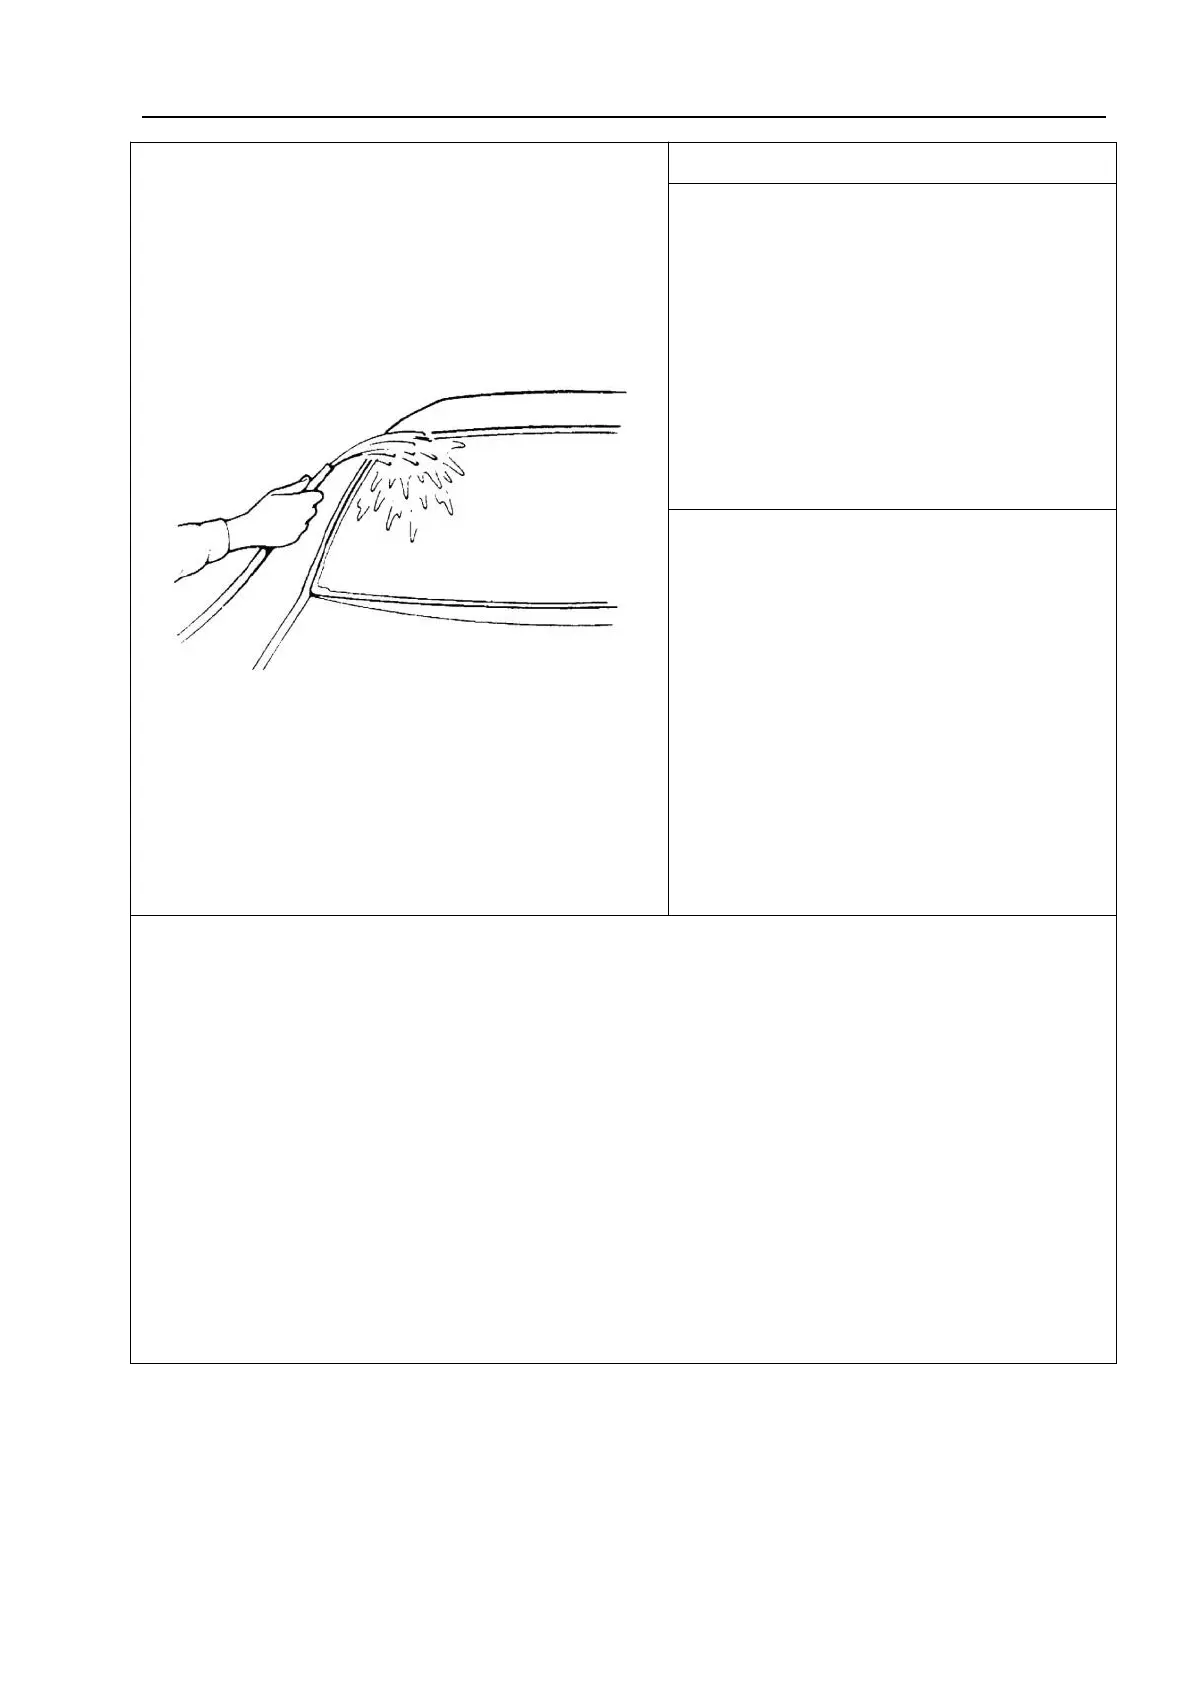
10. Check for water seepage by
sprinkling water from the hose onto the
window. If leakage is found, wipe the
glass dry and fill the leak location with
adhesive. After filling, if leakage is still
found, remove the glass and follow the
above installation steps to restart the
installation.
11. Install the rearview mirror, ceiling
sealing strip, front column trim panel,
sun visor, and wiper.
△! Caution
When checking for leakage, do not
use high pressure water.
When drying, do not apply the
compressed air directly against the
glued area. For drying, do not use
infrared light bulbs or the like.
△
! Caution
After completing the above installation, note the following:
Sudden closing of the door before the adhesive area is fully adhered may cause the
glass to loosen or fall off. Therefore, if the door is opened or closed before the adhesive
area is fully adhered, be sure to open all the door glass and use proper methods.
If the sealing strip is not fully adhered, press it with adhesive tape until the adhesive
part is fully adhered. Each adhesive has its own curing time. Be sure to refer to the
manufacturer's instructions, check the curing time of the adhesive used, and observe the
measures required before the adhesive part is fully adhered.
Do not drive until the adhesive part is fully adhered to ensure thorough and sufficient
curing.



 To Next Page