Air conditioning control system
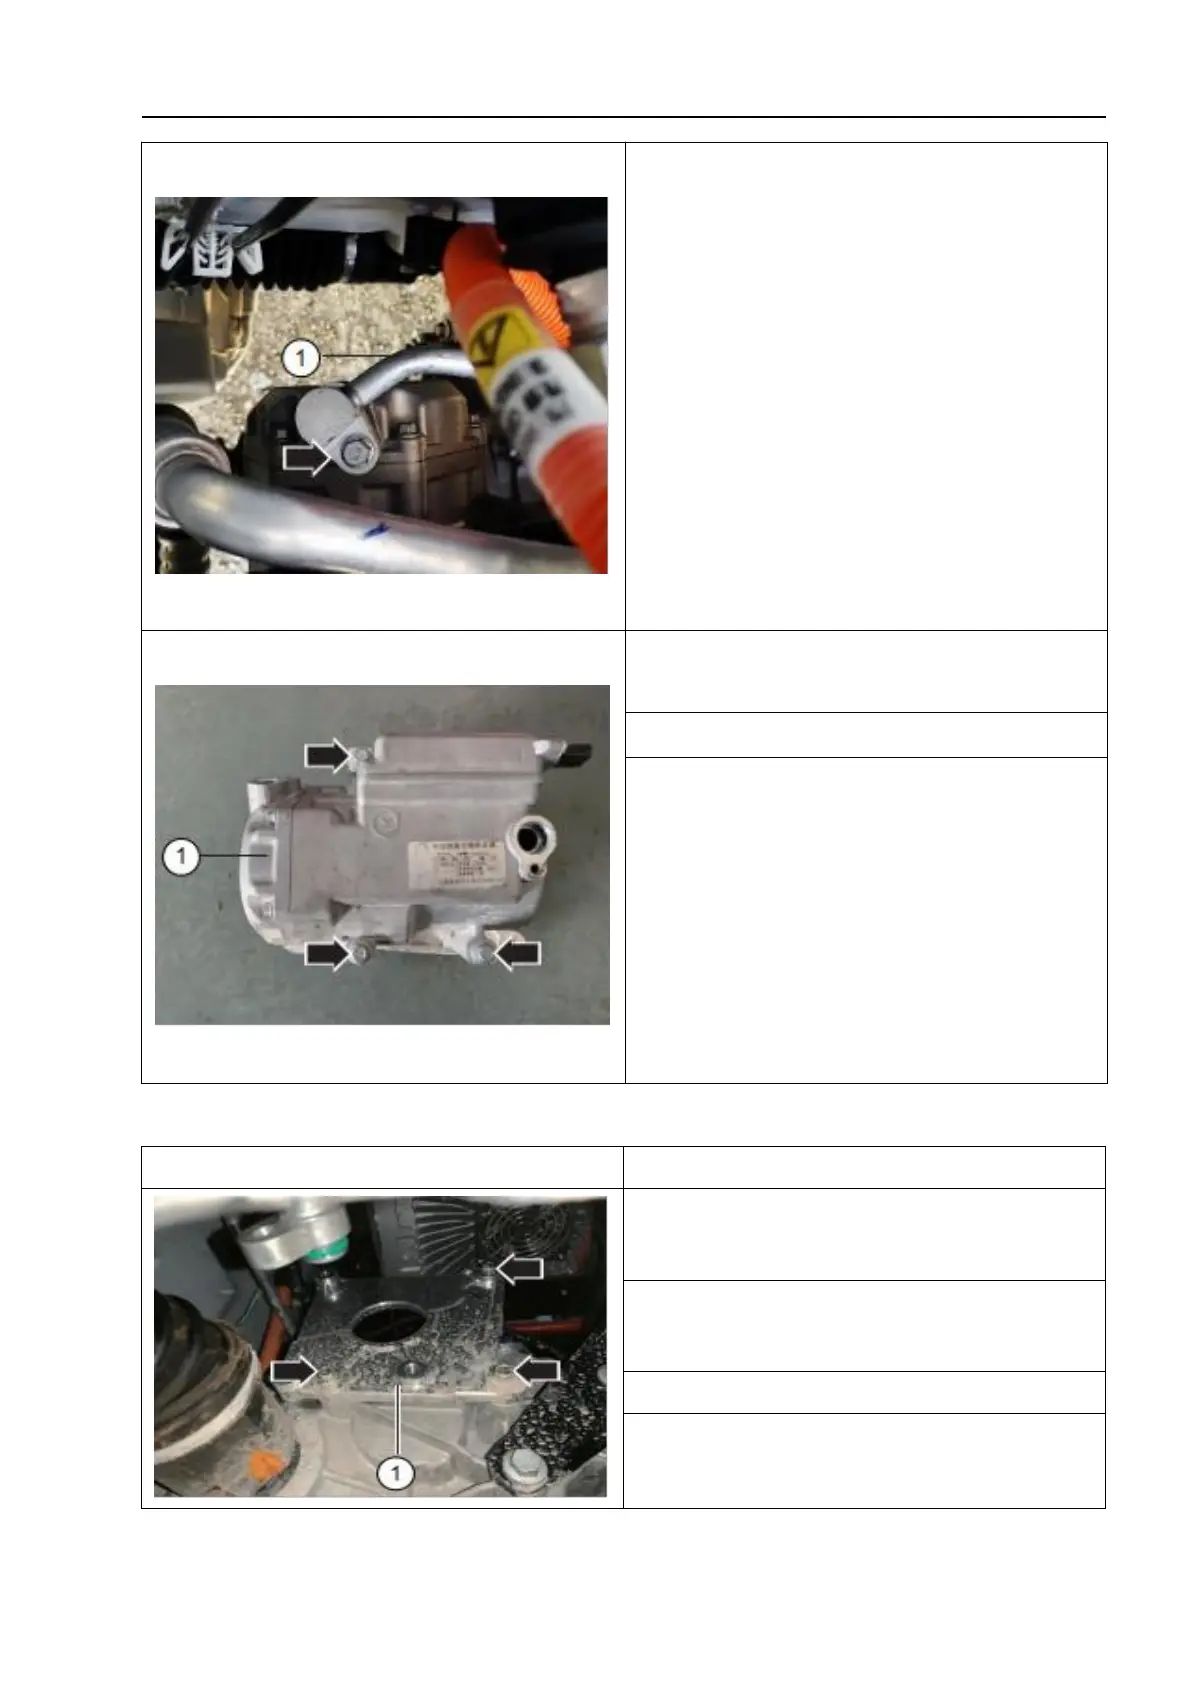
5. Unscrew the fixing bolt and disconnect the
compressor discharge pipe - 1 -. Bolt – as shown
by the arrow- tightening torque: 10~14N·m
△
! Tips:
Every time the refrigerant pipeline is
removed, all sealing rings on the refrigerant
pipeline must be replaced.
After removing the refrigerant
circulation pipeline, pay attention to using
sealing plugs to seal the air conditioning
circulation pipeline.
6. Unscrew the fixing bolts and remove
the electric compressor assembly - 1 -.
The installation sequence is the reverse of
the removal sequence, noting the following:
△! Tips:
Fill the air conditioning refrigerant into
the air conditioning refrigerant charging
and discharging machine. Check the air
tightness of the refrigerant circulation
circuit.
Removal and installation of the compressor bracket
1 Remove the electric compressor
assembly.
2. Unscrew the fixing bolts and remove
the compressor bracket - 1 -.
1. The installation sequence is the reverse
of the removal sequence.
 Loading...