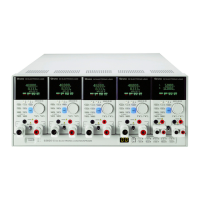
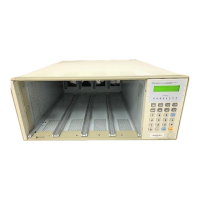
Manual Operation
Figure 3-118
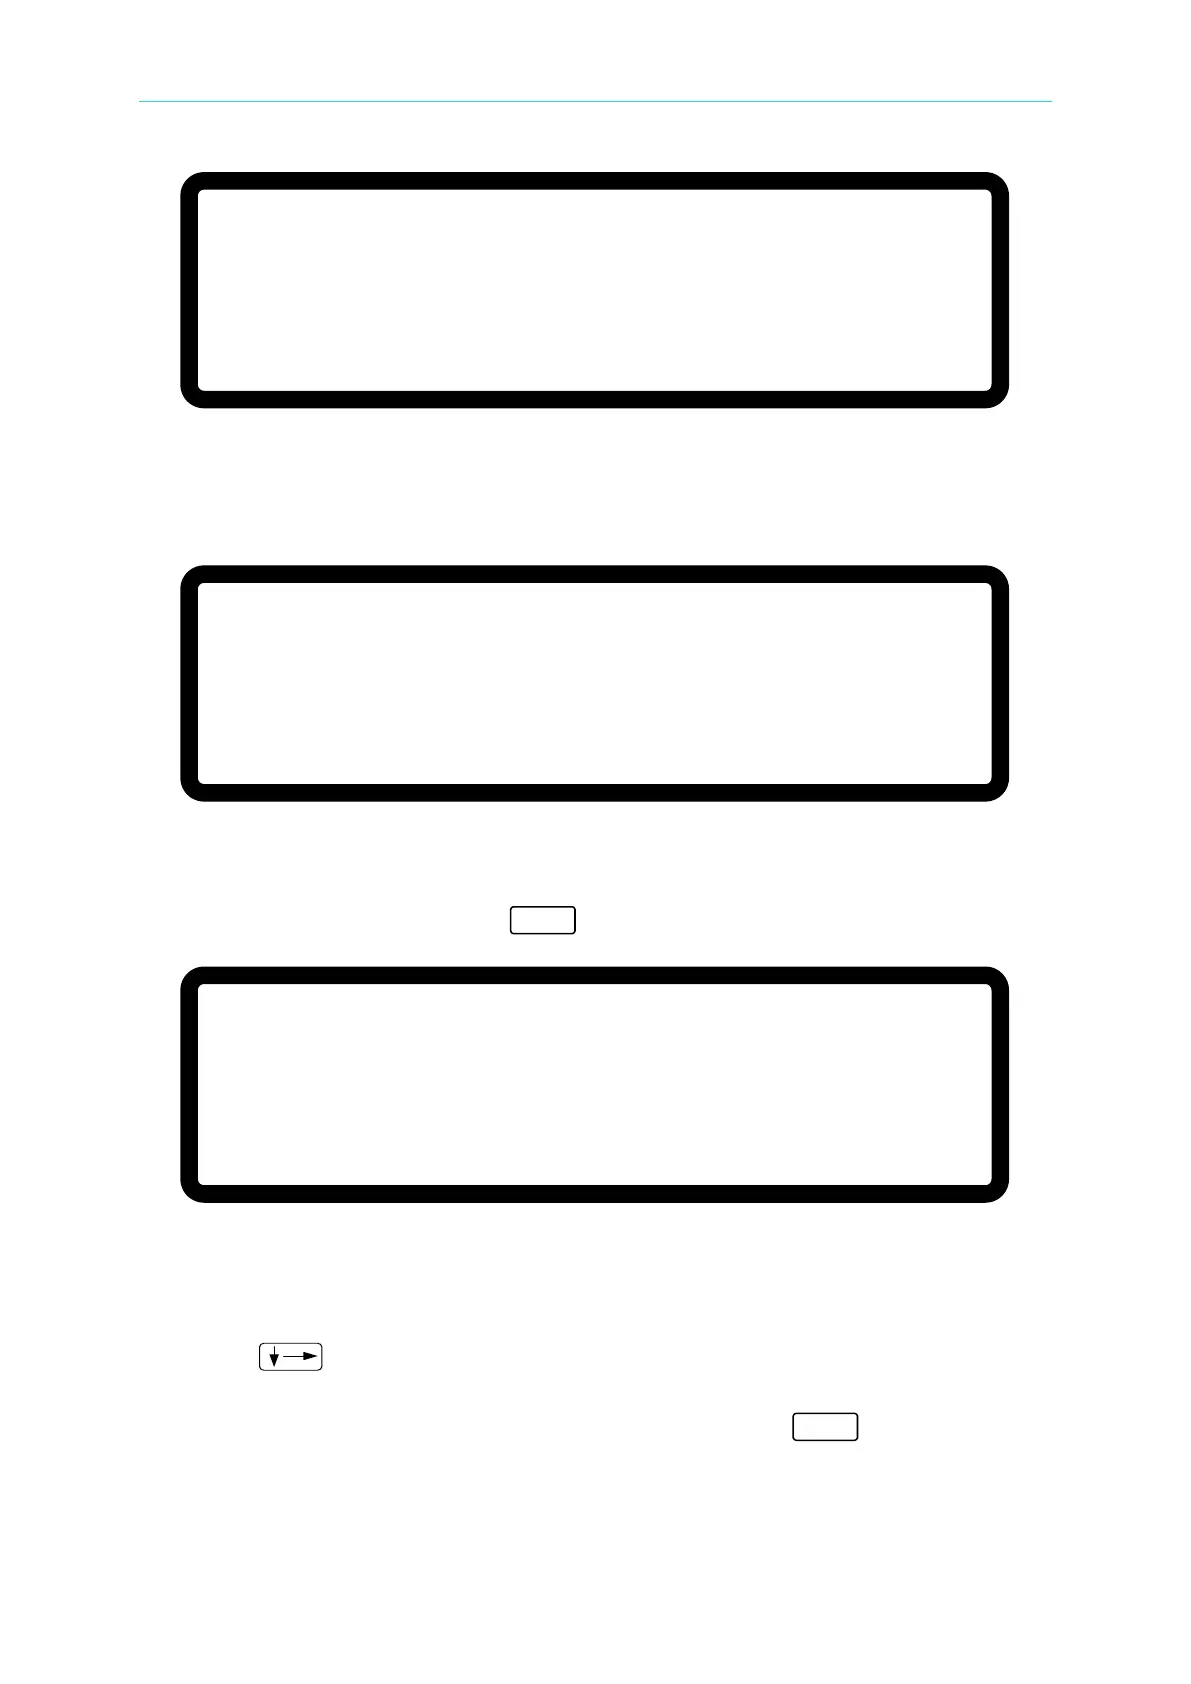
4. Turn OFF the output of the DC Power Supply before pressing ENTER. Set the Electronic
Load to CV mode 48V. Select a current shunt whose rating is closest to but still covers
2A. For the Prodigit 7550, use the 2A shunt directly.
Figure 3-119
5. Press ENTER and the system will set the output current to 1.500A automatically and the
cursor will stop at position [1] as shown in Figure 3-120. Input the current read by the
Current Shunt (DVM) and press “ ” to confirm.
Figure 3-120
6. Turn OFF the output of the DC Power Supply. A message will display to remind the user
to reconnect a current shunt. Select a current shunt whose rating is closest to but still
covers 20A. For the Prodigit 7550, use the 20A shunt directly.
7. Press “
” to do the 4.5A calibration. The system will set the output current to
4.500A automatically and the cursor will stop at position [2] as shown in Figure 3-121.
Input the current read by the Current Shunt (DVM) and press “ ” to confirm. Using
1.5A and 4.5A for calibration, the system will calculate the calibration factor for the low
current range.
[ C U R R E N T S E T T I N G C A L I B R A T I O N ]
S H O R T O U T P U T T E R M I N A L A N D P R E S S [ E N T E R ]
S E T T I N G
O U T P U T C U R R E N T = 1 . 5 0 0 A
A C T U A L
O U T P U T C U R R E N T = 0 . 0 0 0 A
[ C U R R E N T S E T T I N G C A L I B R A T I O N ]
S H O R T O U T P U T T E R M I N A L A N D P R E S S [ E N T E R ]
S E T T I N G
O U T P U T C U R R E N T = 1 . 5 0 0 A
A C T U A L
O U T P U T C U R R E N T = 0 . 0 0 0 A
[ C U R R E N T S E T T I N G C A L I B R A T I O N ]
S H O R T O U T P U T T E R M I N A L A N D P R E S S [ E N T E R ]
S E T T I N G
O U T P U T C U R R E N T = 1 . 5 0 0 A
A C T U A L
O U T P U T C U R R E N T = 0 . 0 0 0 A
 Loading...