D15328.04 SX80 Administrator Guide CE8.2, OCTOBER 2016. www.cisco.com — Copyright © 2016 Cisco Systems, Inc. All rights reserved.
58
Cisco TelePresence SX80 Administrator Guide
Step 3: Test PresenterTrack in action
Activate PresenterTrack.
1. Tap the Camera icon in the upper right corner of the Touch
controller.
2. Select Presenter from the list of camera positions to activate
presenter tracking.
3. The camera is now ready for presenter tracking, and you can
test the feature:
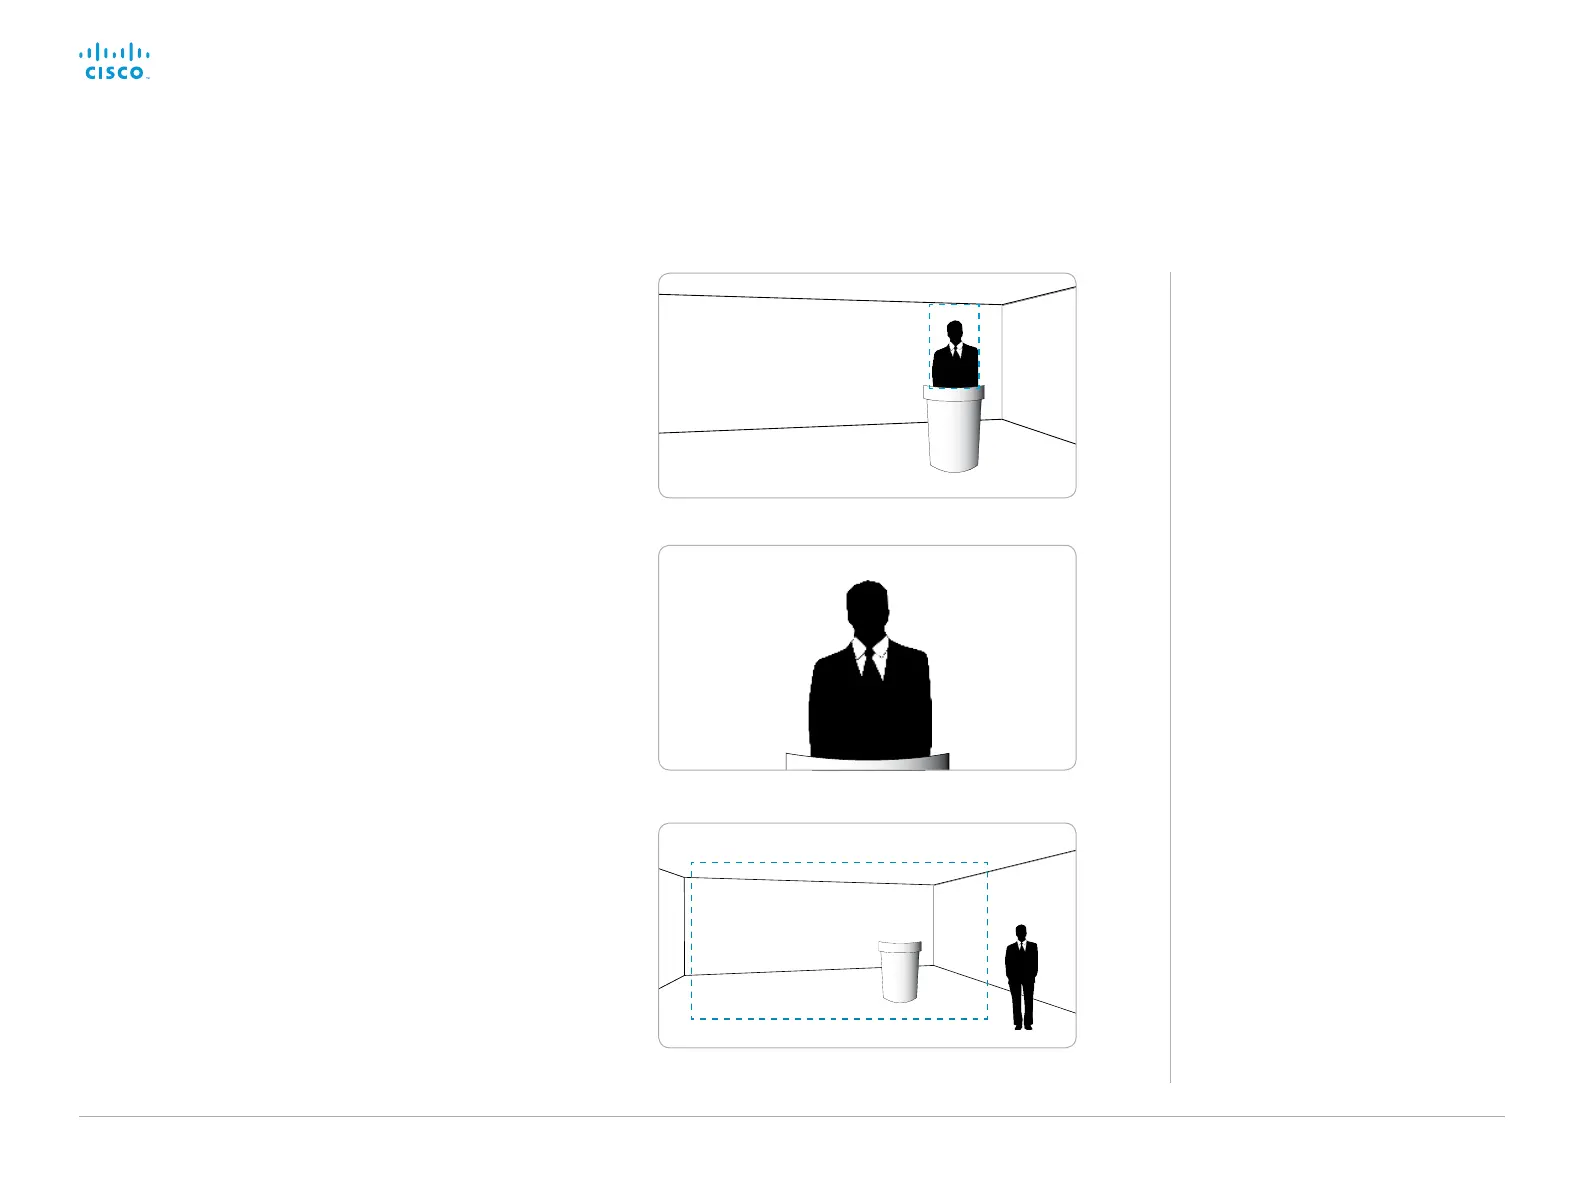
a. Position yourself in the trigger zone.
b. When you are detected the camera zooms in on you.
Walk back and forth on stage and check that the camera
follows you.
c. Leave the stage area to stop presenter tracking.
If necessary, go back to Step 1 or Step 2 to adjust the size of the
stage area or the trigger zone.
Set up the PresenterTrack feature (page 4 of 5)
User scenarios
We do not support tracking of more than
one person, but sometimes more than
one person is in the cropped image.
When multiple faces are in the cropped
image, the faces will be tracked as long
as they all move in the same direction.
If they move in different directions the
tracking stops and the image zooms out
and show the stage area. To start the
presenter tracking again, the presenter
must go to the trigger zone to be
detected.
Scenario 1: A person is interviewed by
another. They are both followed by the
camera as long as they stand still or move
in the same direction.
Scenario 2: When a presenter is replaced
by another the tracking stops. The new
presenter must move into the trigger zone
to be detected by the camera.
If you need to disable, and thereafter
enable, presenter tracking in a controlled
manner this can be done on the Touch
controller.
1. Tap the Camera icon in the status bar.
2. Deselect Presenter from the list
of camera positions to disable
PresenterTrack, and select Presenter
again to enable the feature.
a. Position yourself in the trigger zone.
b. The camera zooms in on the presenter.
c. Leave the stage to stop presenter tracking.
 Loading...