1 The tooth
4. To put a new battery in place, start from the opposite side and slide it into the slot in the holder, the plus side towards the tooth.
The correct battery type is a coin type lithium battery BR1632.
5. Push the holder back into the control board.
9.5 Removing the System Module from the Integration Unit
These instructions apply to xR10L and xR12L system modules with integration units. The system module shown in the illustrations is an
IR10L.
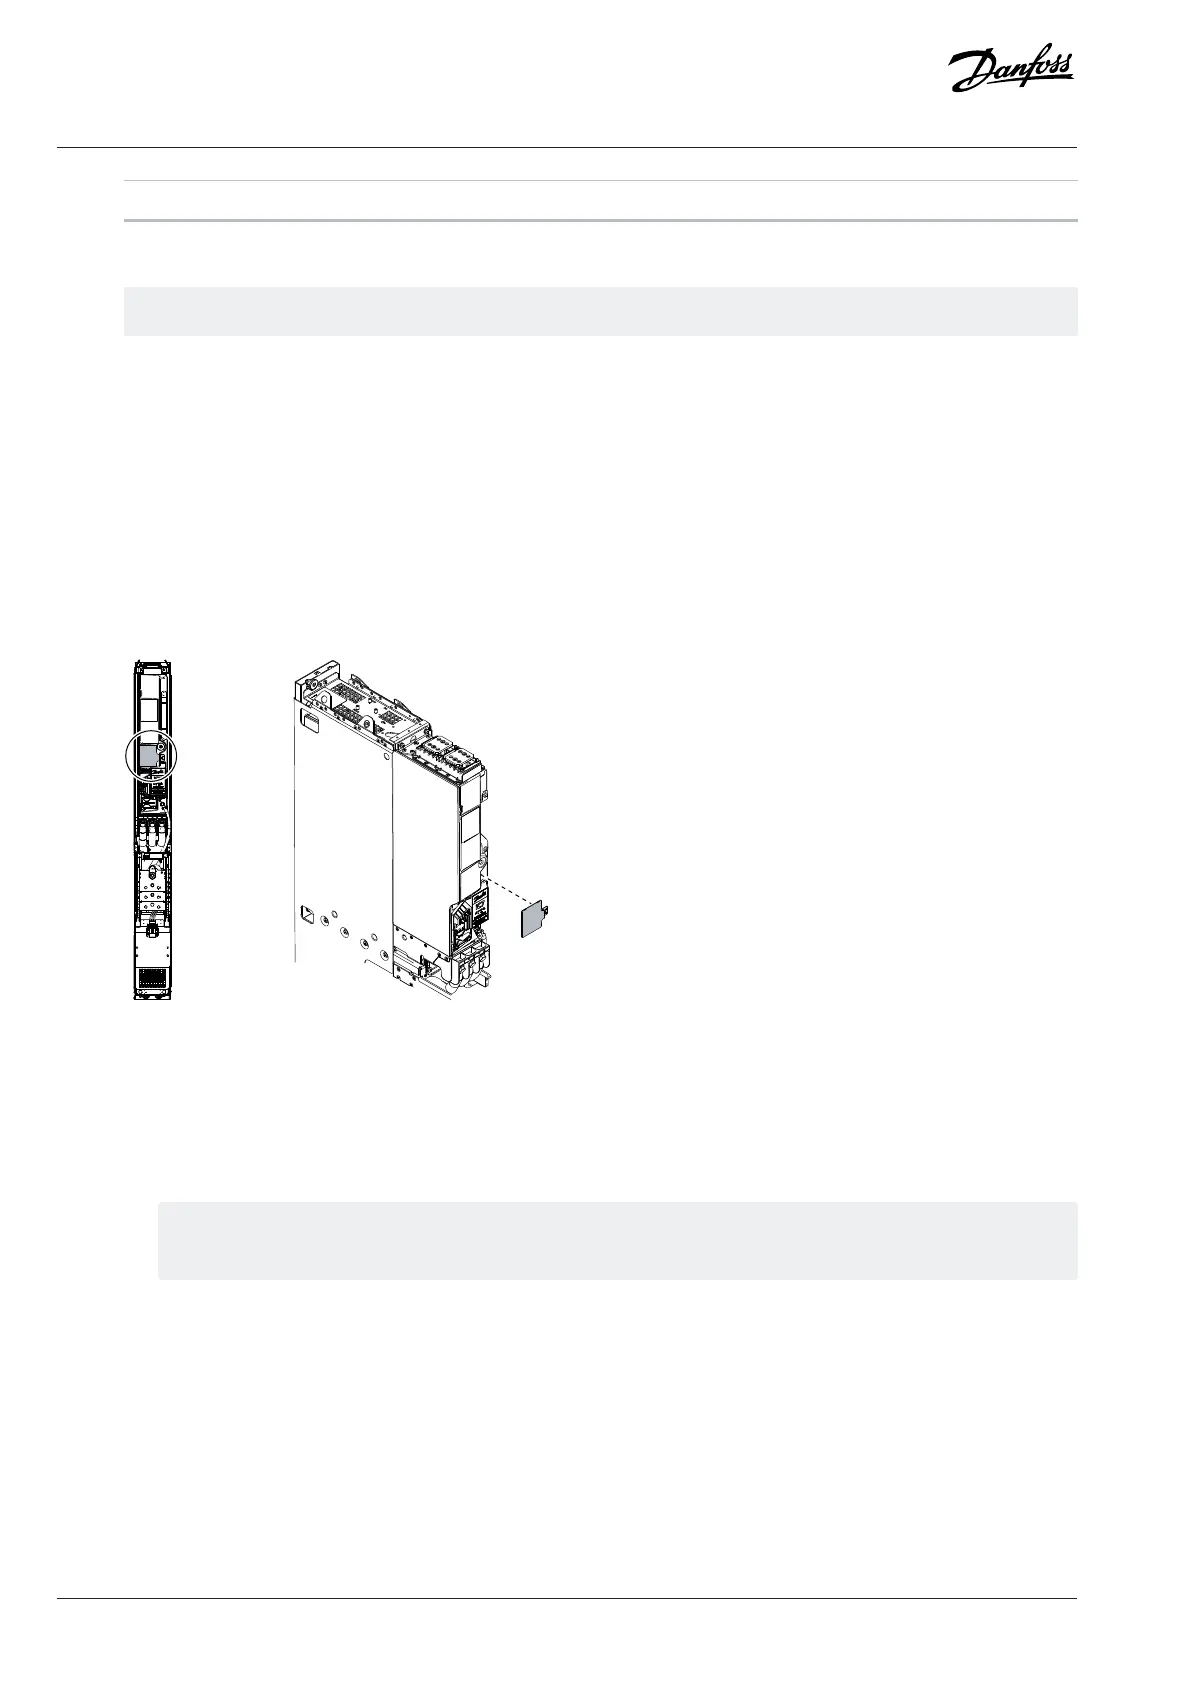
1. If removing power unit 1 from a system module lineup, remove the detachable product label plate from the front of power unit
1.
a. To release the product label plate, remove the M4x8 screw (141N2502) with a TX20 bit.
b. Keep the product label plate with the product. Install the plate on the new power unit.
Figure 116: Mounting Location of the Product Label Plate
2. Disconnect the cables from the system module.
a. Disconnect the optical fiber cable from control terminal X81.
b. Disconnect the AuxBus cable from terminal X79.
c. Disconnect the power cables.
The power cables are mounted with M10x30 mounting bolts (141N9277). Use a 17 mm (0.67 in) bit to remove them.
The tightening torque of the bolts is 35 Nm (310 in-lb).
118 | Danfoss Drives Oy © 2024.03 AJ475942178716en-000101 / 172K2848A
Design Guide | iC7 Series Liquid-cooled System Modules
 Loading...