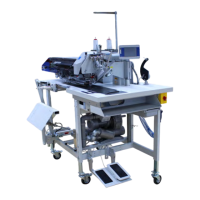
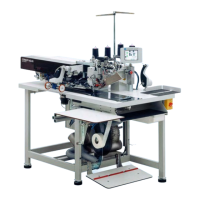
Marking lamps
114 Service Instructions 745-35-10 S/745-35-10 A - 02.0 - 04/2017
To set the exact position of the laser marking:
1. Open menu Program parameters and select the menu item Mark-
ing lamps 1-16 ( p. 209).
Marking of the front positioning point (seam beginning)
1. Switch on the front positioning point (3).
Press the button.
2. Perform a sewing test:
• Mark the desired seam beginning on the workpiece with a chalk
line.
• Position the workpiece with the chalk line at the marking of the front
positioning point (3).
• Start sewing.
The seam must start at the chalk line.
• To make a correction, align the marking of the front positioning
point (3) anew after loosening its holders.
Marking of the rear positioning point (seam end)
1. Switch on the rear positioning point (5).
Press the button.
Press.
2. Perform a sewing test:
• Mark the desired seam beginning on the workpiece with a chalk
line.
• Position the workpiece with the chalk line at the marking of the rear
positioning point (5).
• Start sewing.
The seam must start at the chalk line.
• To make a correction, align the marking of the rear positioning
point (5) anew after loosening its holders.

 Loading...


