Machine head
62 Service Instructions 745-35-10 S/745-35-10 A - 02.0 - 04/2017
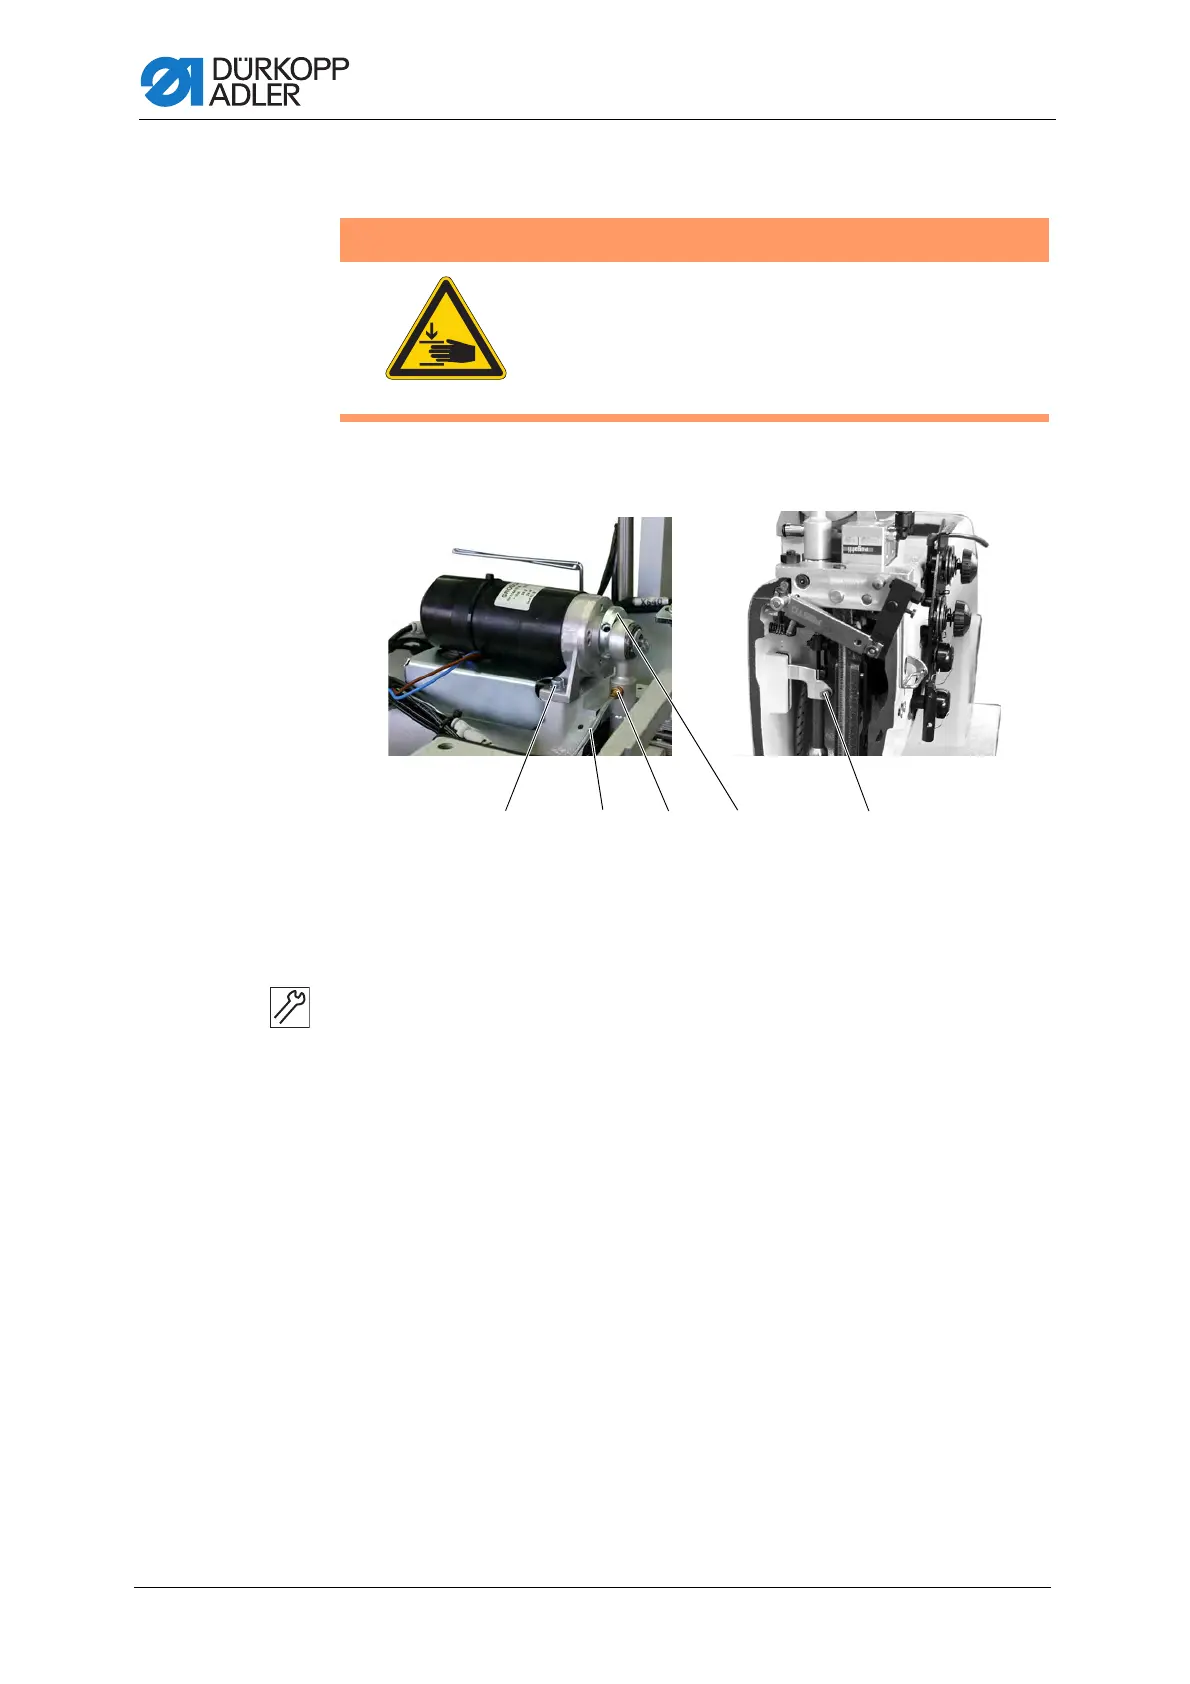
3.10.4 Assembling the switching cylinder
Fig. 49: Assembling the switching cylinder
To assemble the switching cylinder:
1. Insert the switching cylinder from the top.
2. Tighten the clamping screw (5) between switching cylinder and drive rod.
3. Push the motor forward and slide the motor shaft into the eccentric (4).
4. Tighten the motor with the fastening screws (1).
5. Tighten the screws on the eccentric (4).
6. Screw the pneumatic connection (3) into the cylinder if necessary.
7. Slip on the pneumatic hose (2).
8. Assemble the drive motor ( p. 60).
WARNING
Risk of injury from moving parts!
Crushing possible.
Only assemble the switching cylinder when the
sewing unit is switched off.
(1) - Motor fastening screws
(2) - Pneumatic hose
(3) - Pneumatic connection
(4) - Eccentric
(5) - Clamping screw

 Loading...


