5. Replacing the Motors Part 2: Maintenance
114
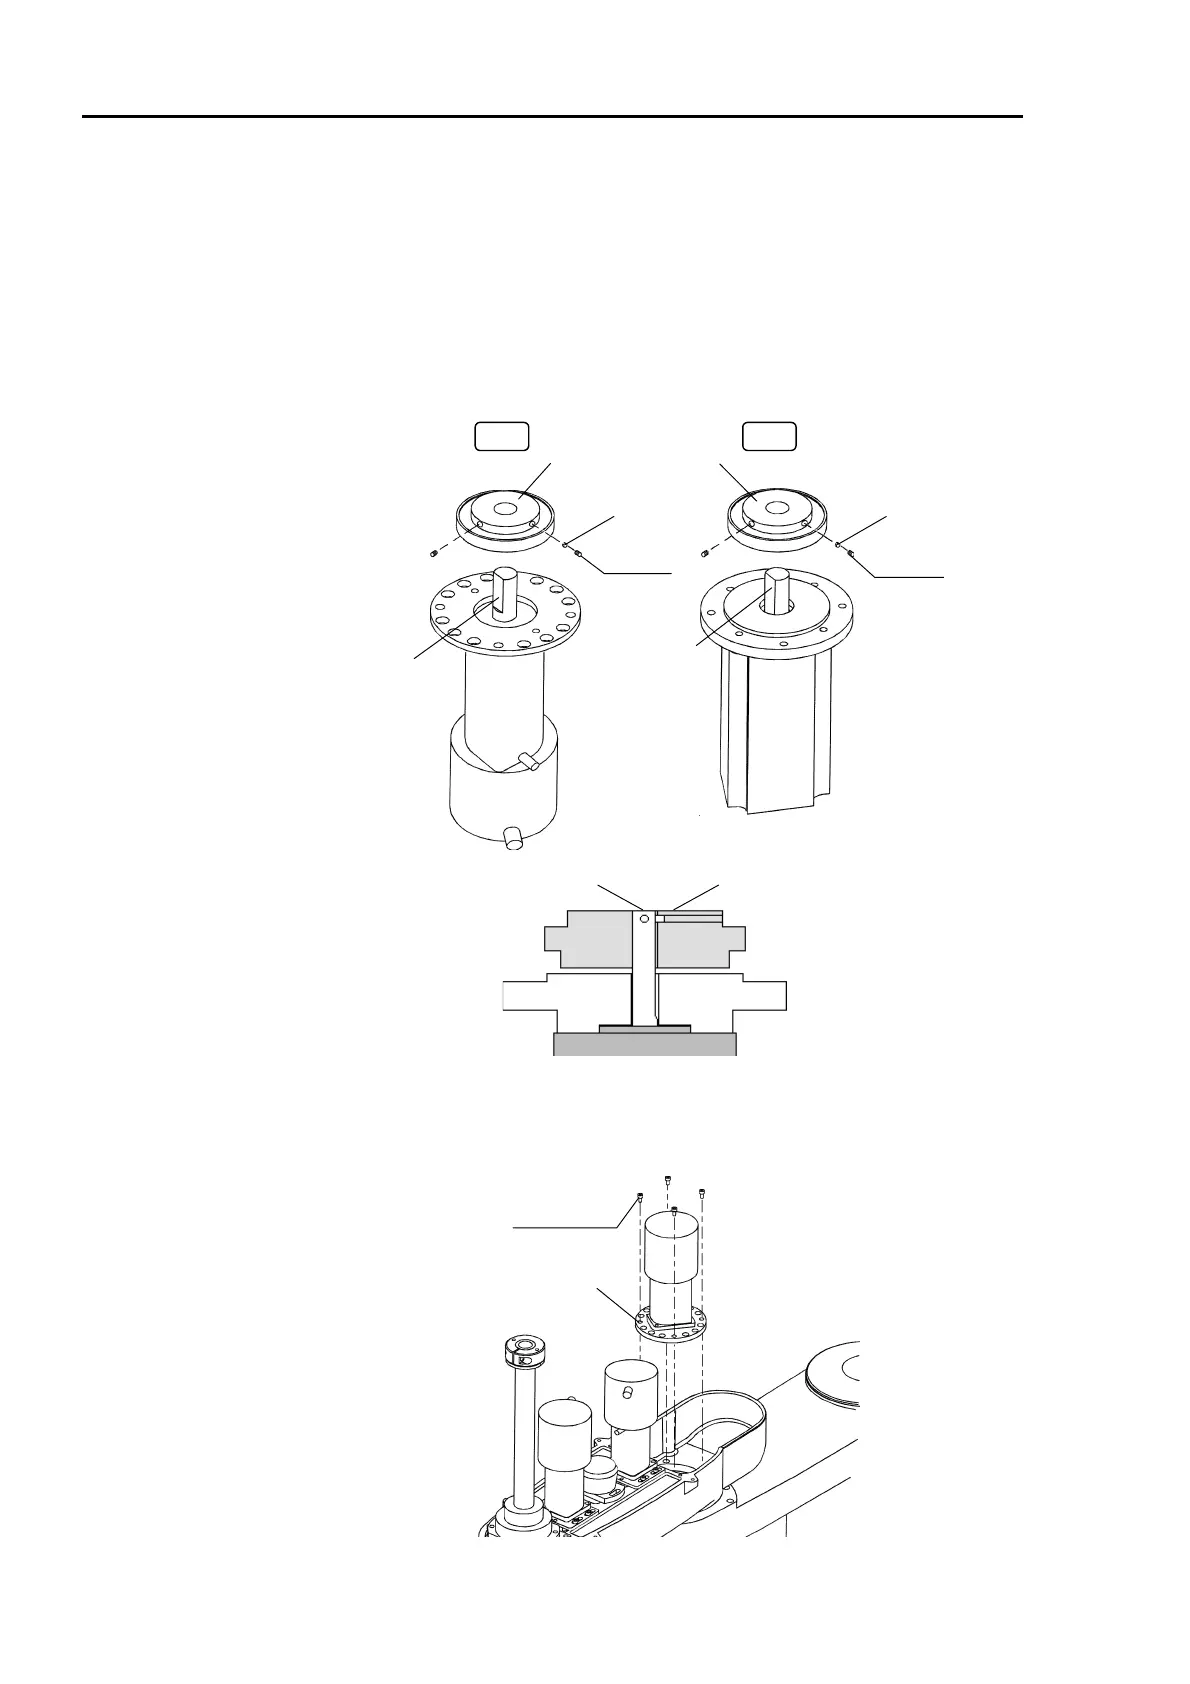
Installation : Joint #2
(1) Attach a new motor to the motor flange with bolts (2-M4×10 for the ES series;
4-M5×12 for the EL series).
(2) Mount the waveform generator to the motor shaft with two flat point setscrews (M4
×
6
for the ES series; M5×6 for the EL series). Match the end face of the waveform
generator to the end face of the motor shaft. One of the setscrews should touch the
flat side of the motor shaft perpendicularly. Insert a bush in the other setscrew hole
and tighten the screw. Do not over tighten to avoid damage to the motor shaft.
Bush
M4
×
6
Waveform generator
EL
ES
Flat face
Bush
M5
×
6
Flat face
End face of motor shaft
End of the wave-
form generator
(3) Fasten the Joint #2 motor unit in Arm #2 with the four bolts (M4×10 for the ES series;
M4×15 for the EL series). If the wave generator does not fit into the arm easily, move
Arm #2 slowly by hand while pushing the waveform generator into place.
ES:M4×10
EL:M4×15
Motor flange
 Loading...


