3. Installation Part 1: Setup & Operation
10
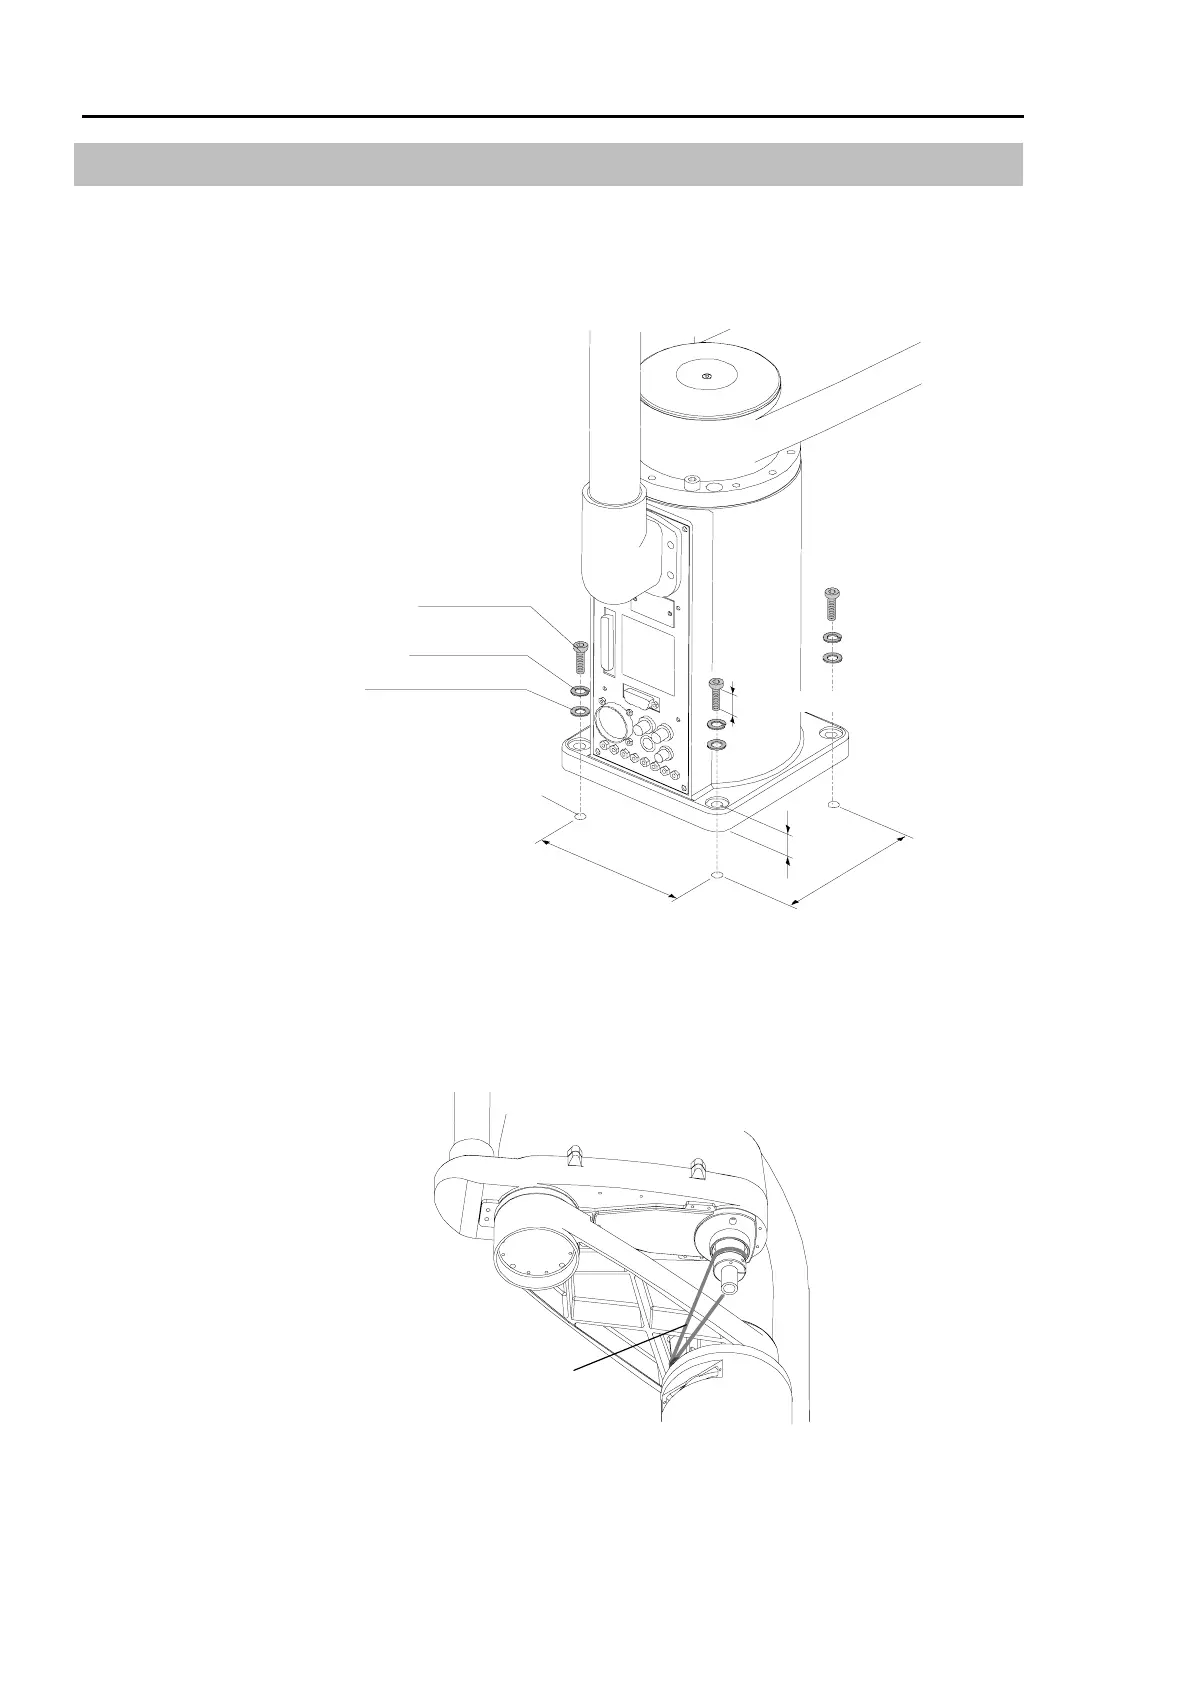
3.2 Installation method
* If the manipulator is a Clean model, refer to the chapter Clean Model.
(1) Anchor the base of the manipulator to the base table using the four steel bolts. Use the
steel bolts (M8 for ES or M12 for EL) conform to “ISO898-1 property class 10.9 or
12.9”.
Plain washer
*
watertight washer for
Protected model.
20 mm
150 mm (ES)
200 mm (EL)
150 mm (ES)
200 mm (EL)
Threaded hole for M8 bolt (ES)
Threaded hole for M12 bolt (EL)
(depth: 20 mm or more)
M8 bolt (ES)
M12 bolt (EL)
Spring washer
Shank length:
40mm
Figure 4. Manipulator installation
(2) Cut off the wire tie binding the bottom of the shaft and arm retaining bracket.
Wire tie
Figure 5. Cut the wire tie