Part 2: Maintenance 5. Replacing the Motors
115
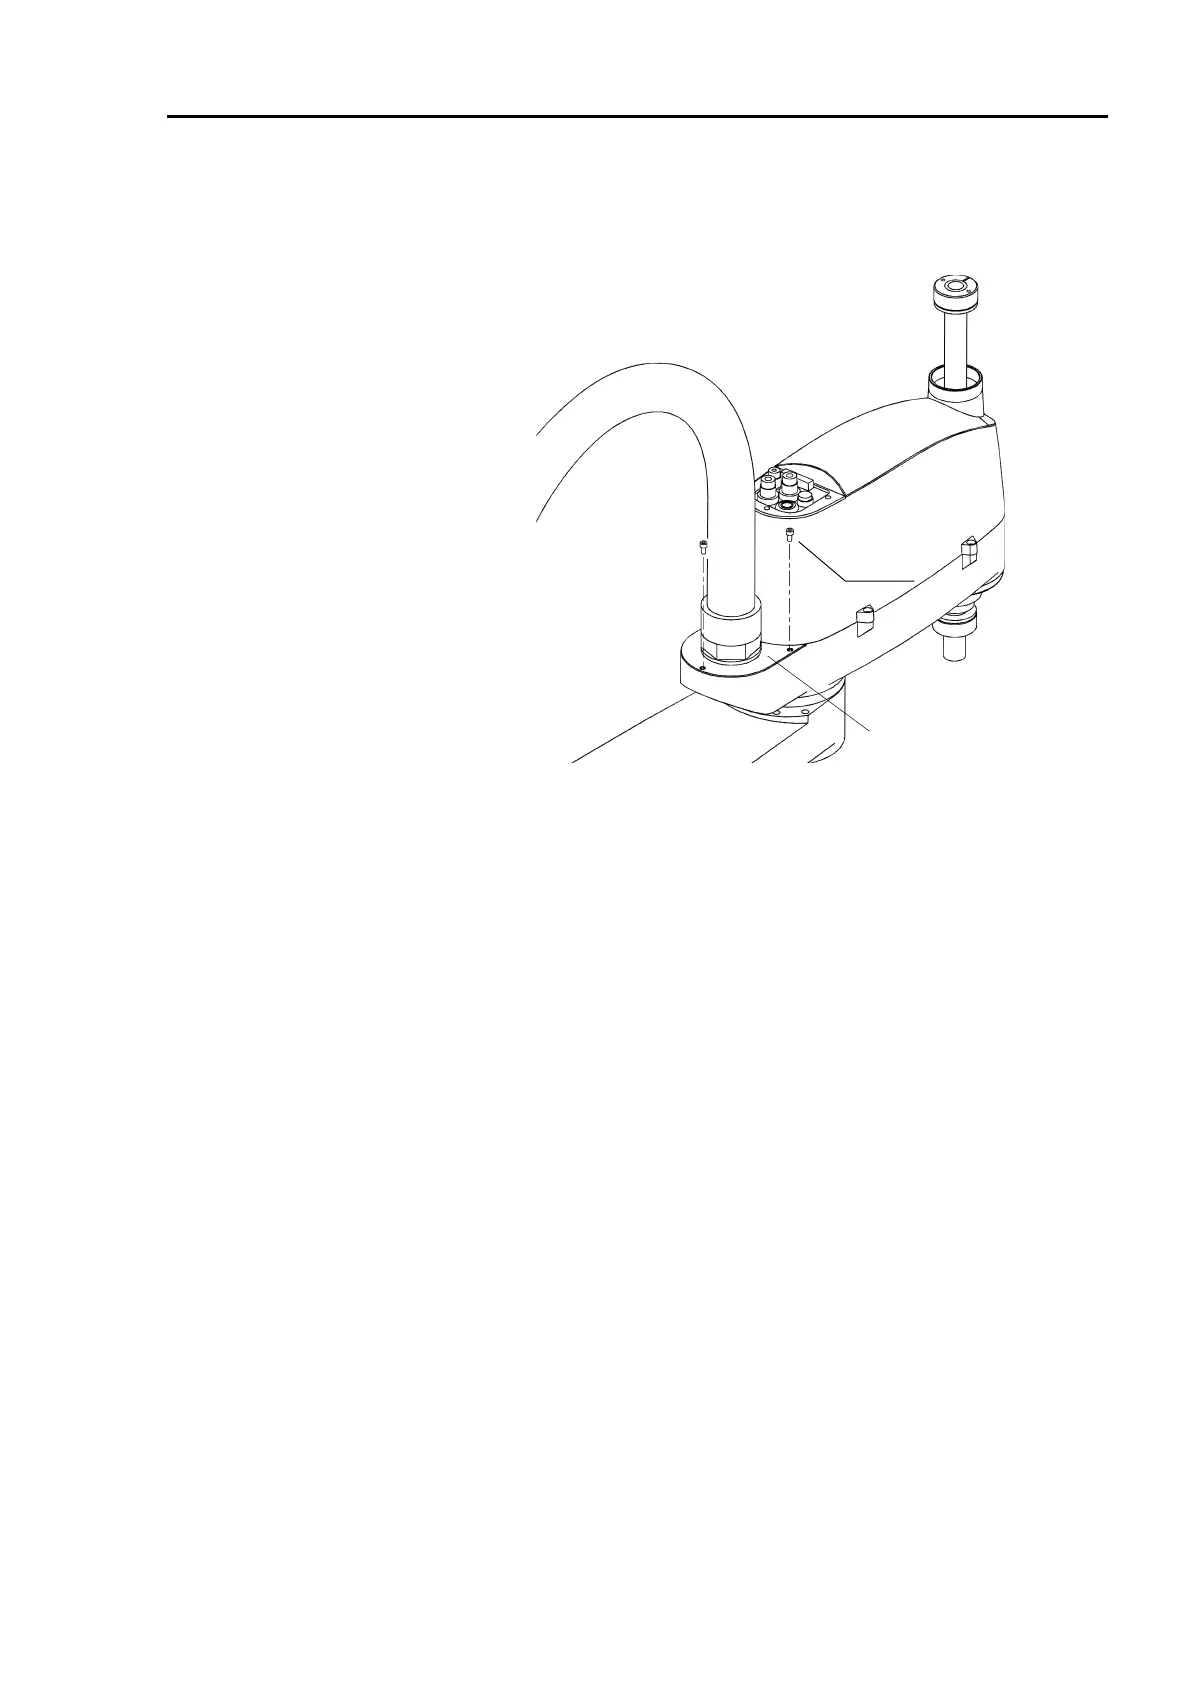
(4) Install the duct plate (3-M4
×
8).
∗ If the manipulator is a Protected model, seal the duct plate. Refer to the section
Sealing the Manipulator in chapter 13. Protected Model Maintenance.
M4×8
Duct plate
(5) Connect the connectors, X121 and X21.
(6) Fasten the motor cables with wire ties in their original positions. Do not allow
unnecessary strain on the cables.
(7) Install the arm top cover. Be careful not to bend the cables forcibly and push them
into the cover. (Refer to chapter 2. Opening the Covers).
∗ If the manipulator is a Protected model, seal the arm top cover. Refer to the section
Sealing the Manipulator in chapter 13. Protected Model Maintenance.
(8) The mechanical origin position and teach points change when the motor is replaced.
Be sure to calibrate Joint #2.
(Refer to chapter 11. Calibration.)
 Loading...


