Part 2: Maintenance 5. Replacing the Motors
119
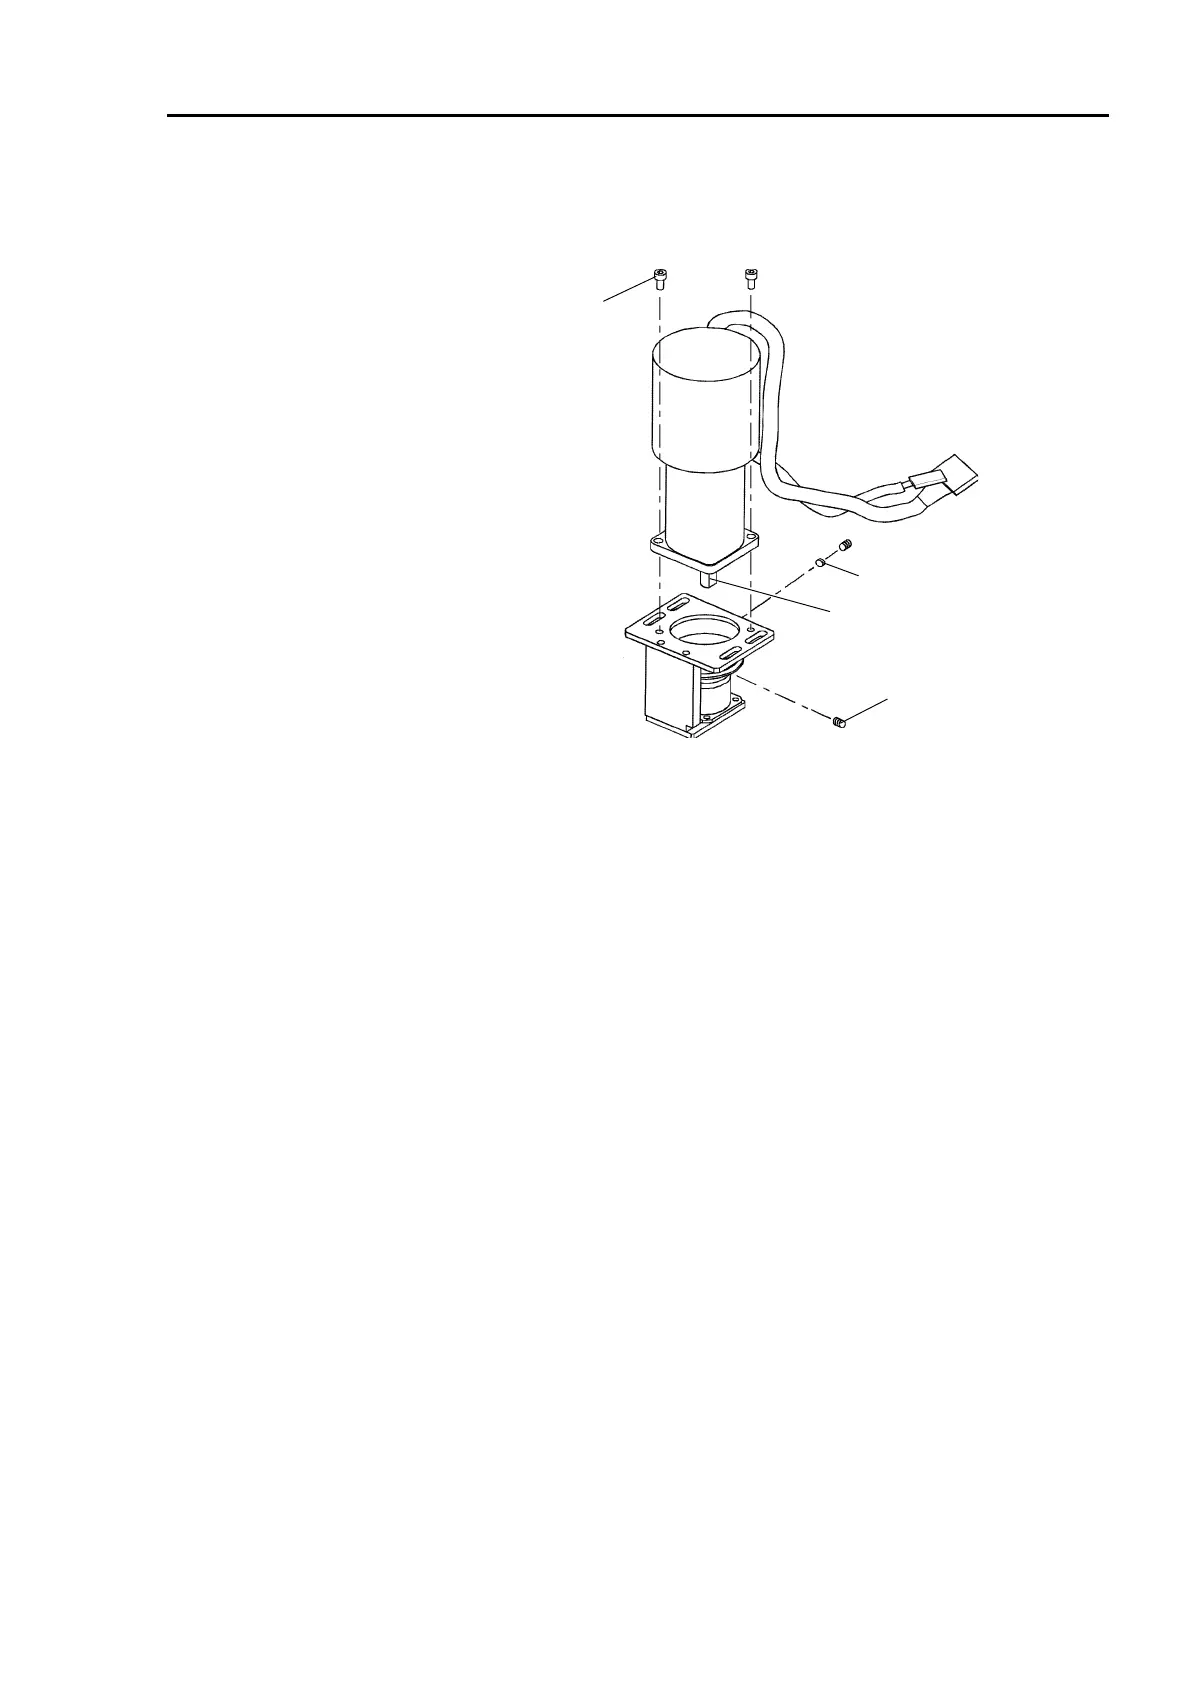
(3) Place the new motor on the motor plate so that the motor cables turn to the direction of
the figure and fasten it with two bolts (M4
×
8). The direction of the motor shaft flat
face should face one of the screw holes of the pulley.
Flat face
M4×8
M4×8
Flat point setscrew
Bush
(4) Secure the pulley to the motor shaft with two flat point setscrews (M4
×
8). One of
them should touch the flat face in the motor shaft perpendicularly. Insert a bush to the
other setscrew hole, then insert the setscrew and tighten it carefully to avoid damage to
the motor shaft.
(5) After the pulley is secured, pull out the gap gauge.
(6) Fasten the brake cables to the motor unit to prevent interference with the pulley when
installing the Joint #3 motor unit in Arm #2.
(7) Place the Joint #3 motor unit in the arm. The motor cables should be facing Joint #2.
 Loading...


