Part 2: Maintenance 6. Replacing the Reduction Gear Units
145
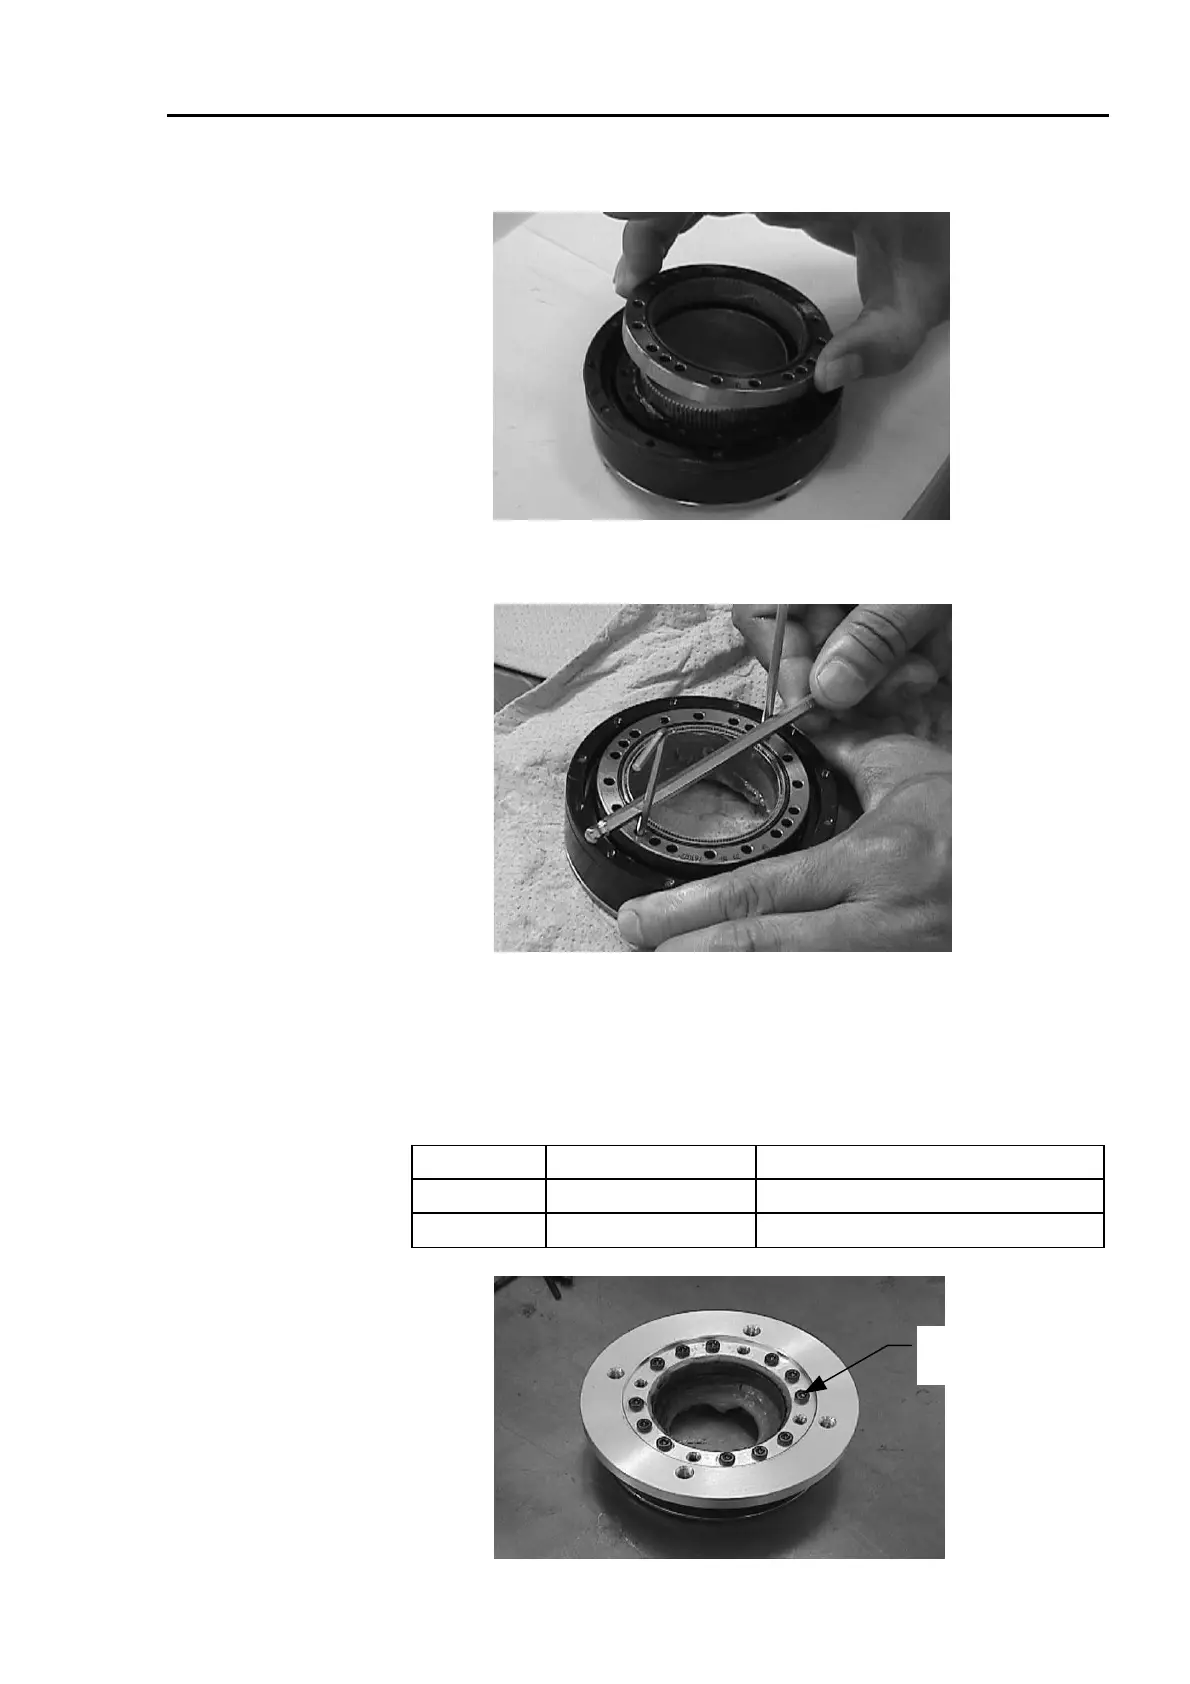
(3) Fit the circular spline (with the convex side facing down) into the fleck spline.
(4) As shown below, match the screw holes on the inner ring unit (of the cross roller
bearing unit) and the through holes of the circular spline.
(5) Place the reduction gear flange onto the circular spline. First, using a hexagon wrench,
position the twelve (12) bolts. Loosely fasten each bolt in a crisscross pattern so that
the bolts will be fastened evenly. When the bolts are positioned, tighten each bolt
securely at the torque specified in the table below using a torque wrench. Tighten
each bolt in a crisscross pattern. Be careful not to apply too much force since it may
damage the parts.
Series Bolts Tightening torque of the bolts
ES
12-M3×18 245N⋅cm (25kgf⋅cm)
EL
12-M4×18 490N⋅cm (50kgf⋅cm)
ES: M3×18
EL: M4×18
 Loading...


