Changing the Paper Settings
73
Paper and Other Media
2
Changing the Paper Settings
This section describes how to change the paper type for Trays and how to set image quality
processing by the individual paper type.
After loading paper in a tray, specify the type of paper loaded and select image quality for
the paper type. Setting image quality for each paper type enables you to print with the
most suitable image quality for the paper type.
z
For information on image quality processing for each paper type, refer to "Image Quality" (P.178).
z
Users can name Custom 1 to Custom 5 displayed in the paper type settings. For information on how to set
names to Custom 1 to Custom 5, refer to "Custom Paper Name/Color" (P.175).
z
You can change the paper type setting without entering to the System Administration mode on the [Setup]
screen, which is displayed by selecting [Setup] in the Services Home screen if you configure the settings in
advance. For more information, refer to "Customize Paper Supply Screen" (P.176).
1
Press the <Log In/Out> button.
2
Enter the system administrator’s user ID with the numeric keypad or the keyboard
displayed on the screen, and select [Enter].
When a passcode is required, select [Next] and enter the system administrator’s passcode,
and select [Enter].
z
The default user ID is "11111".
The default passcode is "x-admin".
3
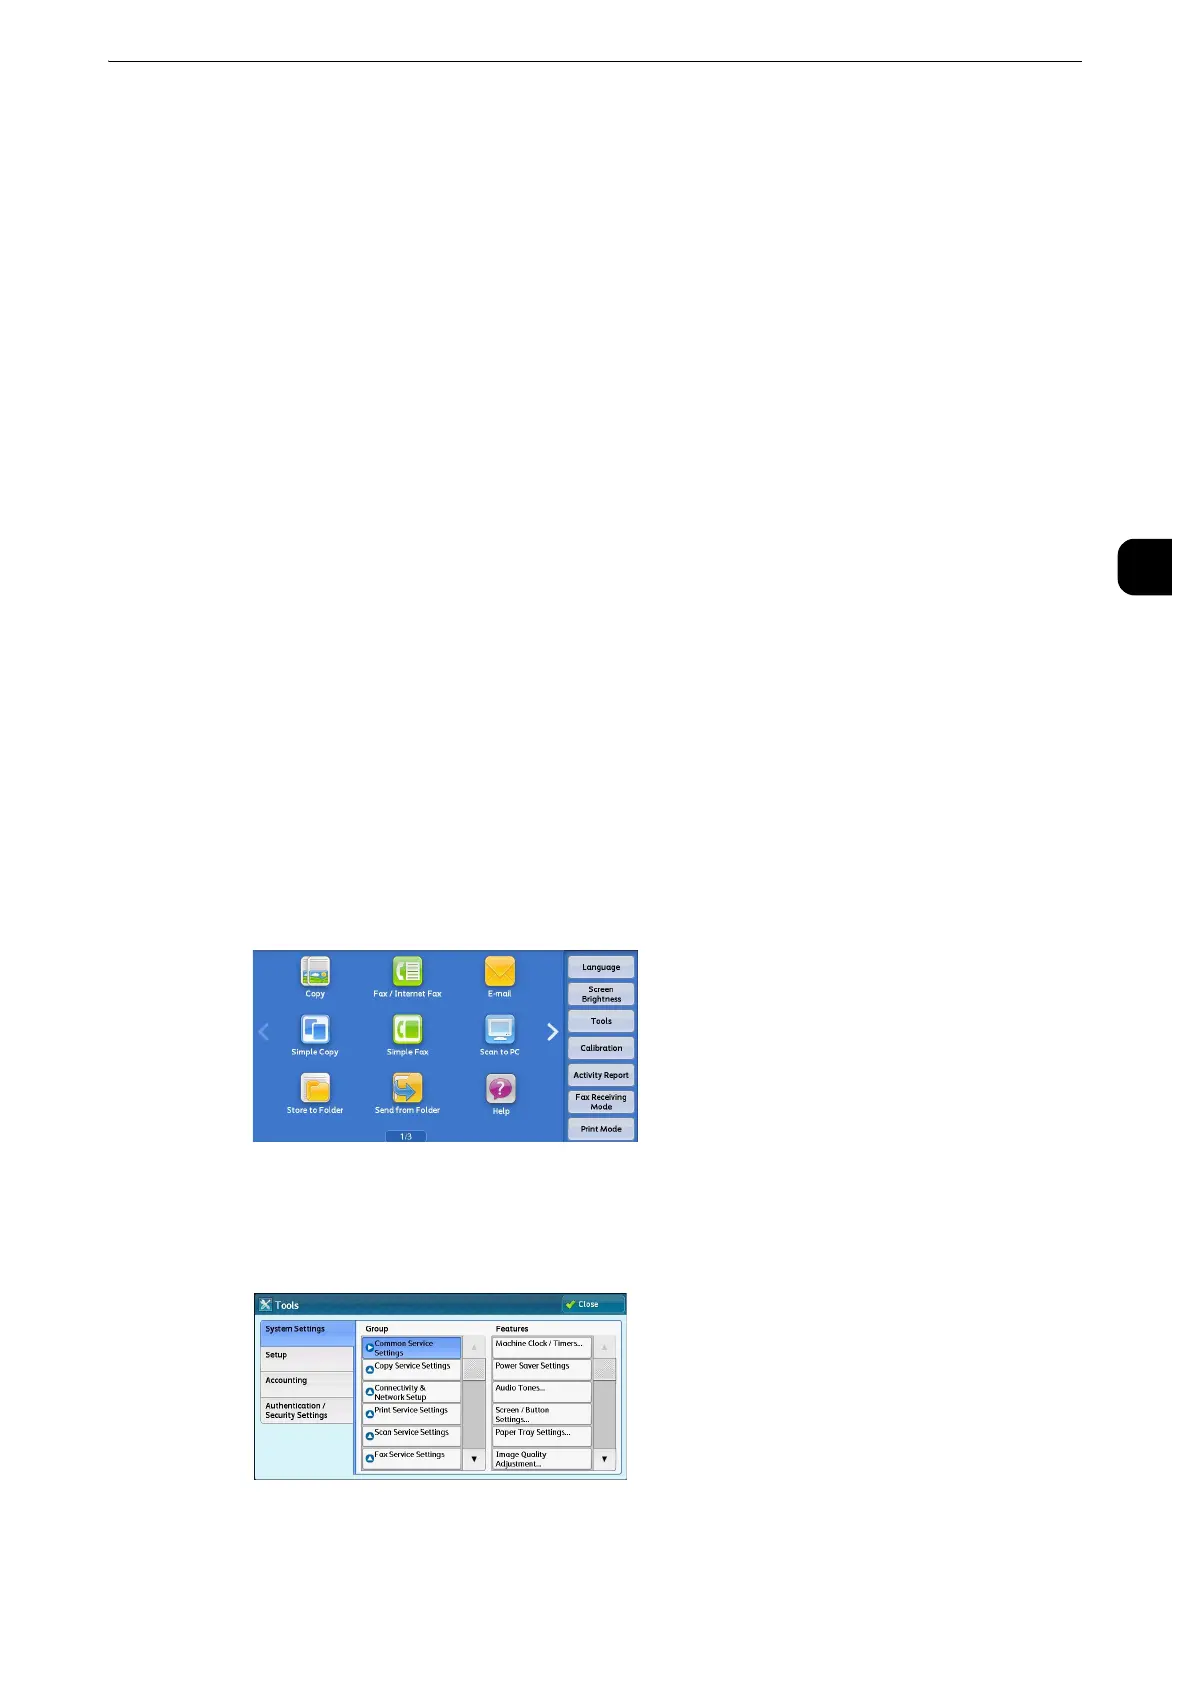
Select [Tools] on the Services Home screen.
z
When the Services Home screen is not displayed on the touch screen, press the <Services Home> button.
4
Select [System Settings] > [Common Service Settings] > [Paper Tray Settings].
 Loading...


