Chapter 8 Advanced Copy Management
8.2 Functions in the Action Area for Advanced Copy
ETERNUS Web GUI User’s Guide
253
Copyright 2011 FUJITSU LIMITED P2X0-1090-02ENZ0
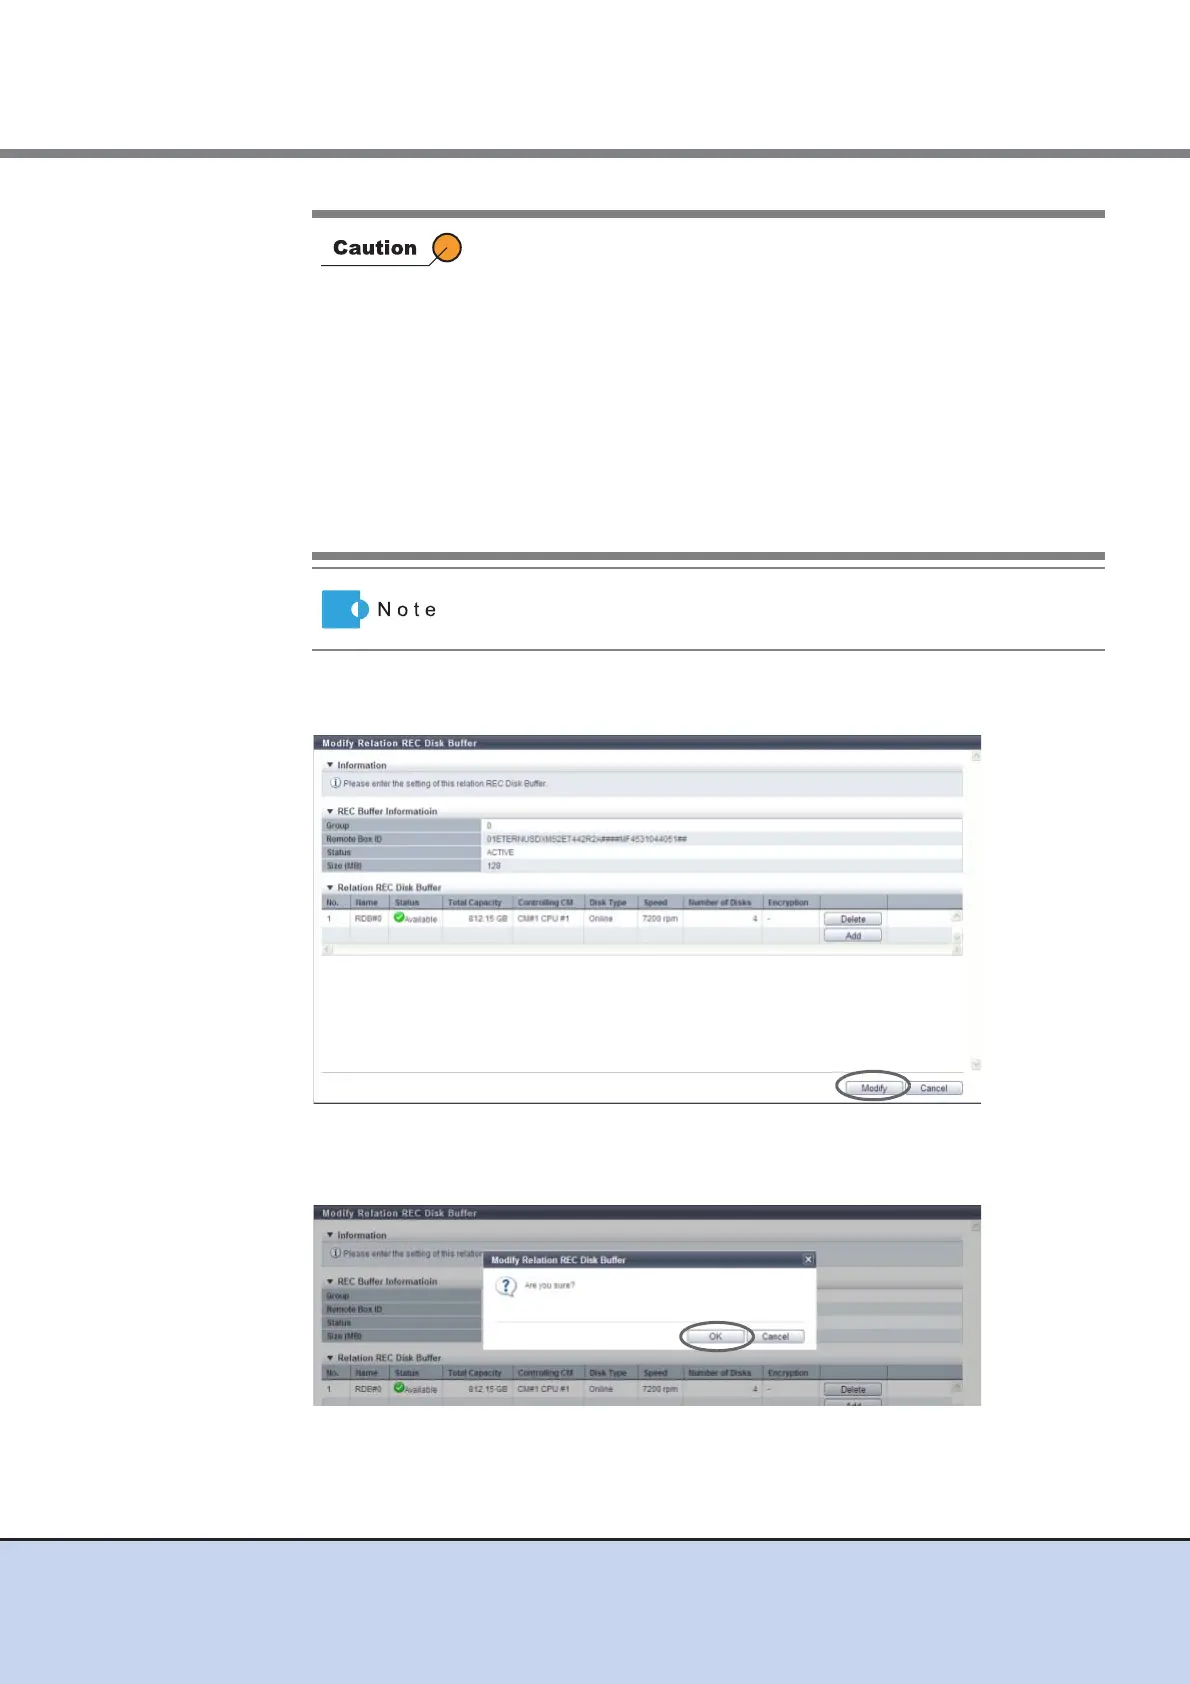
4 When the REC Disk Buffer assignment has been completed, click the [Modify]
button.
→ A confirmation screen appears.
5 Click the [OK] button.
→ The REC Disk Buffer assignment starts.
• When assigning multiple REC Disk Buffers to a REC Buffer,
select ones with the same capacity.
• An error screen appears in the following conditions:
- No REC Disk Buffers, which satisfy the assignment
requirements, are registered to the ETERNUS DX Disk
storage system
- The number of REC Disk Buffers, which are assigned to a
REC Buffer, exceeds the maximum number which the device
model supports
- The selected REC Disk Buffer does not satisfy the assignment
requirements
- The selected REC Disk Buffer does not exist
To delete the assignment of the REC Disk Buffer, click the [Delete]
button for the target REC Disk Buffer (RAID group).