Section 4
4-78 © Copyright 2009 GBC. All rights reserved. Advanced Punch Service Manual
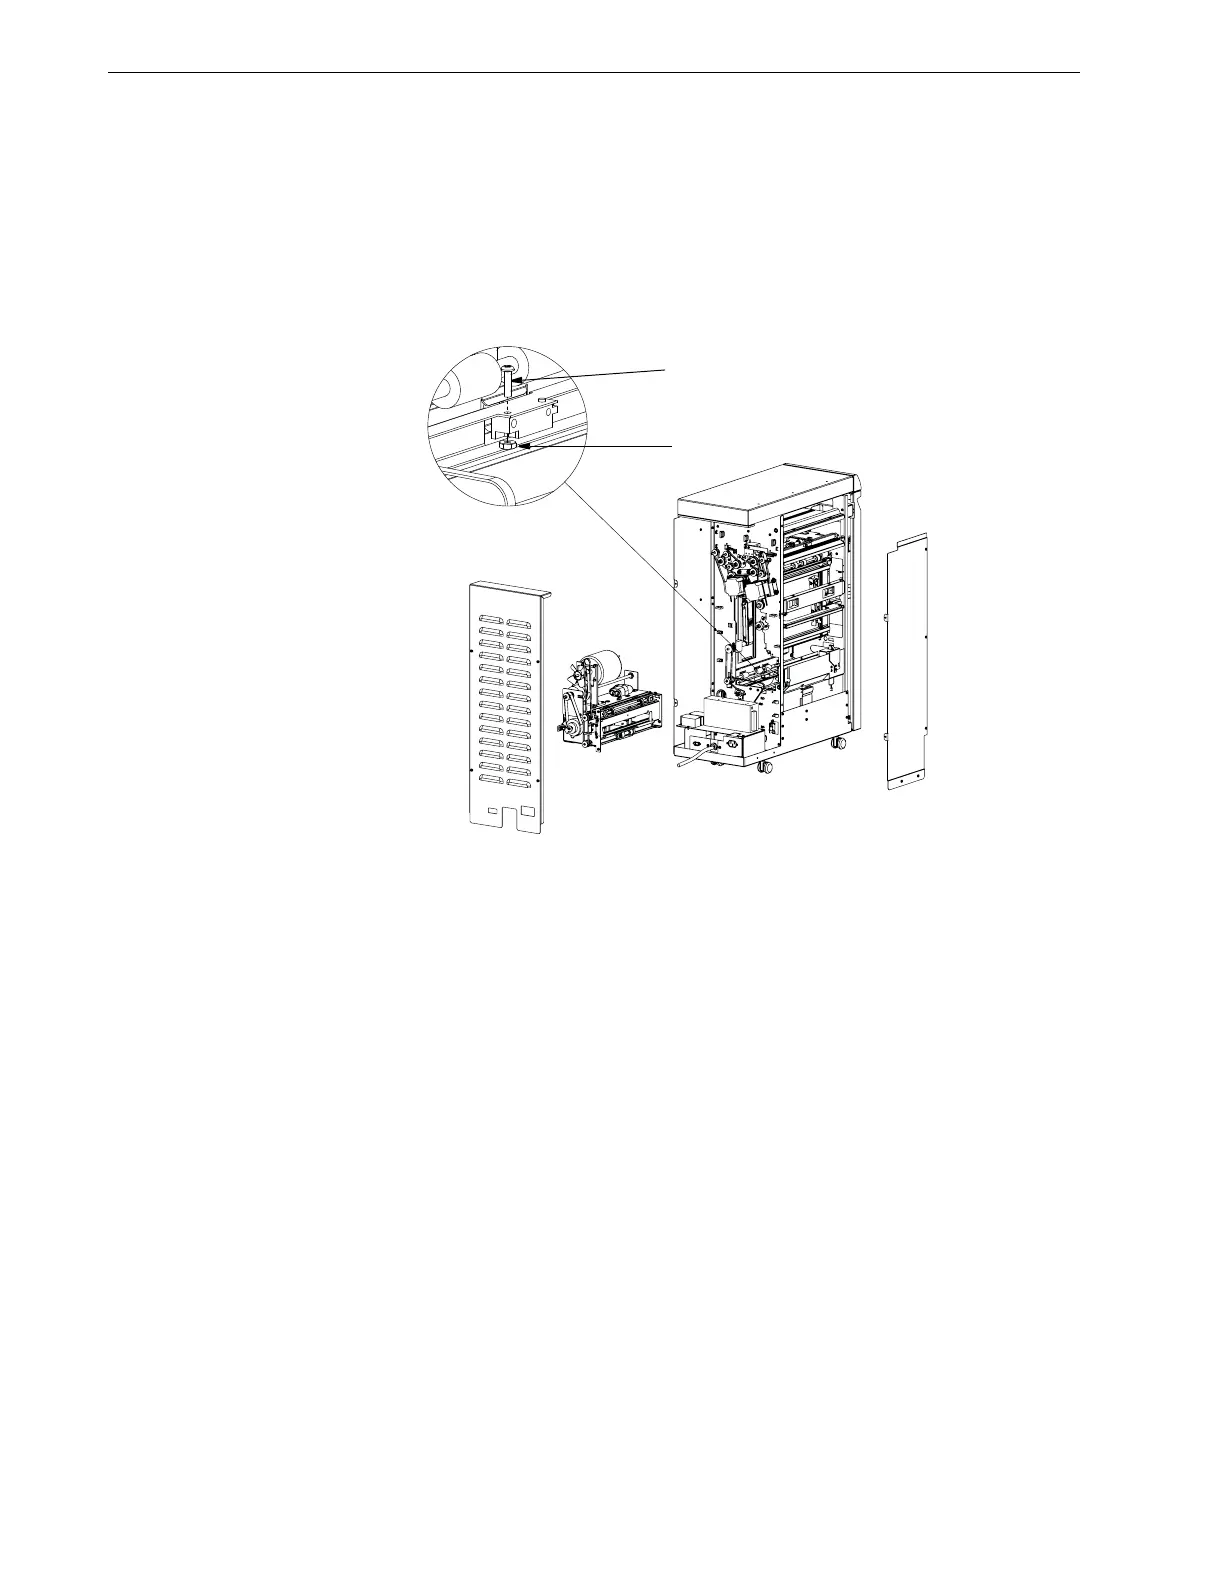
3. Disconnect the sensor wires from the rear frame.
4. Remove the screw [1] and nut [2] that secure the sensor to the sheet metal
part.
5. Reverse the above steps to install the sensor.
Figure 4.95 Sensor S4 & S5 Replacement
• Replacement of sensor S3 (See below image)
1. Remove the rear cover as per Sec 4.1.2
2. Remove the punch module as per Sec 4.9.1
3. Remove the two screws [1]
4. Remove the e-ring & washer [2] from one end
5. Pull the shaft [3] from other end and then push it upwards along with the
bracket so that the sensor is accessible.
6. Disconnect the sensor wires from the rear frame.
7. Remove the screw [4] and nut [5] that secure the sensor to the sheet metal
part.
8. Reverse the above steps to install the sensor.