EasyManuals Logo

GBC AdvancedPunch User Manual

GBC AdvancedPunch
244 pages
To Next Page IconTo Next Page
To Previous Page IconTo Previous Page
Page #135 background imageLoading...
Page #135 background image
Repair and Adjustment Procedures
Advanced Punch Service Manual © Copyright 2009 GBC. All rights reserved. 4-77
aligner panel as per 4.6.3.4 (Exclude last step of removing green drive belt
assembly)
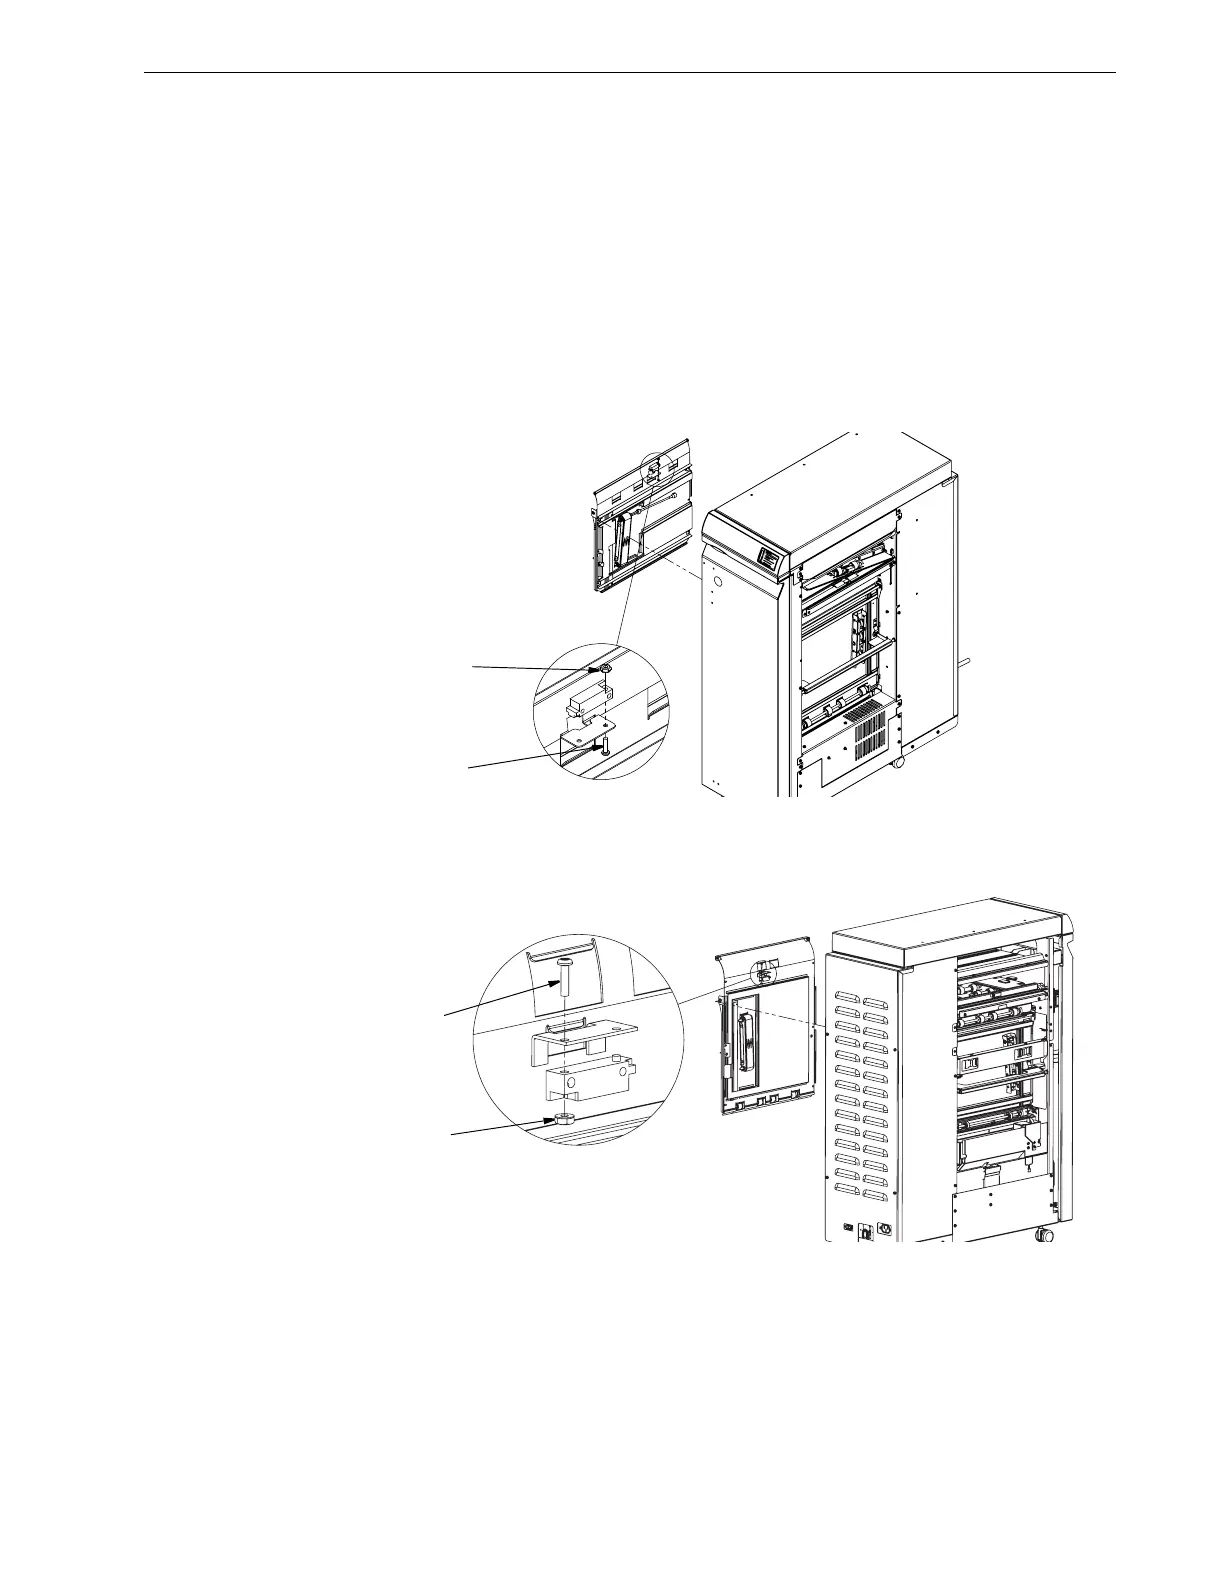
4. Remove the screw [1] and nut [2] that secure the sensor to the sheet metal
part.
Figure 4.93 Sensor S2 Replacement
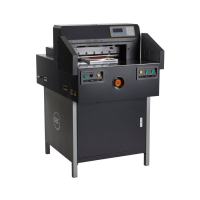
Figure 4.94 Sensor S6 Replacement
Replacement of sensor S4 and S5 (See below image)
1. Remove the rear cover as per Sec 4.1.2
2. Remove the punch module as per Sec 4.9.1
[1]
[2]
[1]
[2]

Table of Contents

Questions and Answers:

Question and Answer IconNeed help?

Do you have a question about the GBC AdvancedPunch and is the answer not in the manual?

GBC AdvancedPunch Specifications

General IconGeneral
BrandGBC
ModelAdvancedPunch
CategoryPaper Cutters
LanguageEnglish

Related product manuals