GE VOLUSON
i / VOLUSON
e
D
IRECTION KTI106052, REVISION 10 SERVICE MANUAL
7-8 Section 7-4 - Screen Captures and Logs
Section 7-4
Screen Captures and Logs
There may be times when the customer or field engineer will want to capture a presentation on the
screen so it may be recovered by the OnLine Center.
This is accomplished by saving the image(s):
A.) to SonoView and export them (as jpg, bmp or tiff) to DVD/CD+(R)W or external USB-drive.
B.) as jpg and bmp to D:\export by pressing the ALT
+ P key on the alphanumeric keyboard.
Note:
Successive ALT + P keystrokes (max. 20) overwrite existing snapshots at destination HDD!
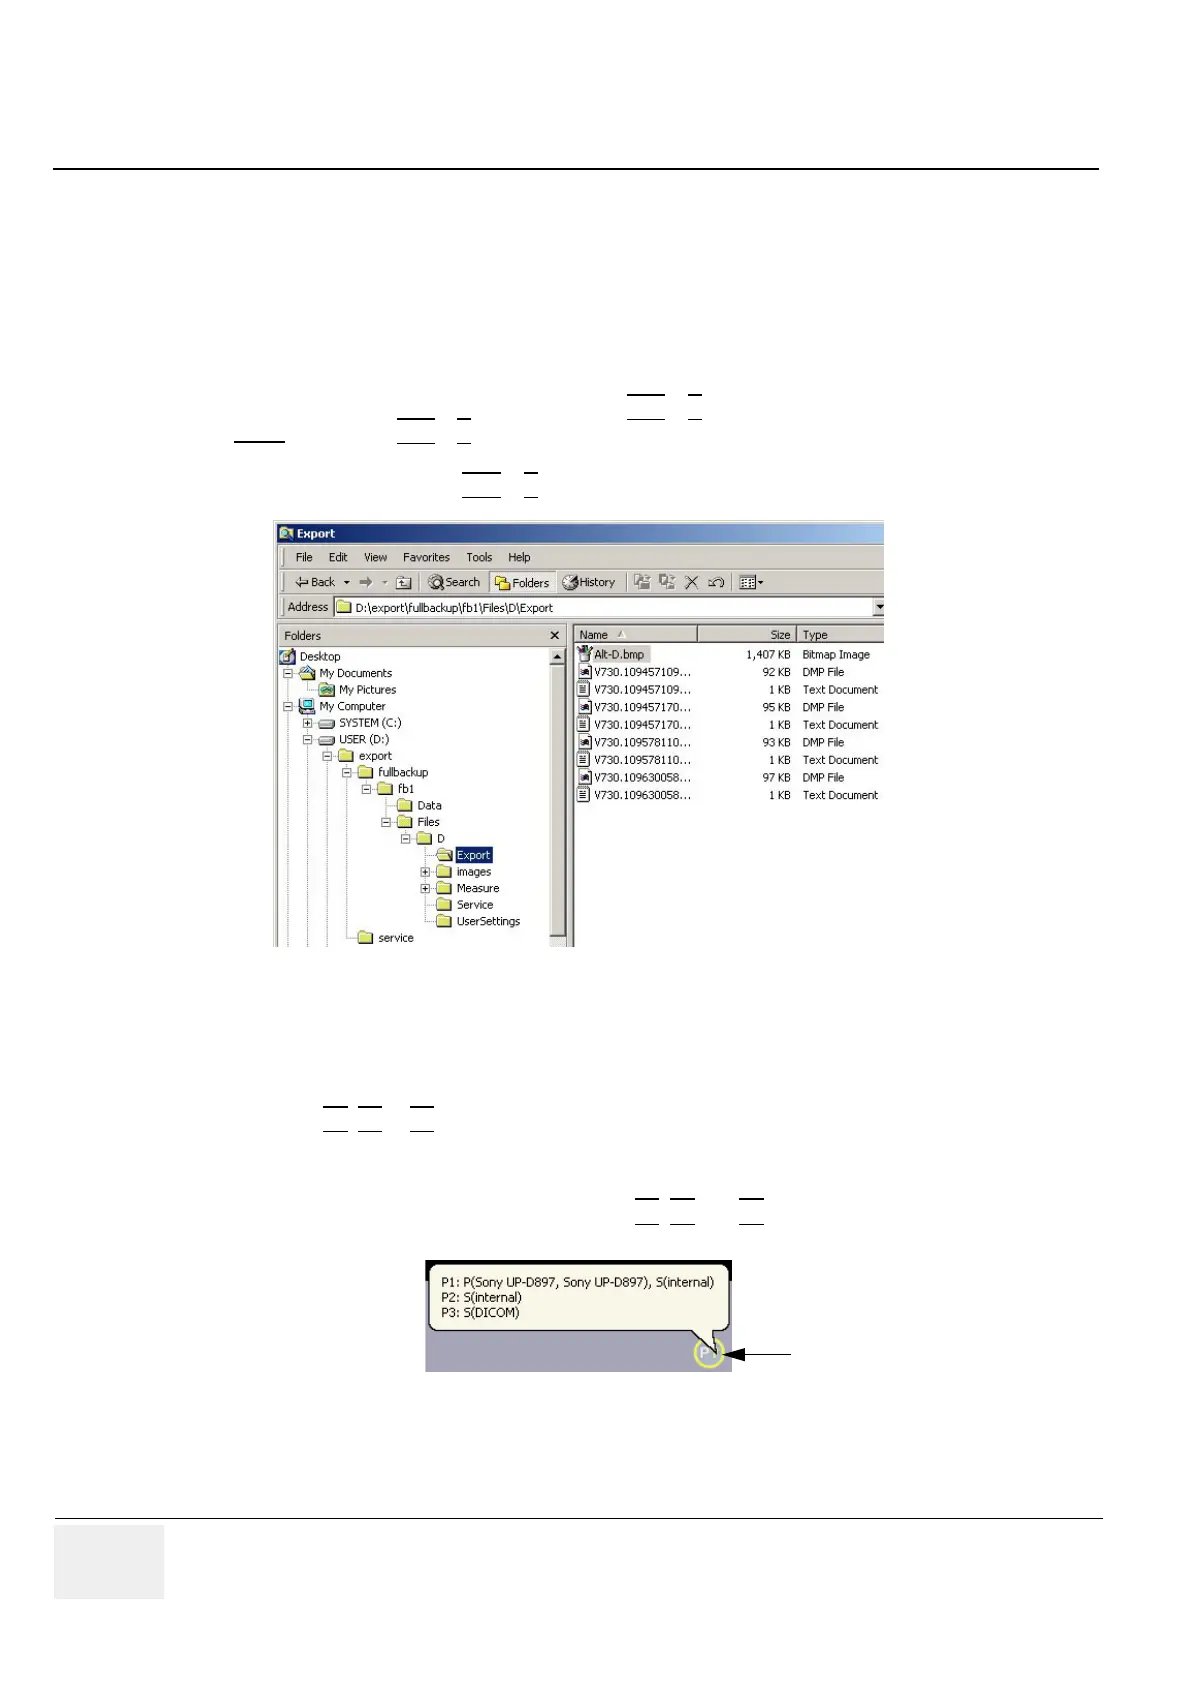
C.) creates one snapshot (Alt-D.bmp) + “Full Backup” of the System state (fullbackup -> fb1) saved on
D:\export by pressing the ALT
+ D key on the alpha-numeric keyboard.
7-4-1 Capturing a screen
The following is the generic process to capture any screen from the scanner.
1.) Navigate to, and display the image/screen to be captured.
2.) Press the P1
, P2 or P3 key (depending on system configuration) on the control panel and save the
image to Sonoview.
NOTE: To find out which key is reserved for saving images to Sonoview, move the cursor over the P? symbol
in the status area. This show a short summary of P1
, P2 and P3 key´s configuration.
3.) Select the stored image(s) and export them to DVD/CD+R/RW, an external USB drive (optional) or
mapped Network drive (jpg, bmp or tiff).
Figure 7-4 D:\export
Figure 7-5 summary of key’s configuration
 Loading...


