M
M
7) Press key to finalize the register.
8) Press key.
Combination register mode is finalized.
9) Press key.
Mode setting is finalized and the mode returns to the
normal mode.
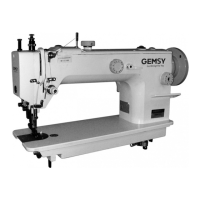
设定例:以登记的C1内容进行缝制。
1)打开电源。
2)用 键、 键把图案号码设定为“C1.1”。
3)按 键。缝制LED亮灯,然后压脚移动,上升。
4)如果图案形状良好,则可以缝制。
5)按照每次缝制组合的顺序进行步骤,1循环峰值结
束时,返回最初的步骤,可以反复进行缝制。
* 缝制后,如果想返回前面的图案或跳到下一图案时,
请在缝制LED亮灯的状态按 键、 键。图案显示
变化,压脚移动到缝制开始点。
* 登记C1-C20后,改变P1-P50的内容的话,登记在
C1-C20中的P1-P50的内容也改变,请注意。
* 每种图案均应确认图案形状。(请参照[图案形状
的确认]之项。)
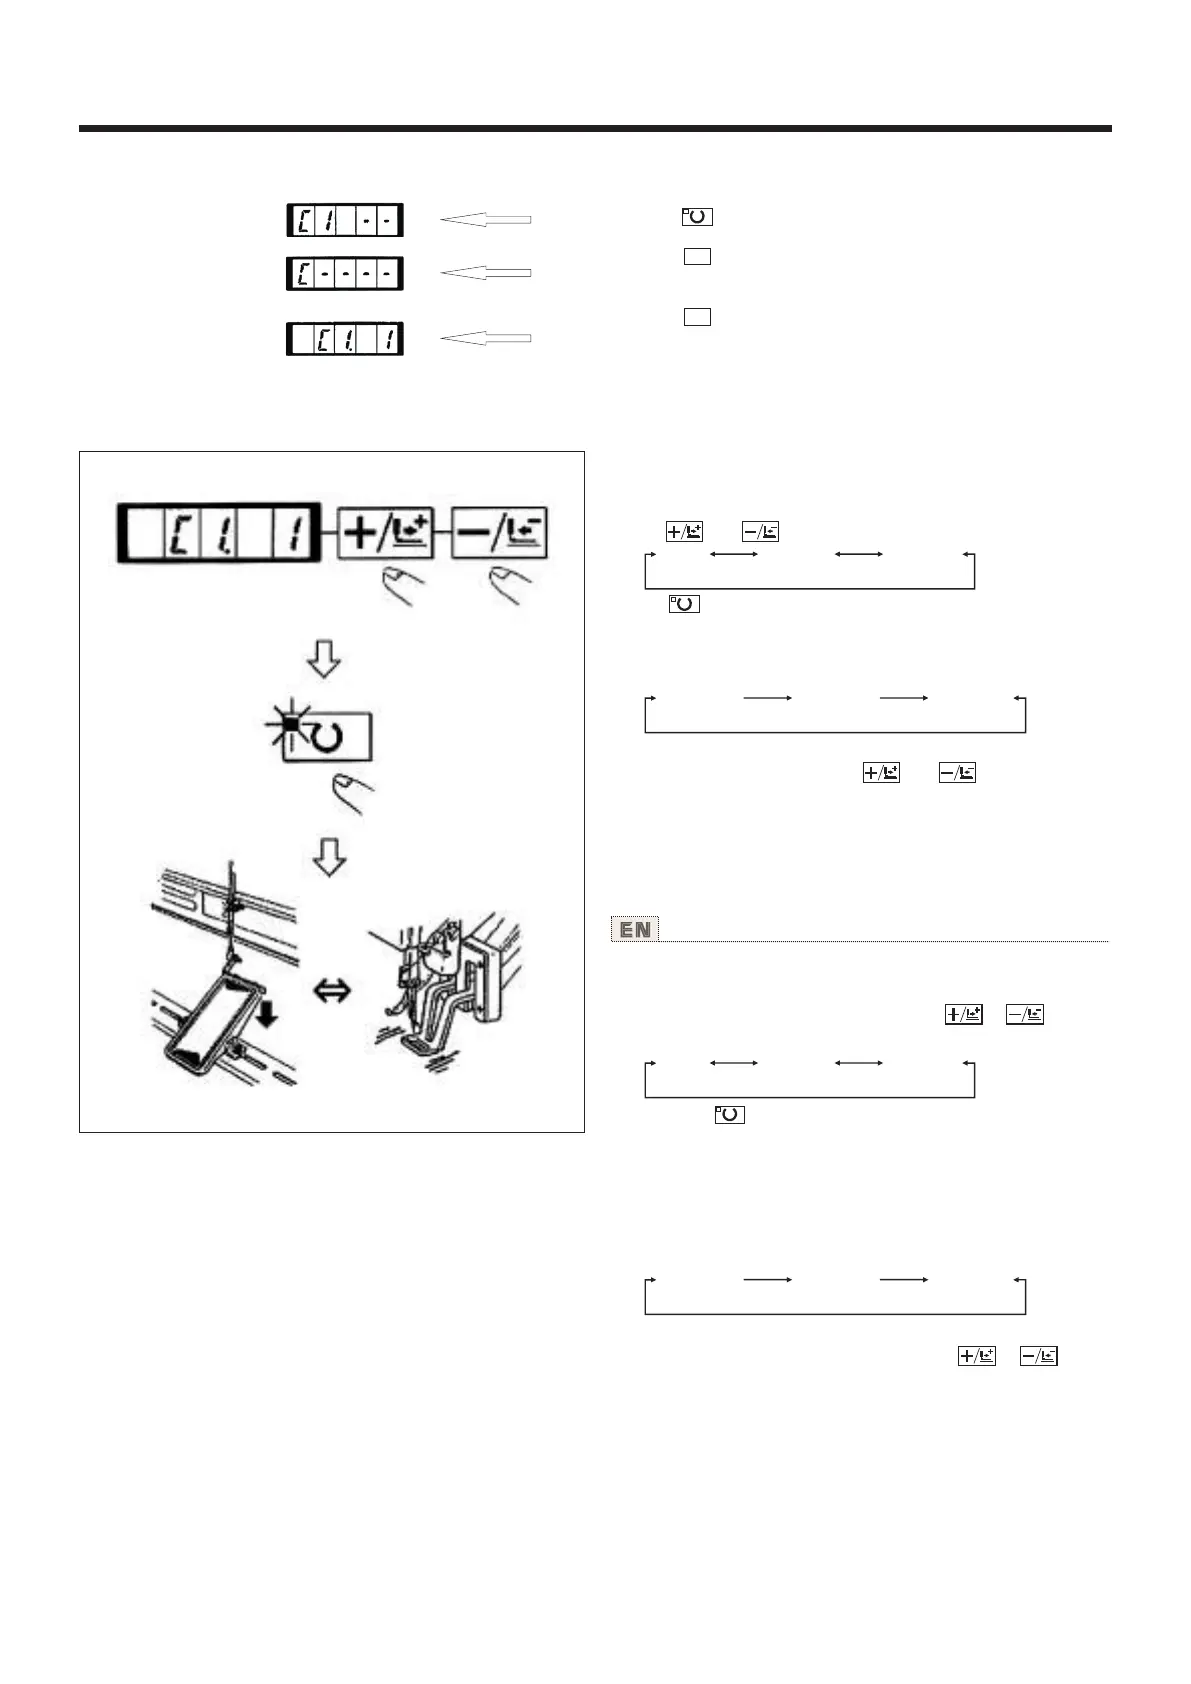
0-99 P1-P50 C1-C20
“C1.1” “C1.2” “C1.3”
Operation example : Perform sewing with the contents of the
registered C1.
1) Turn ON the power switch.
2) Set the pattern No. to "C1-1"using the or key.
Scroll as follows :
3) Press the key. When the sewing LED lights up, the work
clamp feet will go up after having moved.
4) lf the contour of the pattern is acceptable, the sewing can
be made.
5) Every time the sewing is finished, the step is made in the
order of the combination After completing one cycle of sewing,
the step returns to the first step. The sewing can be made
repeatedly.
* When you desire to return the pattern to the previous one
or skip the next pattern after sewing, press or key in
a state that the sewing LED lights up. The indication of the
pattern will change, and the work clamp feet will move to the
sewing start point.
* If the contents of P1 to P50 are changed after registration
of C1 to C20, the contents of P1 to P50 used in C1 to C20 will
change. So, be careful. Make sure of the contour of the pattern
for each of the patterns. (Refer to the item "Checking the
contour of the sewing pattern".)
0-99 P1-P50 C1-C20
“C1.1” “C1.2” “C1.3”
使用说明书 Operation Instruction
(2)缝制操作 Sewing operation
28