EasyManuals Logo

HPE Apollo 2000 User Manual

HPE Apollo 2000
187 pages
To Next Page IconTo Next Page
To Previous Page IconTo Previous Page
Page #106 background imageLoading...
Page #106 background image
Hardware options installation 106
To install the component:
1. Power down the node (on page 32).
2. Disconnect all peripheral cables from the node.
3. Remove the node from the chassis (on page 32).
4. Place the node on a flat, level surface.
5. Remove the FlexibleLOM 2U node riser cage assembly ("FlexibleLOM 2U node riser cage
assembly" on page 52).
6. Set the accelerator power setting switch to the correct settings based on the power consumption of
the processor ("Accelerator power setting switch" on page 104).
For more information, see the documentation that ships with the accelerator option.
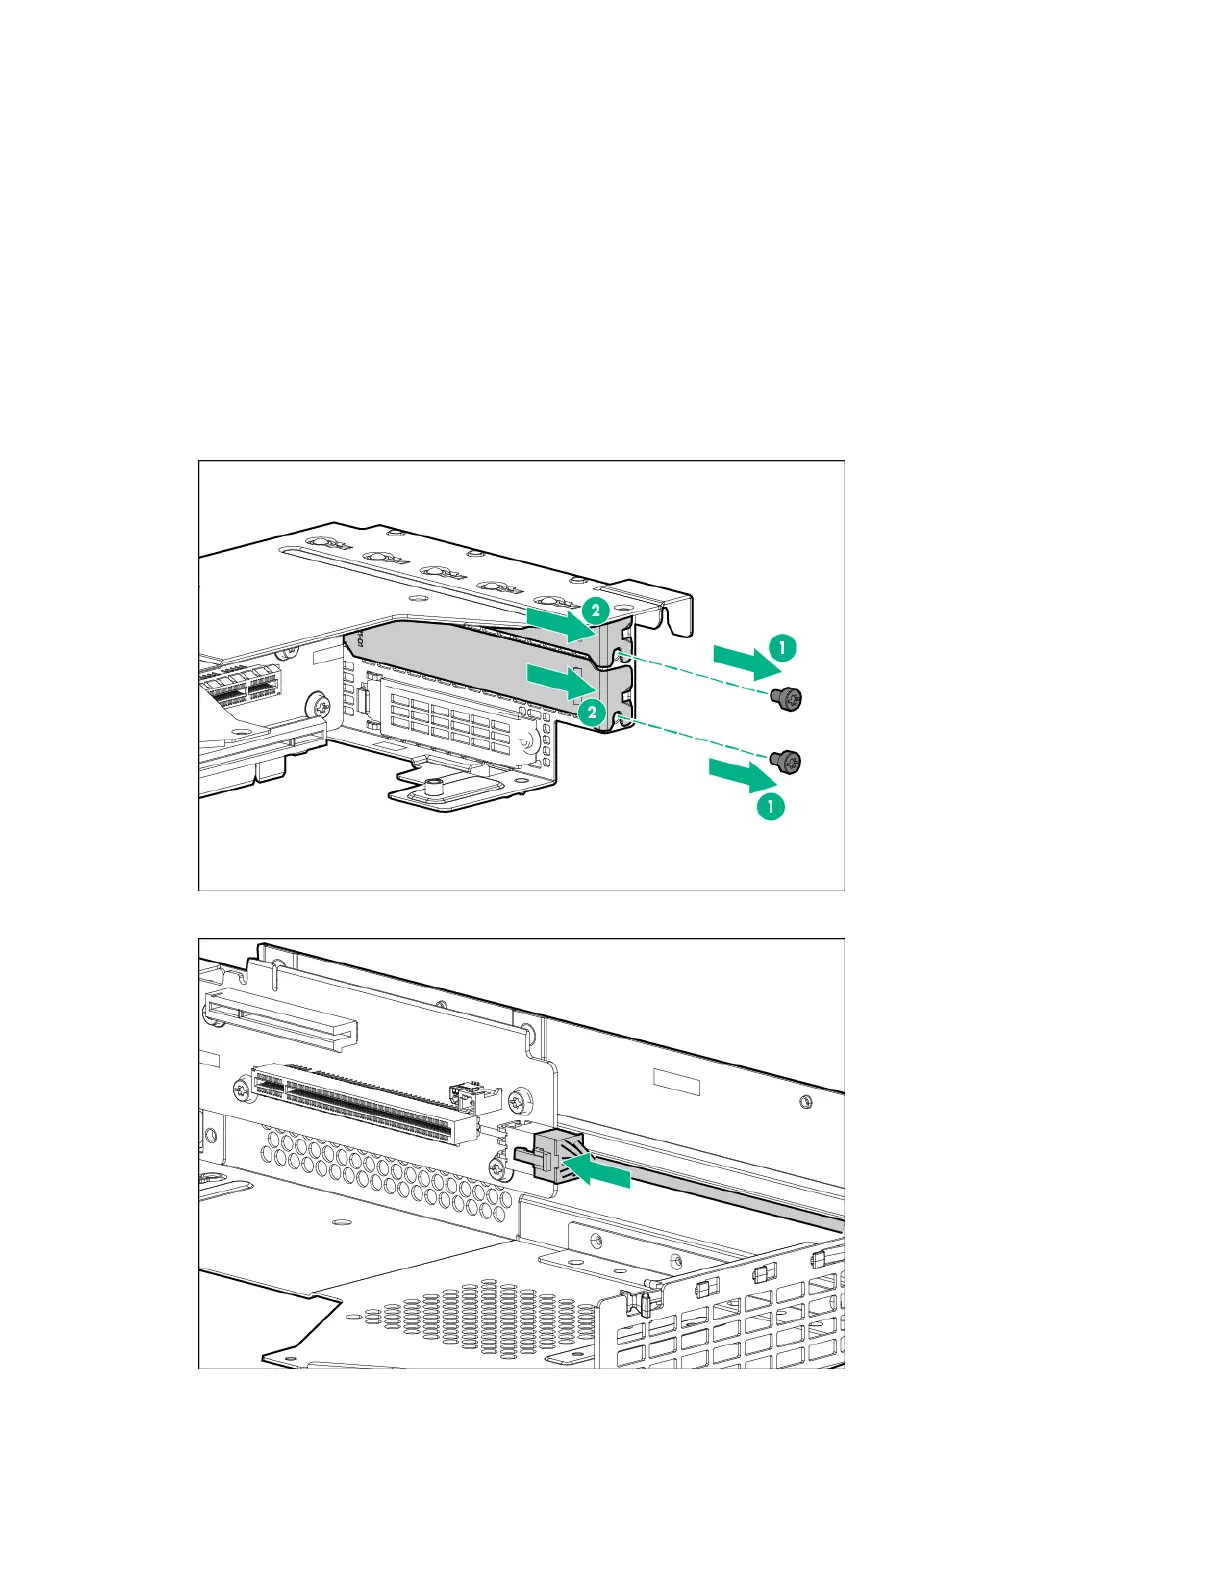
7. If installing a half-height accelerator, remove the middle PCI blank only.
8. If installing a full-height accelerator, remove the middle and the top PCI blanks.
9. Connect the single accelerator power cable to the connector on the riser board.

Table of Contents

Questions and Answers:

Question and Answer IconNeed help?

Do you have a question about the HPE Apollo 2000 and is the answer not in the manual?

HPE Apollo 2000 Specifications

General IconGeneral
Form Factor2U
Memory TypeDDR4
Max Processors2
Memory Slots16 DIMM slots per server tray
Storage OptionsSAS, SATA
NetworkingFlexibleLOM
Network1/10/25/40/100 GbE options
Power SupplyRedundant Power Supplies
Power Supply Options1600W
Operating System SupportMicrosoft Windows Server, Red Hat Enterprise Linux, SUSE Linux Enterprise Server, VMware
StorageUp to 24 drives

Related product manuals