Hardware options installation 88
12.
Install the node into the chassis ("Installing a node into the chassis" on page 60).
13. Connect all peripheral cables to the nodes.
14. Power up the node ("Power up the nodes" on page 32).
Single-slot 2U node PCI riser cage assembly option
To install the component:
1. Power down the node (on page 32).
2. Disconnect all peripheral cables from the node.
3. Remove the node from the chassis (on page 32).
4. Place the node on a flat, level surface.
5. Remove the 2U rear I/O blank ("Remove the rear I/O blank" on page 39).
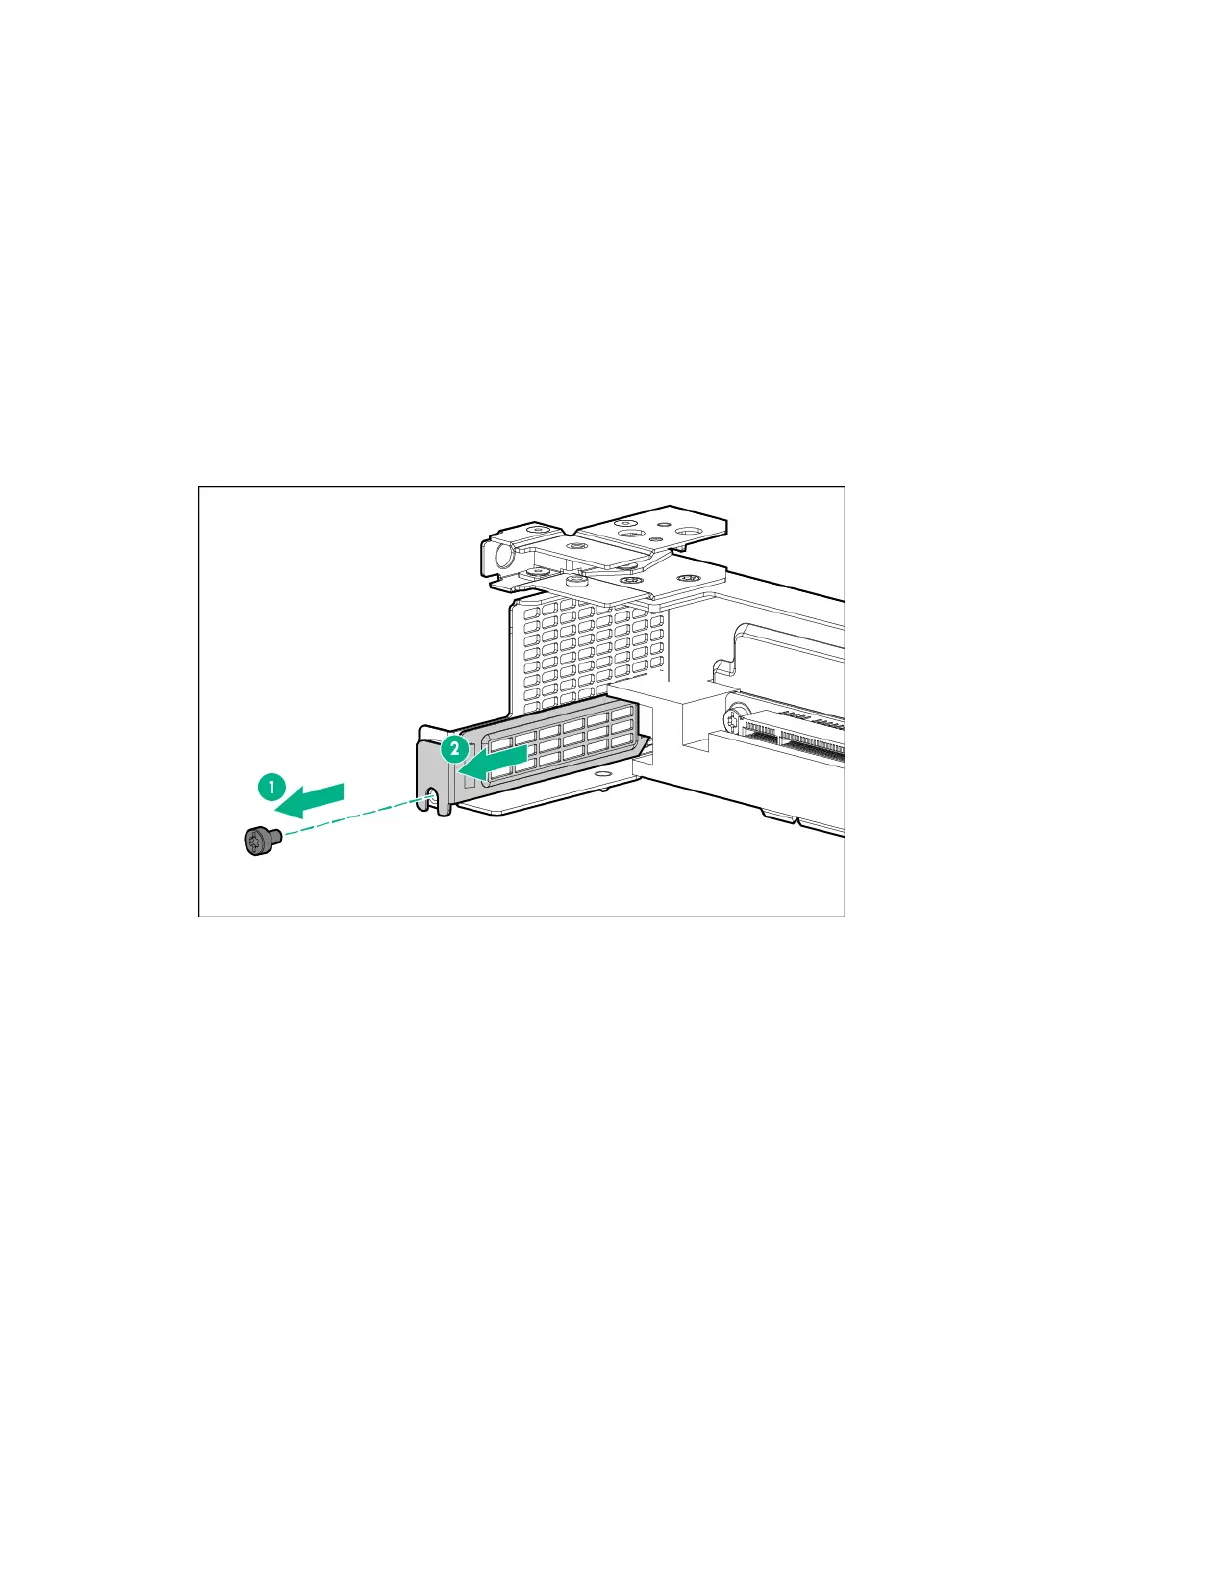
6. If you are installing an expansion board, remove the PCI blank.
7. Install any optional expansion boards.
8. Connect all necessary internal cabling to the expansion board. For more information on these
cabling requirements, see the documentation that ships with the option.
9. Do the following: