Hardware options installation 76
11.
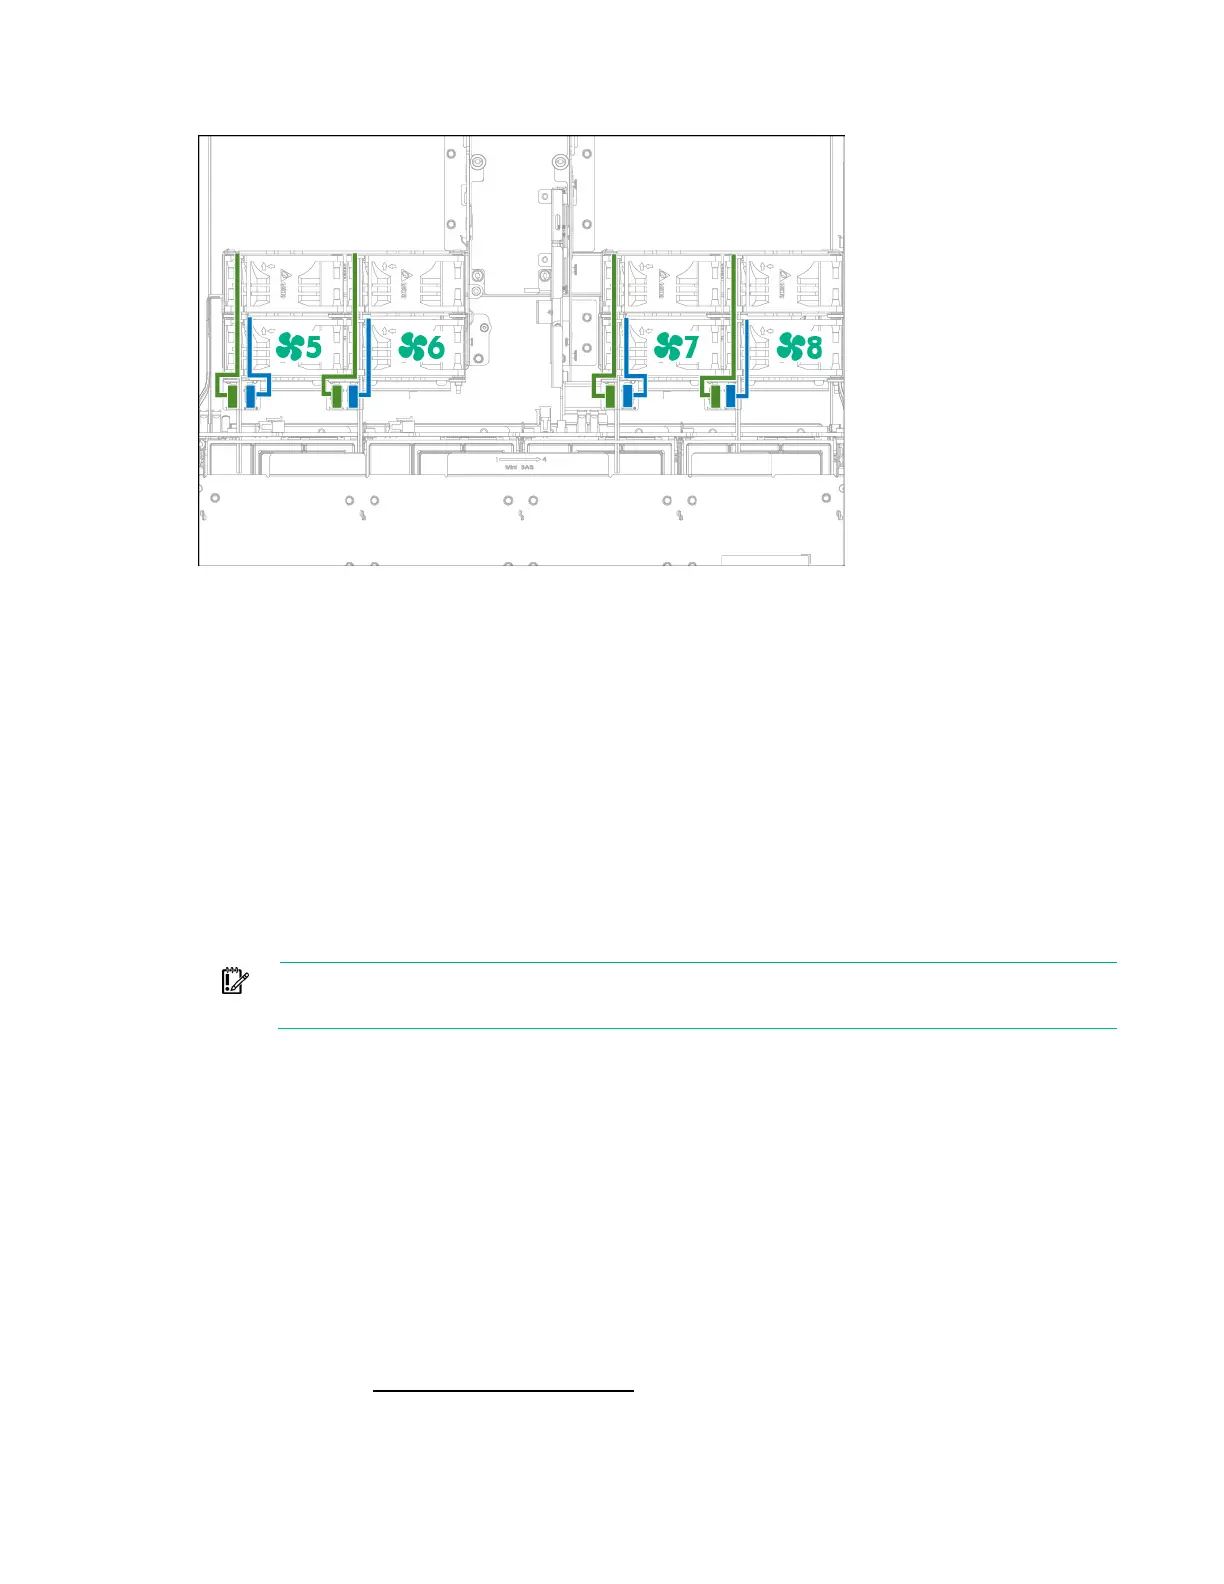
Connect the fan cables to the power connectors.
12. Install the access panel ("Install the chassis access panel" on page 37)
13. Install the chassis into the rack ("Installing the chassis into the rack" on page 58).
14. If removed, install the security bezel ("Security bezel option" on page 67).
15. Install all nodes, drives and power supplies ("Chassis component installation" on page 60).
16. If removed, install the RCM module ("RCM module" on page 70).
17. Reconnect all power:
a. Connect each power cord to the power source.
b. Connect the power cord to the chassis.
18. Connect all peripheral cables to the nodes.
19. Power up the nodes (on page 32).
Memory options
IMPORTANT: This node does not support mixing LRDIMMs or RDIMMs. Attempting to mix
any combination of these DIMMs can cause the node to halt during BIOS initialization.
The memory subsystem in this node can support LRDIMMs and RDIMMs:
• RDIMMs offer address parity protection.
• LRDIMMs support higher densities than single- and dual-rank RDIMMs, and higher speeds than
quad-rank RDIMMs. This support enables you to install more high capacity DIMMs, resulting in
higher system capacities and higher bandwidth.
All types are referred to as DIMMs when the information applies to all types. When specified as LRDIMM
or RDIMM, the information applies to that type only. All memory installed in the node must be the same
type.
Memory and processor information
For the latest memory configuration information, see the product QuickSpecs on the Hewlett Packard
Enterprise website (http://www.hpe.com/info/qs).
DIMM type