Hardware options installation 125
To install the component:
1. Power down the node (on page 32).
2. Disconnect all peripheral cables from the node.
3. Remove the node from the chassis (on page 32).
4. Place the node on a flat, level surface.
5. Do one of the following:
a. Remove the single-slot left PCI riser cage assembly (on page 48).
b. Remove the single-slot 2U node PCI riser cage assembly (on page 51).
6. If installed, remove the storage controller.
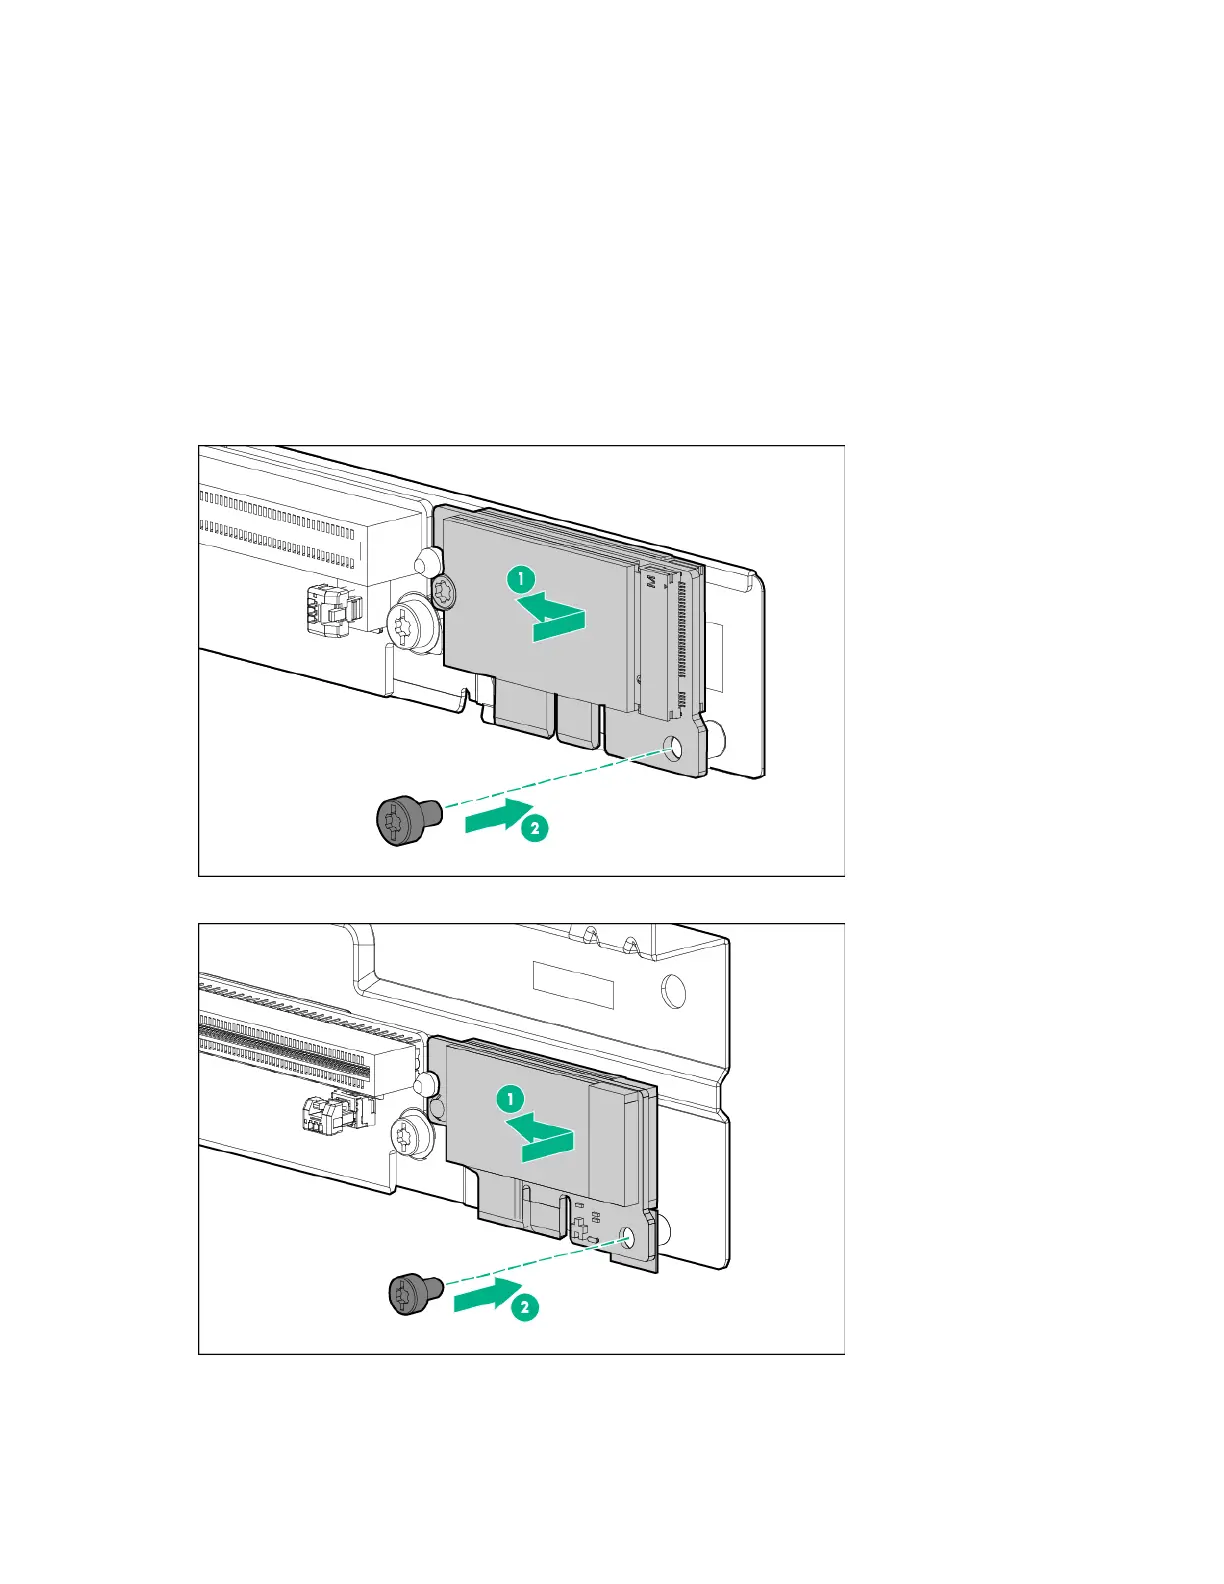
7. Install the enablement board on the PCI riser cage assembly, and then secure it with a T-15 screw.
o Single-slot left PCI riser cage assembly
o Single-slot 2U node PCI riser cage assembly
8. If removed, install the storage controller ("Installing the storage controller and FBWC module
options" on page 99).
9. Install any removed PCI riser cage assemblies ("PCI riser cage assembly options" on page 84).