Iris Diagnostics, a Division of Iris International, Inc.
iQ
®
200 Sprint™ (2G) Automated Urine Microscopy Analyzer Service Manual 300-4949 Rev A 01/2005 2-10
2. Installation Procedures
iQ200 / AX-4280 Bridge Installation Instructions
“iQ200-AX4280 Sample bridge kit” PN 800-3501.
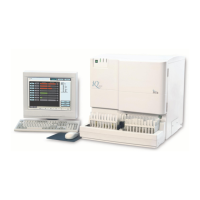
1. Remove left side cover from the AX-4280
sampler.
2. Unplug connector # S1-10 (white label) from
the circuit board and replace with connector#
S1-10 (Side Sampler) stored in bottom of
sampler.
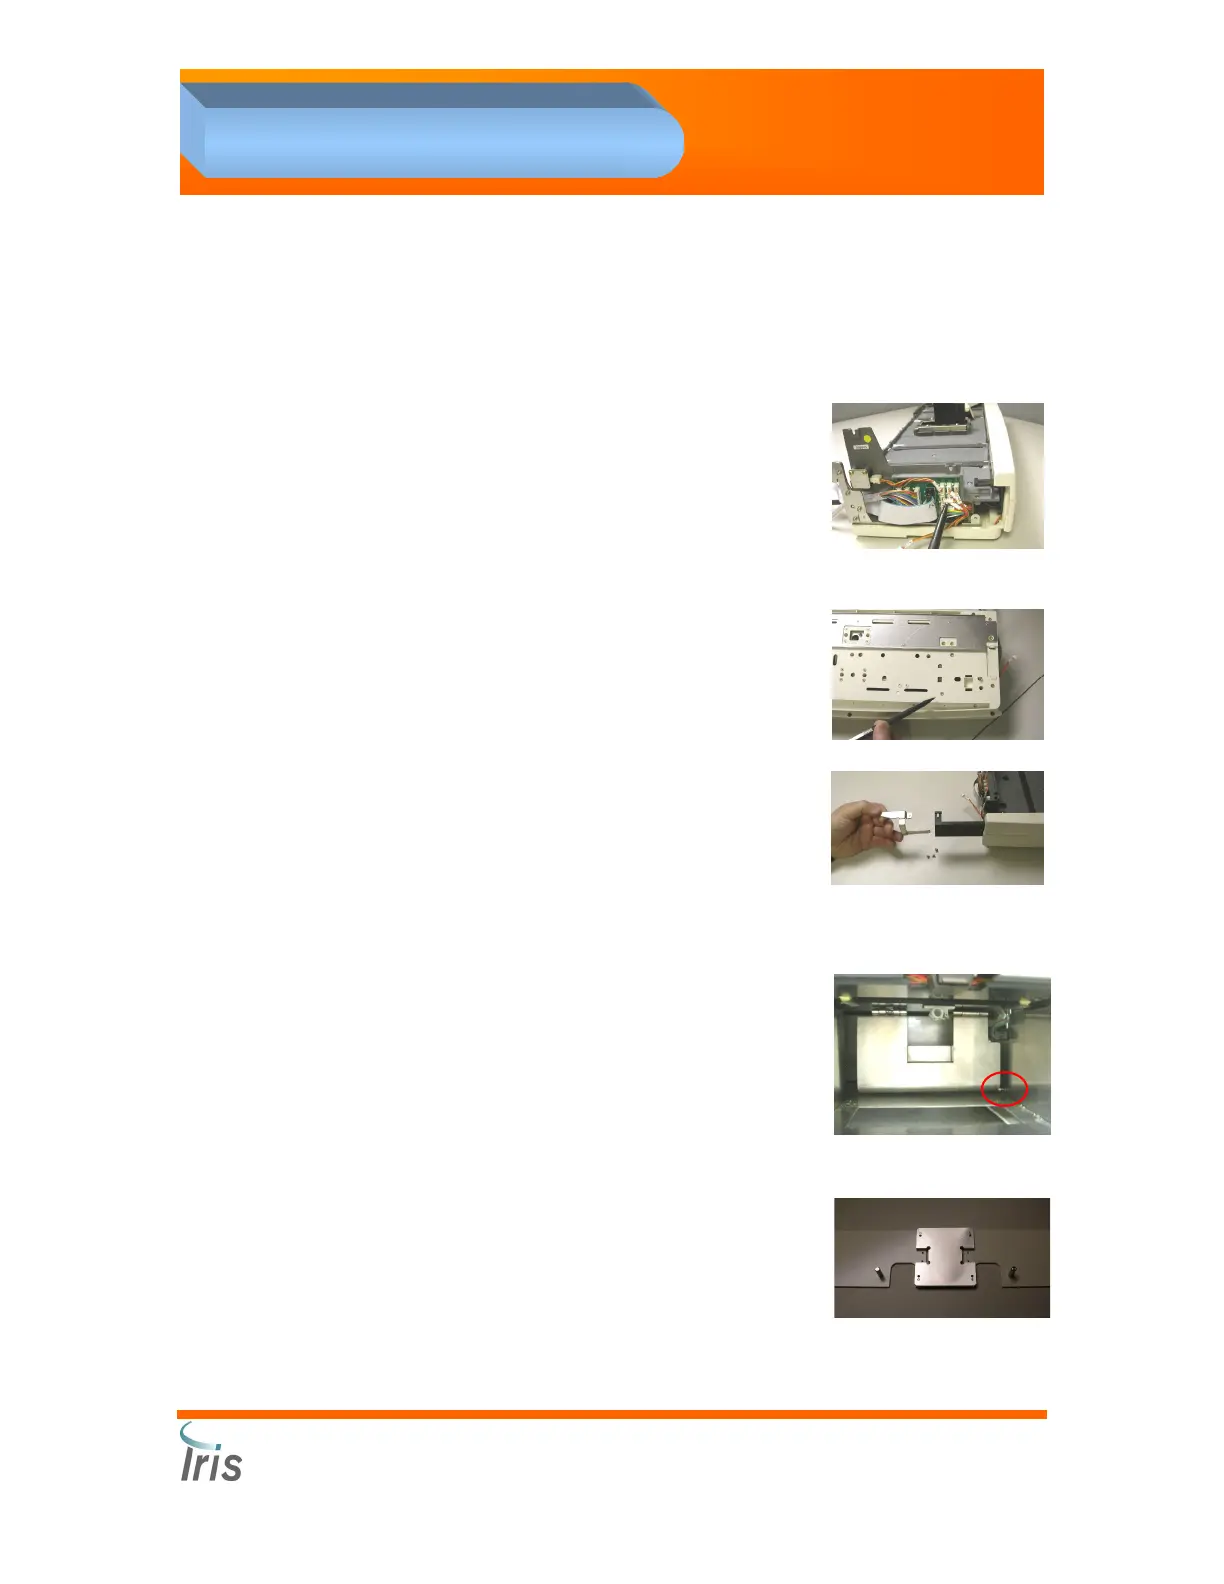
3. At the bottom of the sampler, remove the
screw (as indicated on the picture on the right)
securing carry arm stop post. Remove the
post from the sampler.
4. Extend the lever from the sampler. Attach the
rack push arm to the lever with two (2, M3x5)
flat head and one (1, M3x6 pan head) screws.
5. Break the tab on the side cover to allow the
rack to transfer from the Load Station to the
sampler.
6. Replace left side cover.
7. Back out the screw located inside the right
frame of the test strip disposal compartment to
hold the spring loaded return plate.
8. Install the new waste box provided with the
connection kit.
9. Install an alignment bracket under each
analyzer aligning the pins with the two holes
located under the front of each instrument.
Align the brackets and join with the connection
bracket. Secure with four (4, M3x10 pan head)
screws.
 Loading...