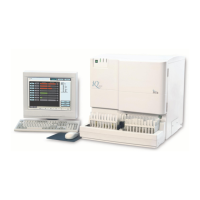
Iris Diagnostics, a Division of Iris International, Inc.
iQ
®
200 Sprint™ (2G) Automated Urine Microscopy Analyzer Service Manual 300-4949 Rev A 01/2005 2-13
2. Installation Procedures
13. Power up the AX-4280 while holding the STOP button to access the
Service mode.
a. Press -4280-.
b. Press 1: “User set up” then press 2: “User detail”.
c. Press ENTER until “Sampler” is displayed.
d. Press the “-” button until [LOWER] is displayed and then press
ENTER.
e. Save these settings when prompted.
f. Press ESC until the first menu is displayed.
g. Press 2: “Adjust”. Press 2: “Pulse & LED”. Press 1: “Pulse
adjust”.
h. Press the “-“ button until [RACK] is displayed, then press ENTER.
i. Press the “-“ button until [Carry send] is displayed. Place a rack
on the left side of the AX-4280 sampler in the area where the rack
can be transferred to the iQ200 from the AX-4280 and press
ENTER. Verify that the carry arm moves the rack to the iQ
sampler and is positioned on the iQ 200 sampler fully.
j. If the distance needs to be adjusted, change the pulse number on
the AX-4280 to the proper position. A larger number carries the
rack further. Use the keypad to change the value.
Press 7 to increase the pulse number by 1
Press 4 to decrease the pulse number by 1
Press 9 to increase the pulse number by 10
Press 6 to decrease the pulse number by 10
k. Press MENU until the third menu is displayed.
l. Press 2: System Option. Press 1: Edit rack ID.
m. Enter the following rack ID information-
Rack numbers 1-11 Standard ID
Rack number 12 Start
Rack numbers 13-24 Standard ID
Rack numbers 25-27 Standard ID
Rack number 28 STAT/CTRL
Rack numbers 29-30 PASS
Rack number 31 NONE
14. Save these settings when prompted.
15. Return to Standby mode.

 Loading...