Iris Diagnostics, a Division of Iris International, Inc.
iQ
®
200 Sprint™ (2G) Automated Urine Microscopy Analyzer Service Manual 300-4949 Rev A 01/2005 2-23
2. Installation Procedures
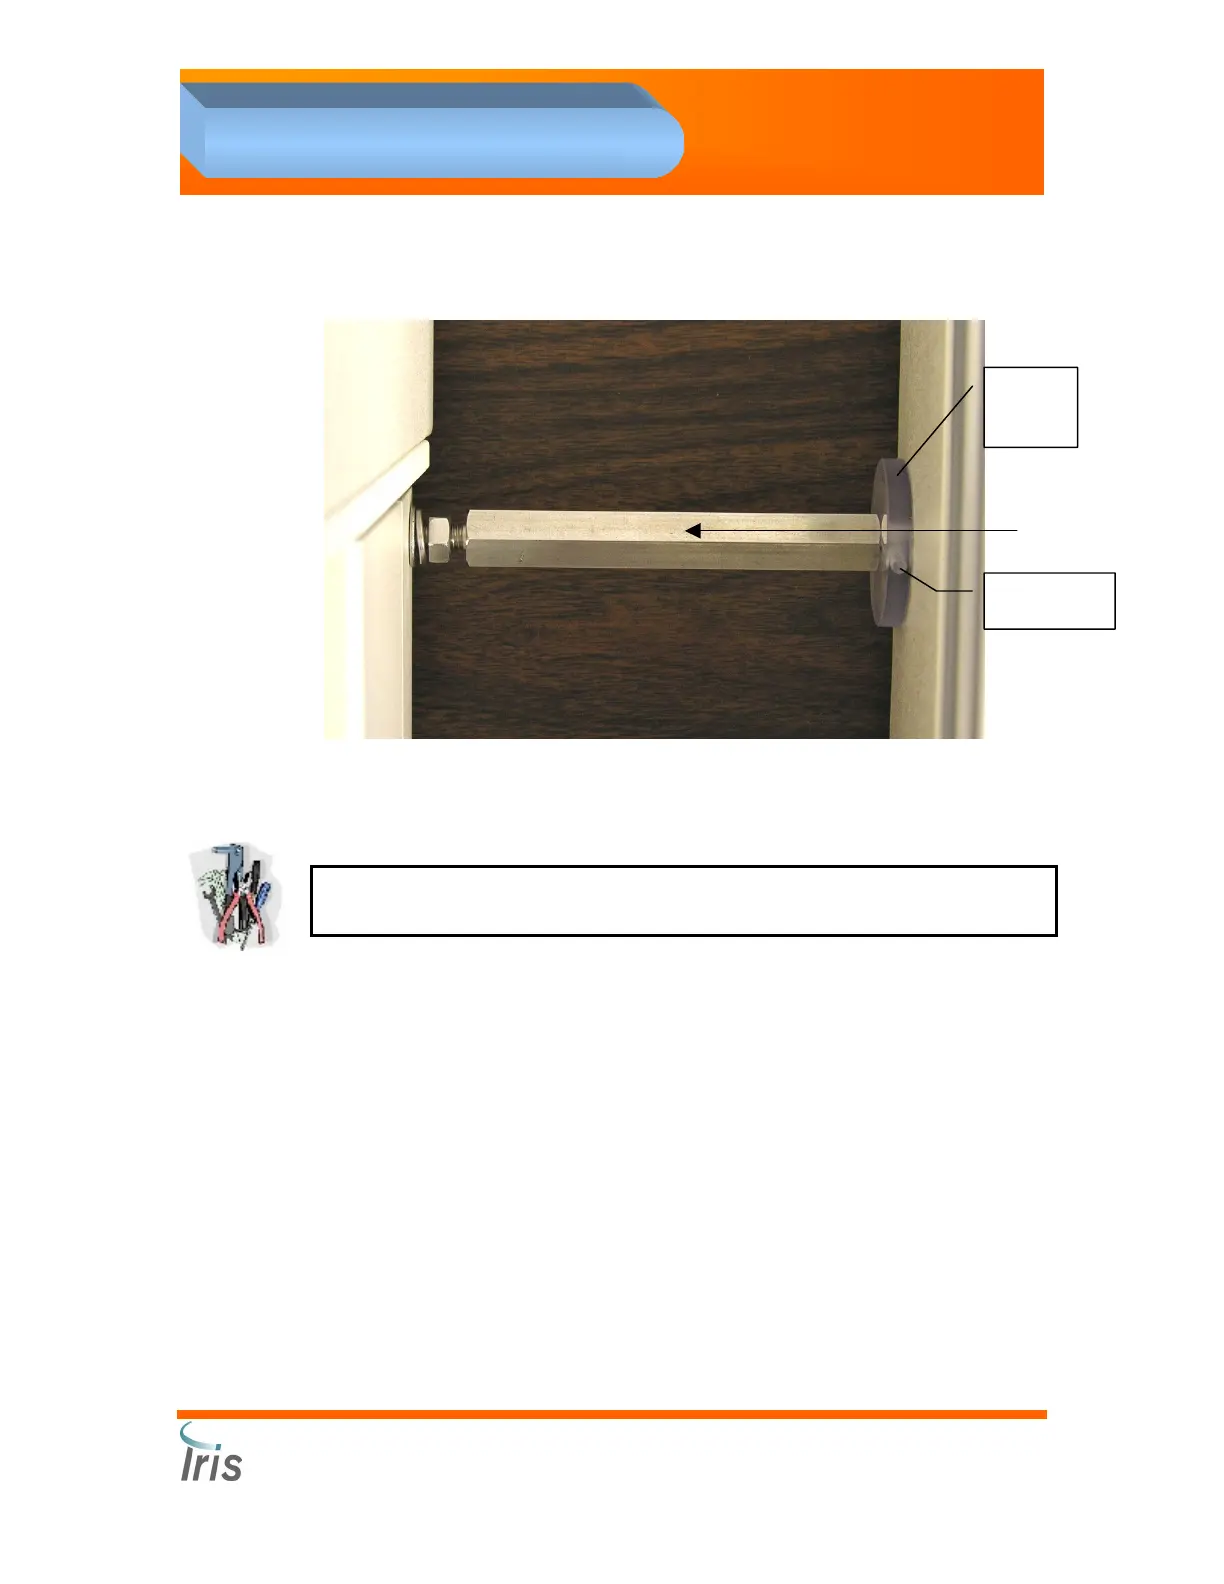
16. Attach the securing brace to the bottom screw port on the backside of
the AX-4280 sampler cover (see picture below.)
NOTE: Smooth rack transfer between stations and samplers is critical for
proper operation.
17. Attach the load station cable to port labeled “Start” on the Rear Panel
of the AX-4280.
18. Power up the AX-4280 while holding the STOP button to access the
Service mode.
a. Press -4280-.
b. Press 1: “User set up” then press 2: “User detail”.
c. Press ENTER until “Sampler” is displayed.
d. Press the “-” button until [UP & LOW] is displayed and then press
ENTER.
19. Save these settings when prompted.
20. Turn “ON” the power switch located on the back of the Load Station.
Securing
Brace
Brace
Mount
Set Screw
 Loading...